Helpful Tutorials
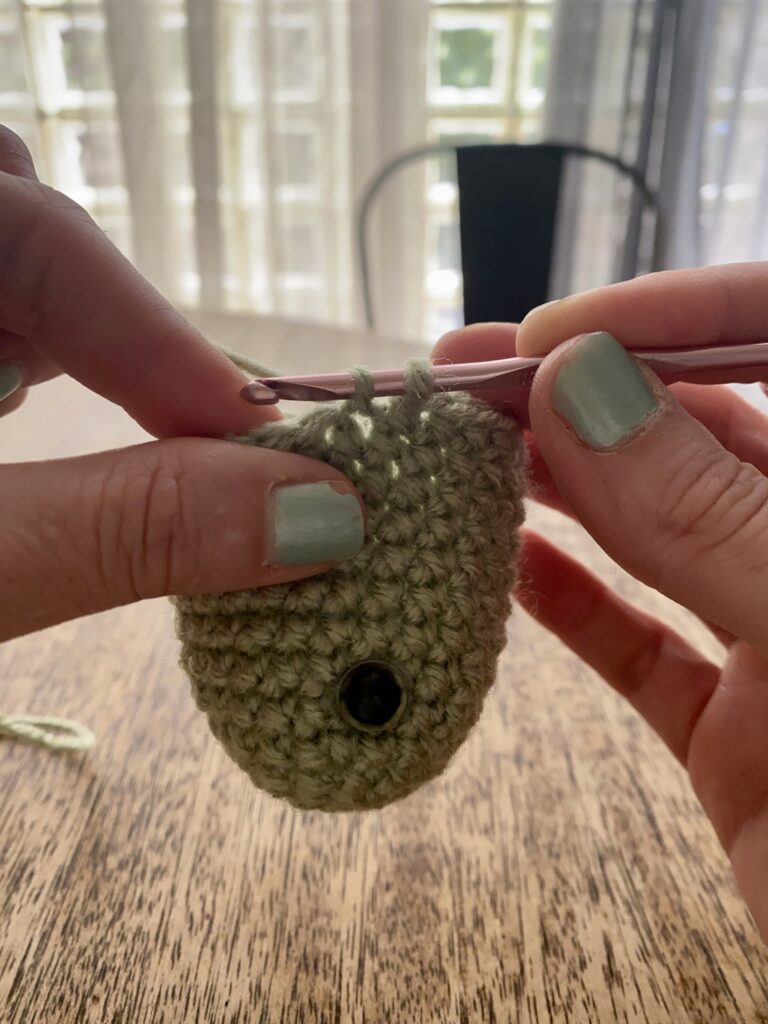
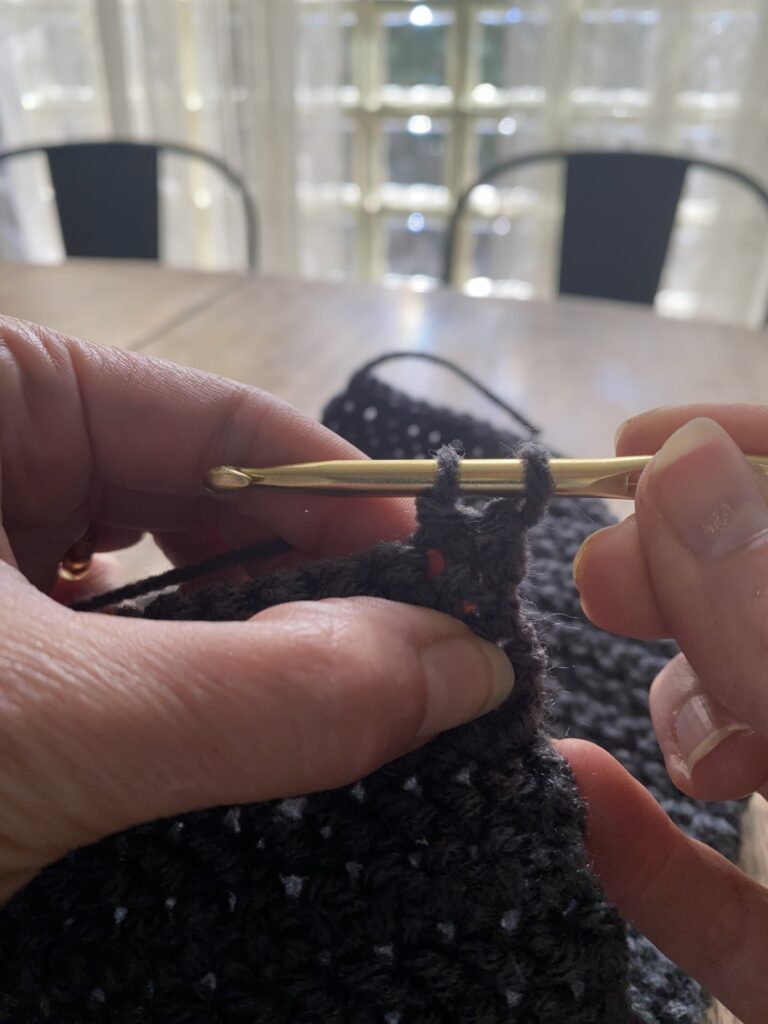
Decrease Stitch:
This stitch helps us turn two stitches into one stitch and will reduce the number of stitches you have in a rnd. You can do it! Follow along below.
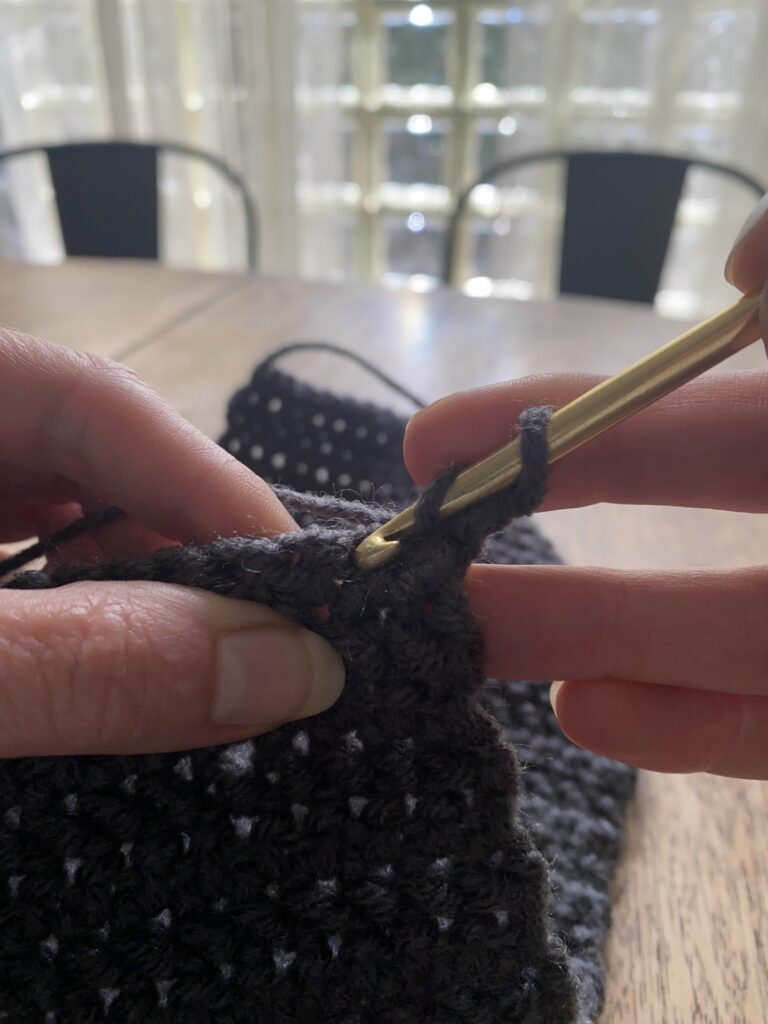
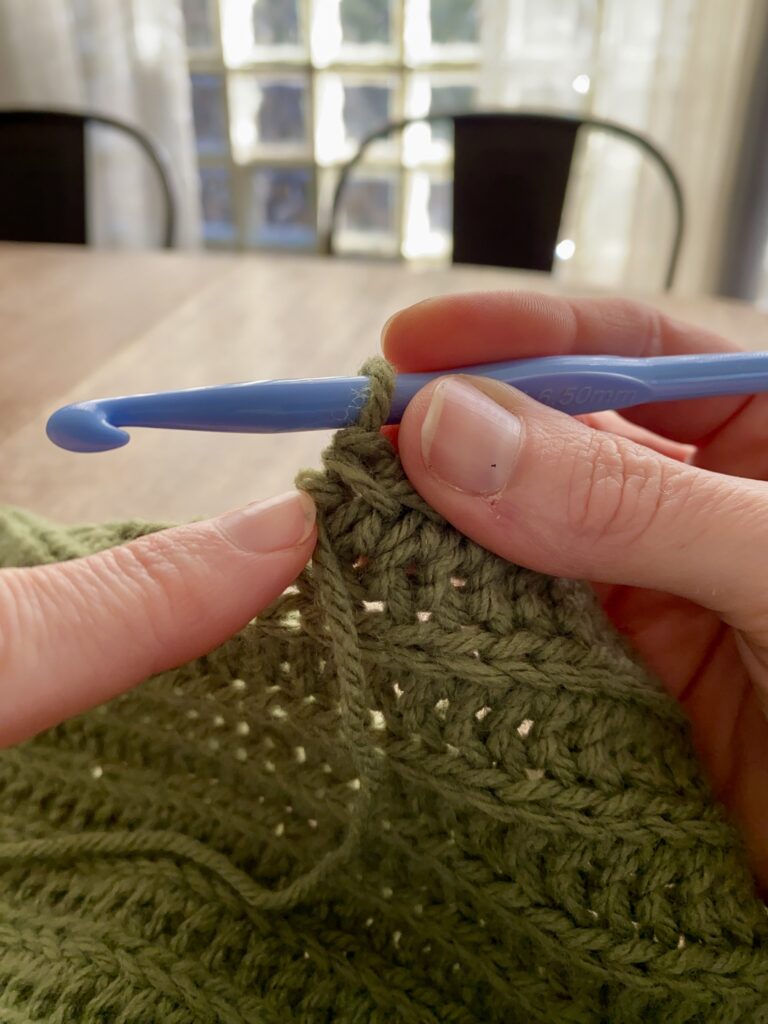
Step 1: Insert hook into the next Stitch and pull up a loop. Now you have 2 loops on your hook.
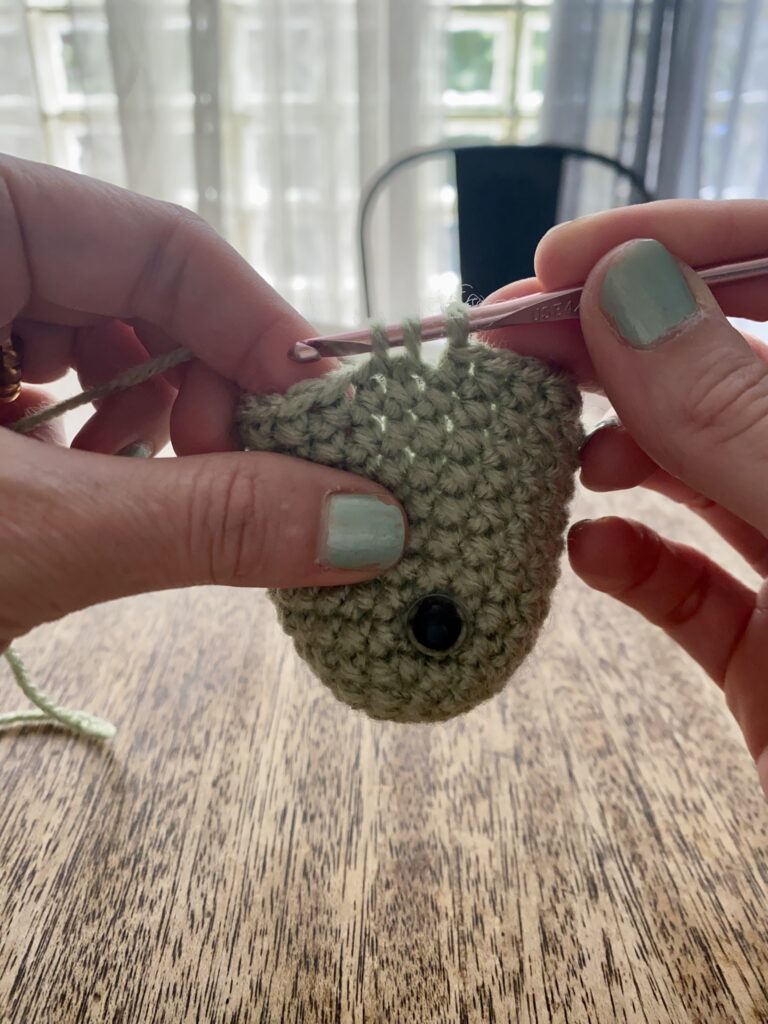
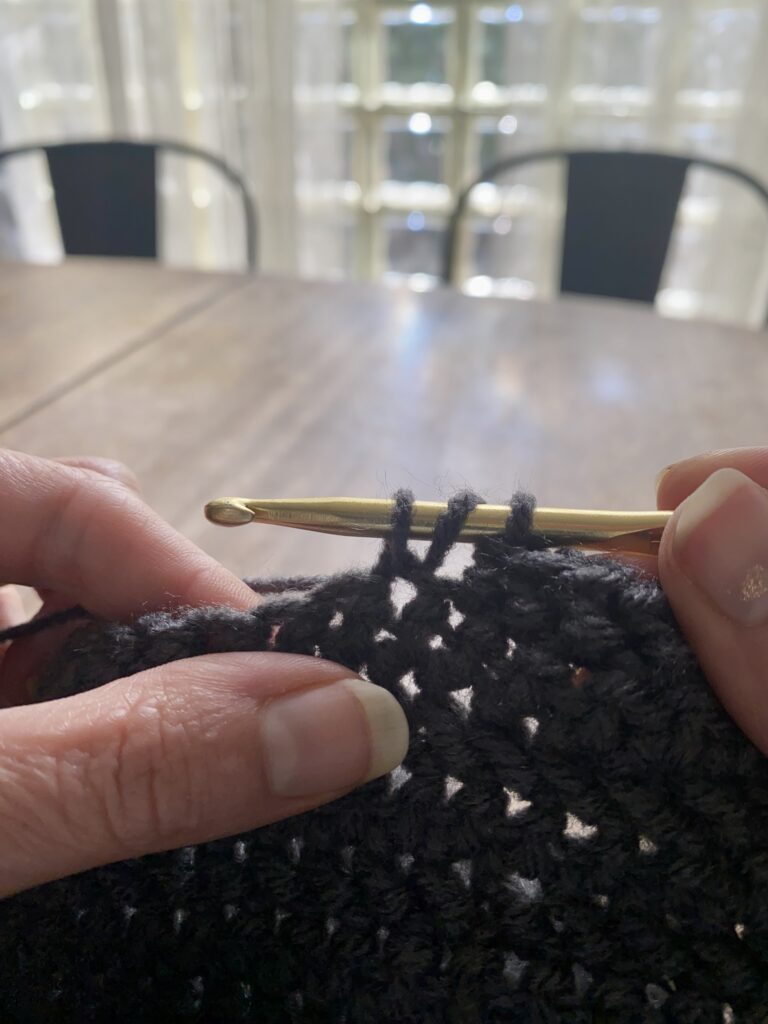
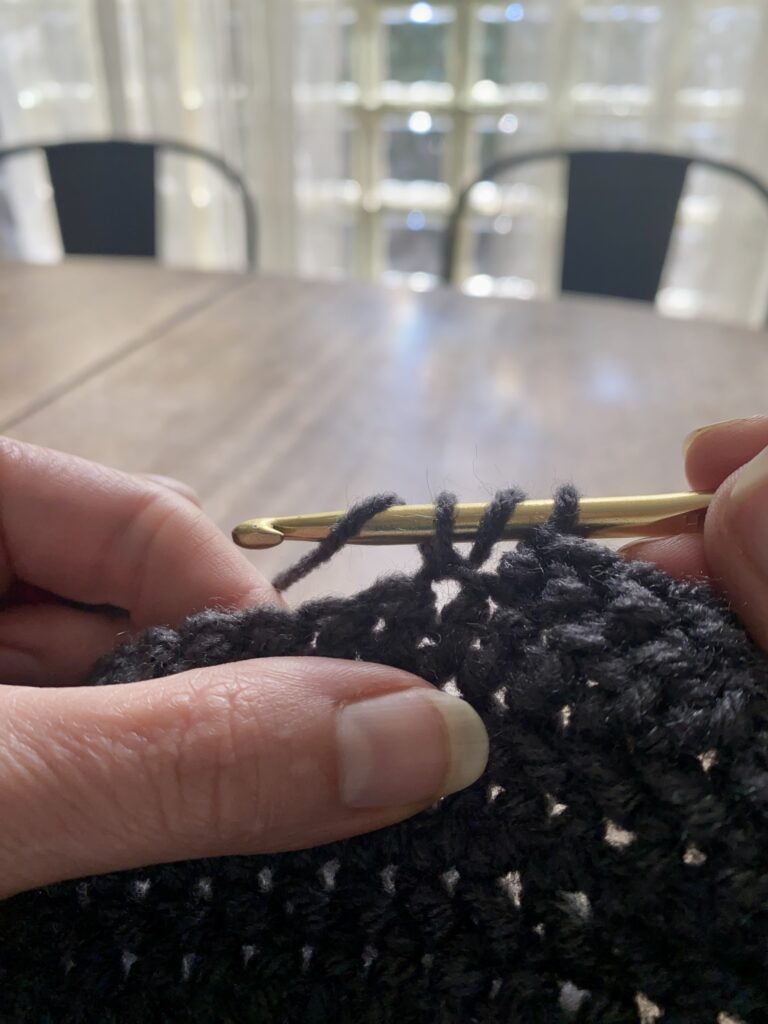
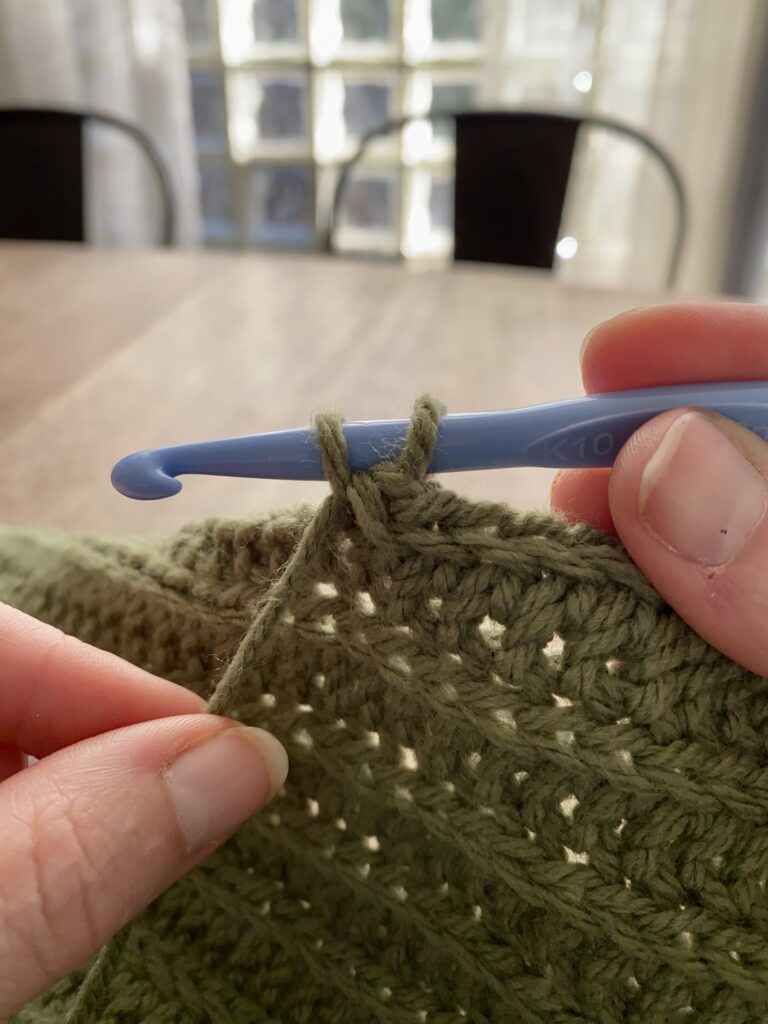
Step 2: Insert the hook into the next stitch and pull up another loop. Now you will have 3 loops on the hook.
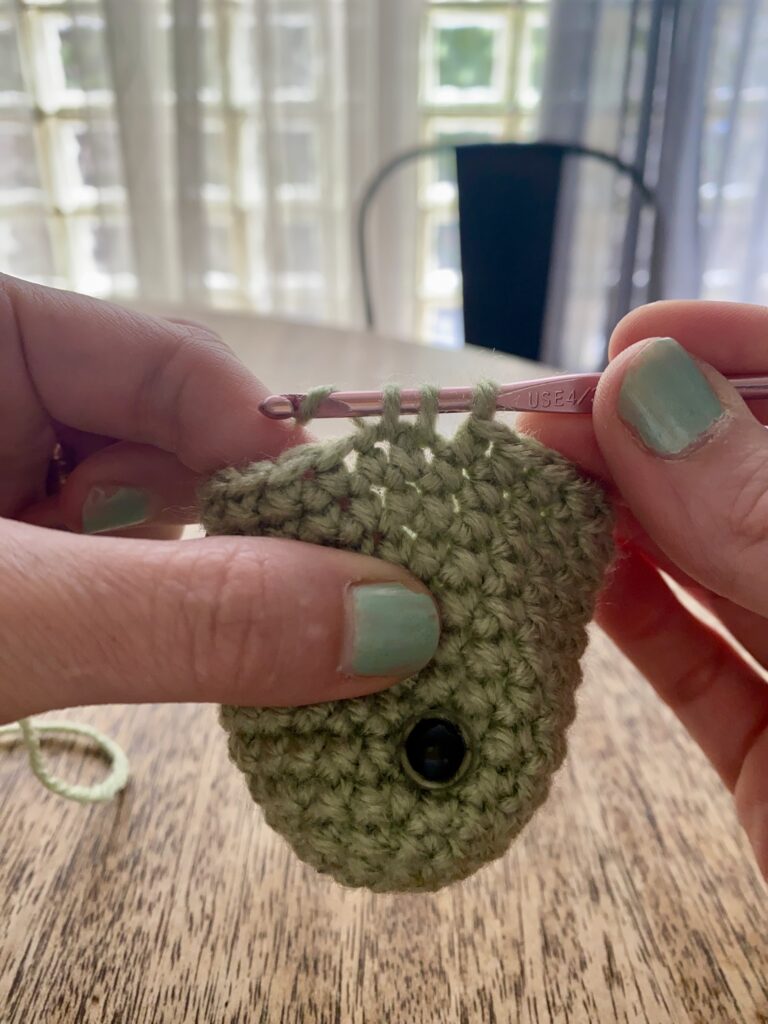
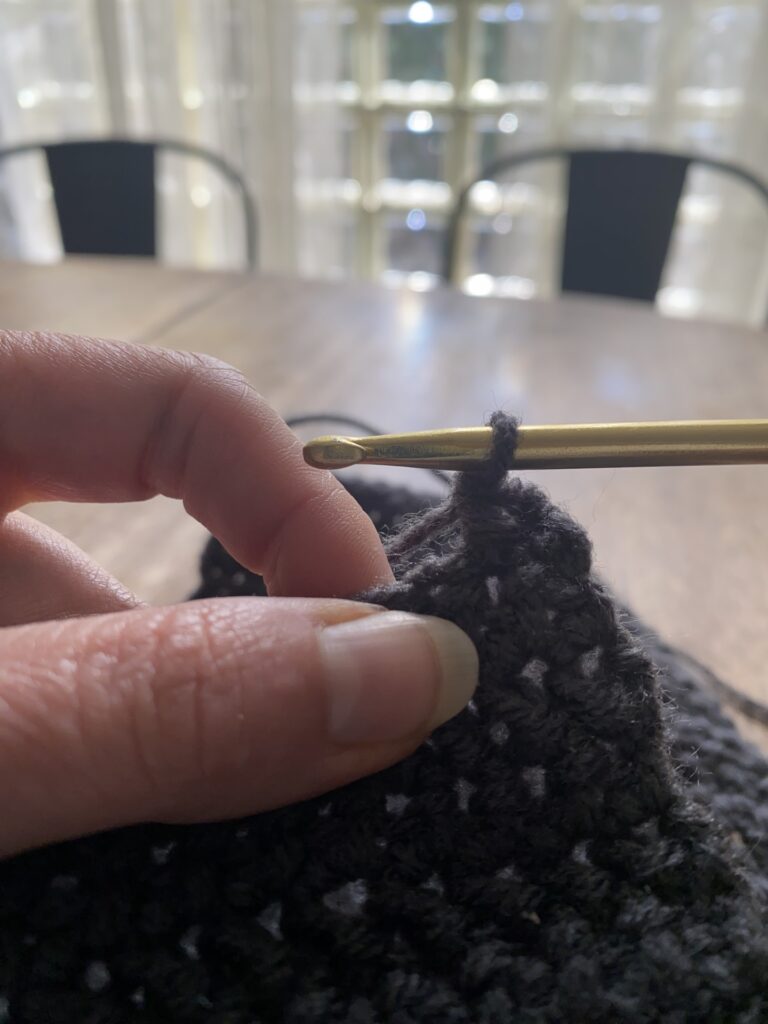
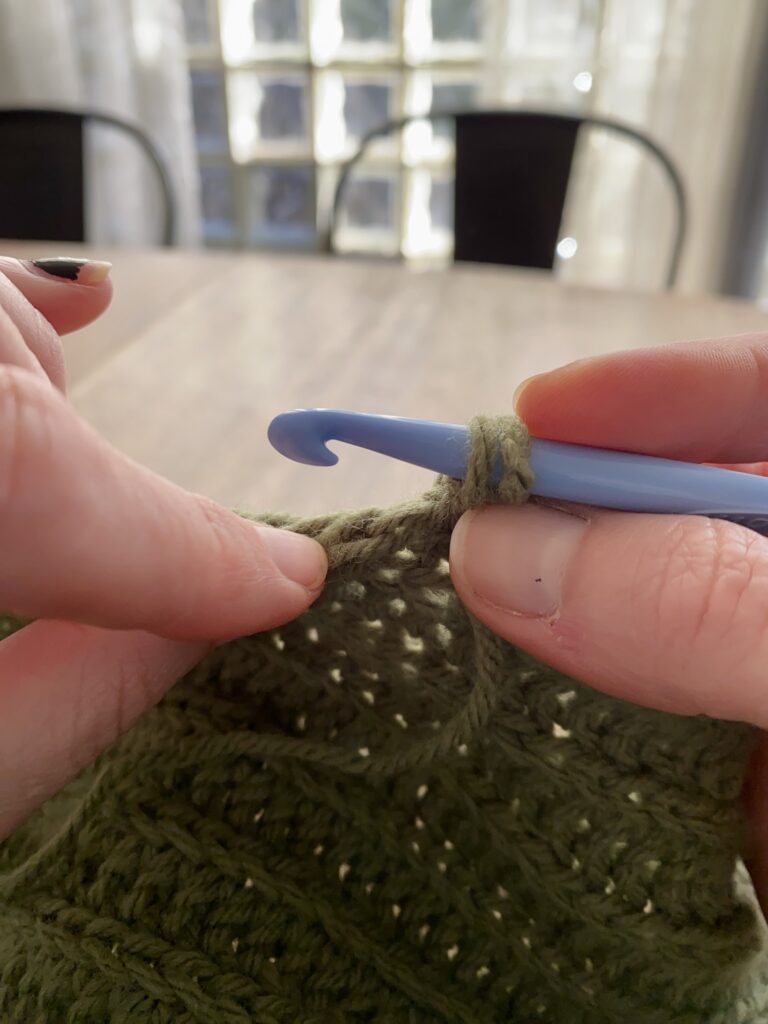
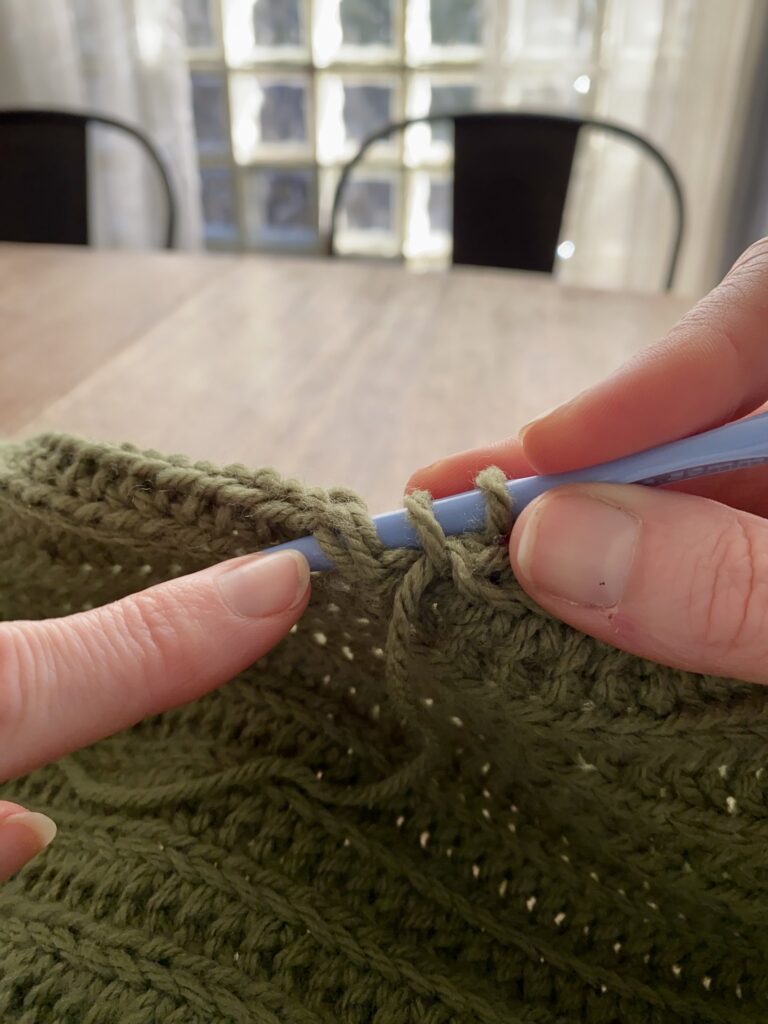
Step 3: Yarn over and pull through all three loops on the hook. One Decrease Stitch made.
Extended Moss Half Double Crochet:
This stitch is beautiful for adding a textured look to your work. Easy to work up and can be worked in a round or as a back and forth stitch.
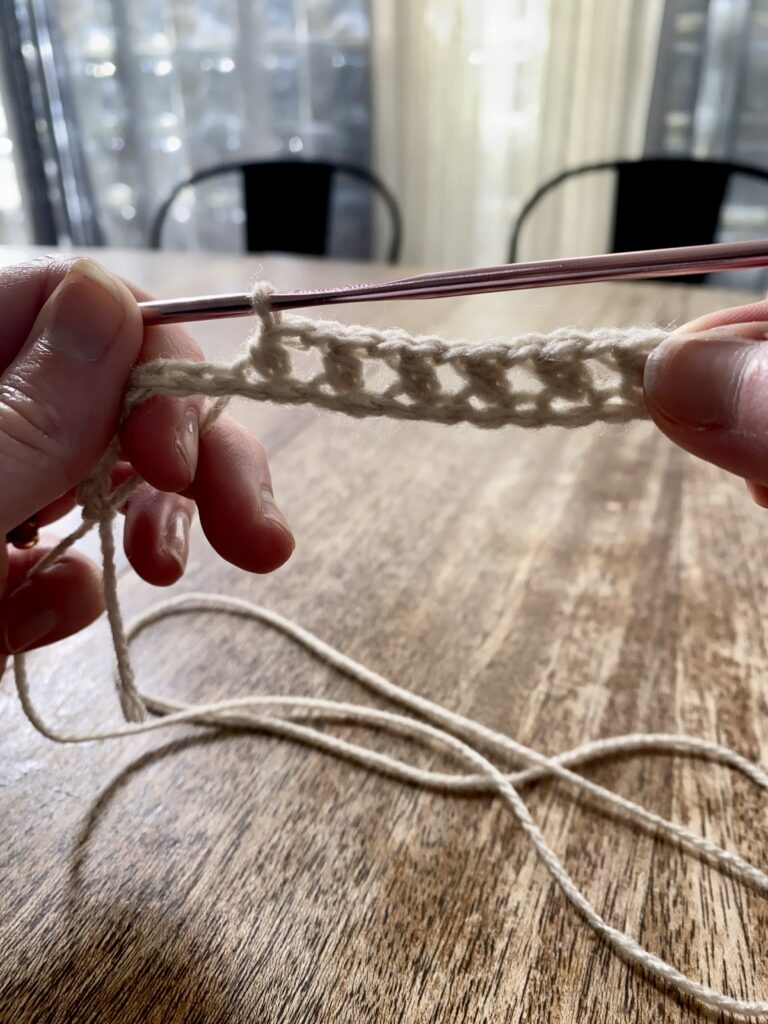
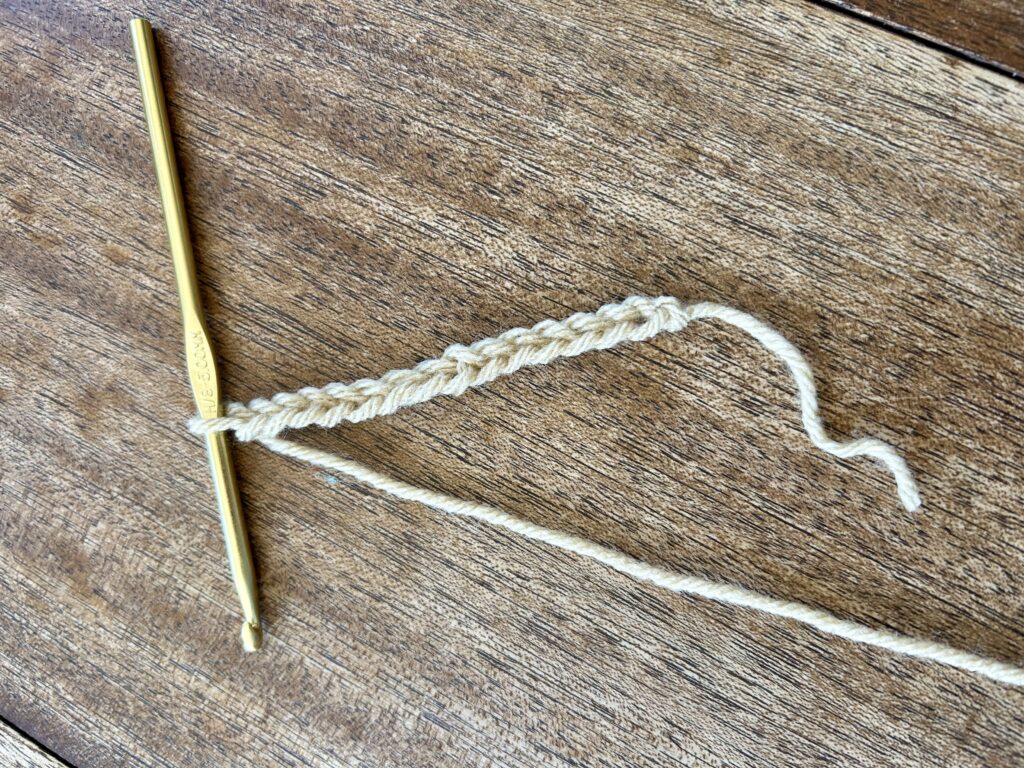
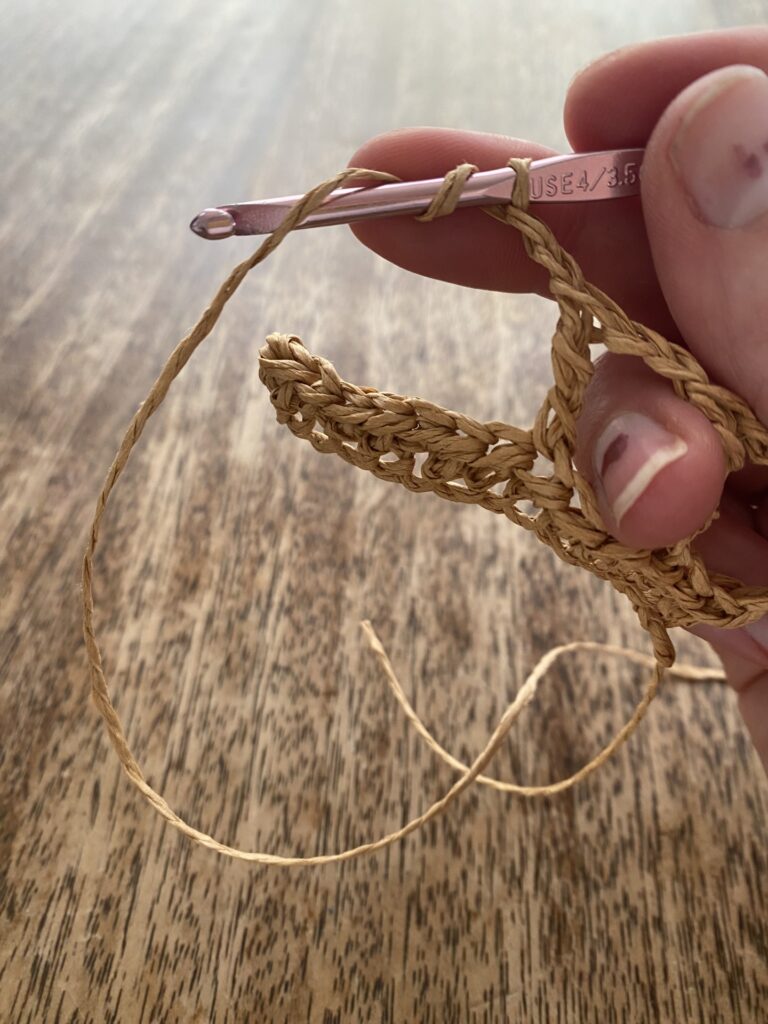
Row 1: CH a multiple of 2. (In the sample I did a chain of 20) Turn, to work back the other direction.
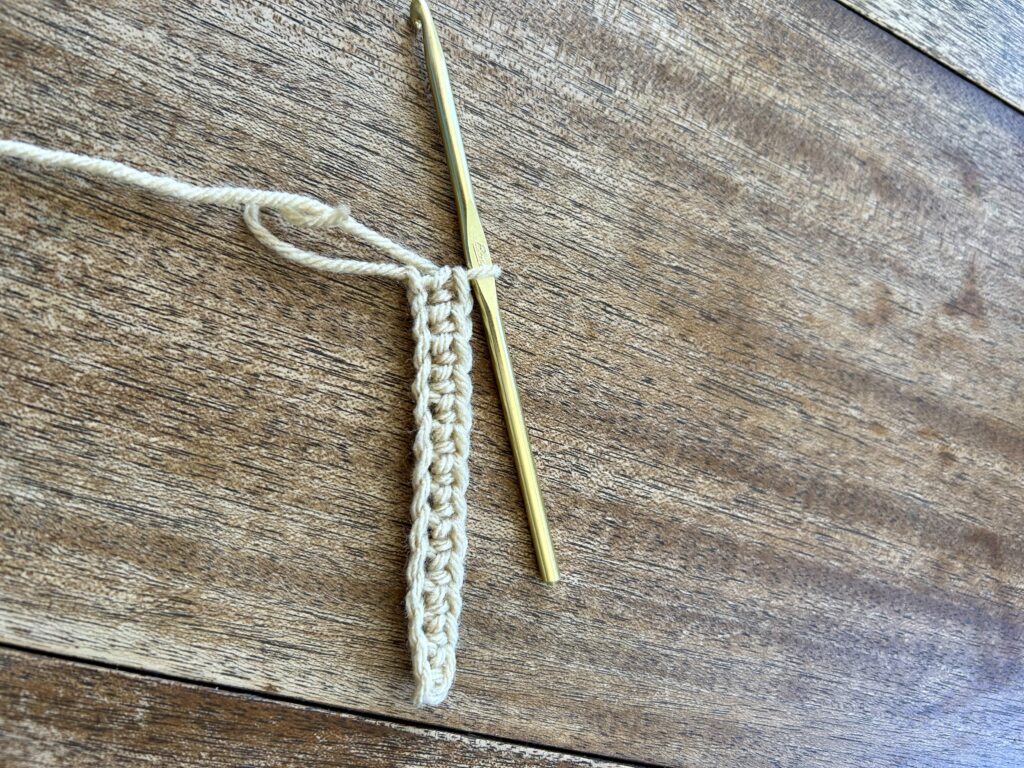
Row 2: HDC in the second CH from the hook. (If you need a refresher for HDC, keep scrolling down on this page.) Now * CH 1, Skip the next CH, HDC in the next CH.** Repeat from * to ** across the row. At the end of the row, CH 2, turn.
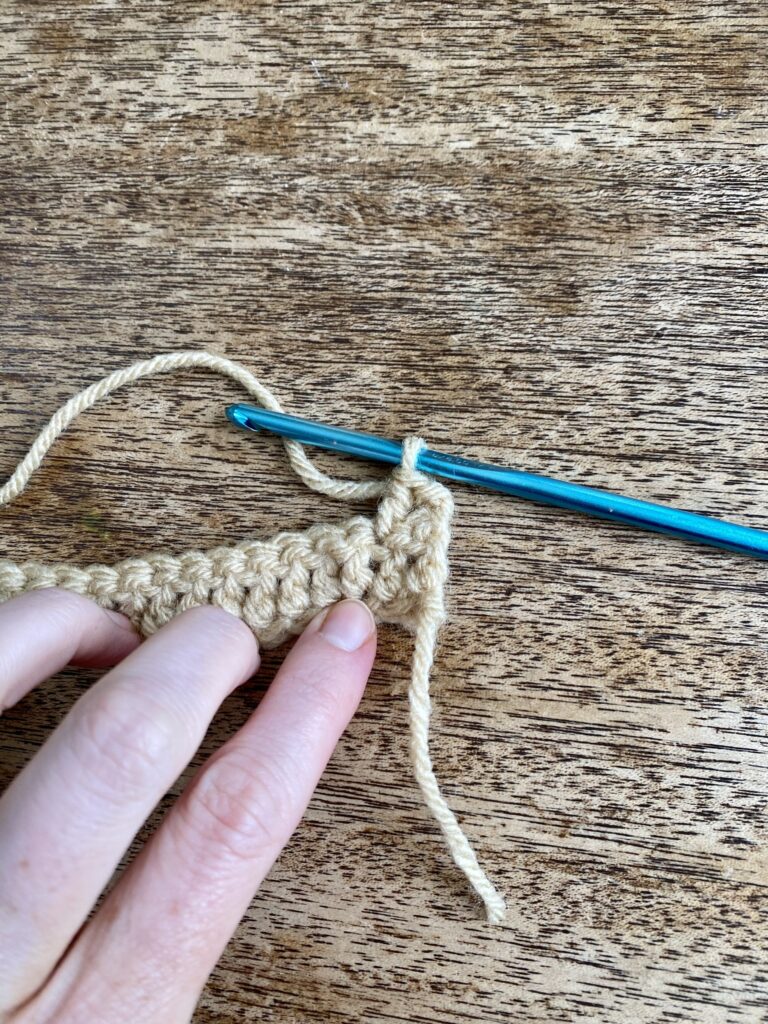
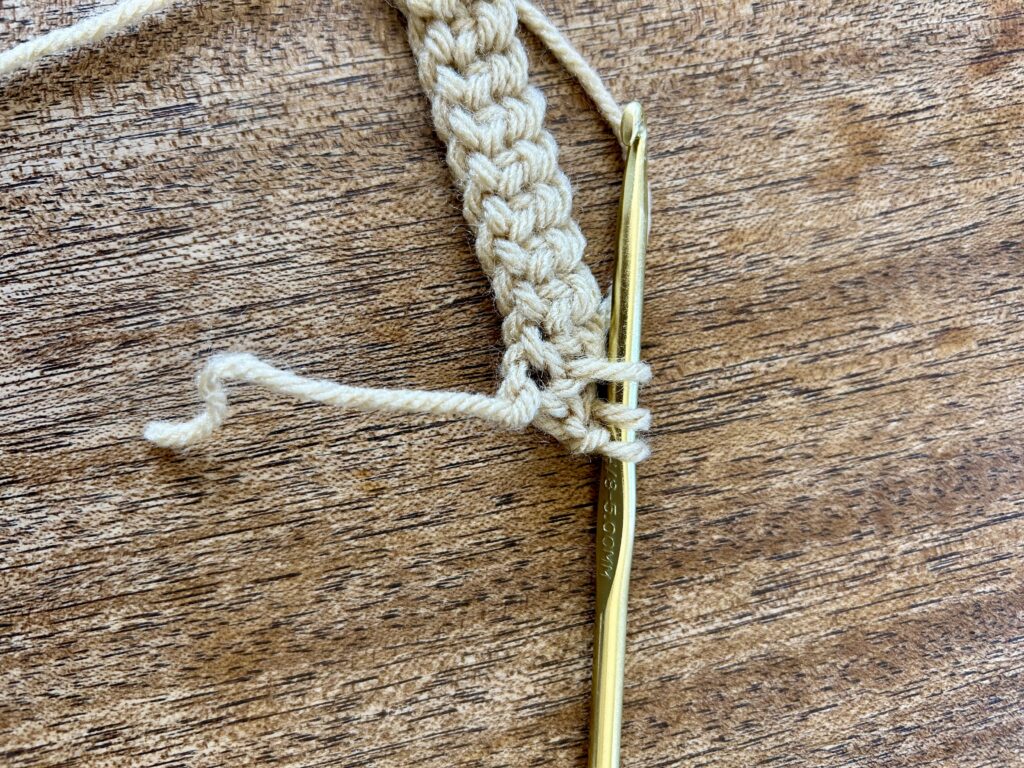
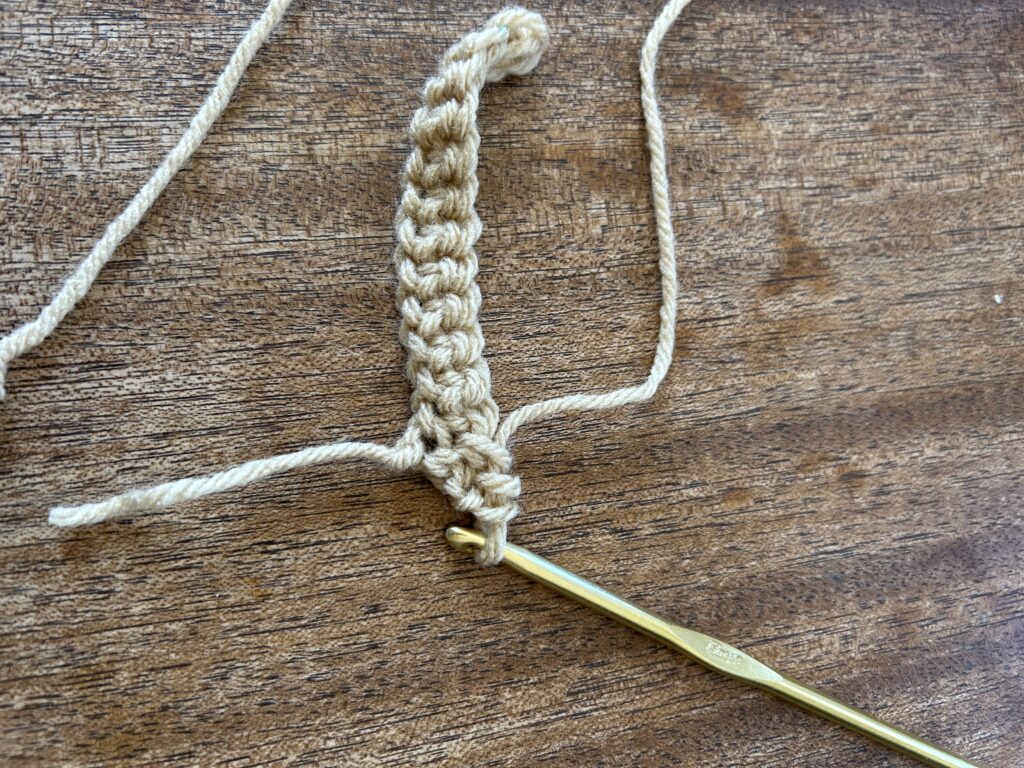
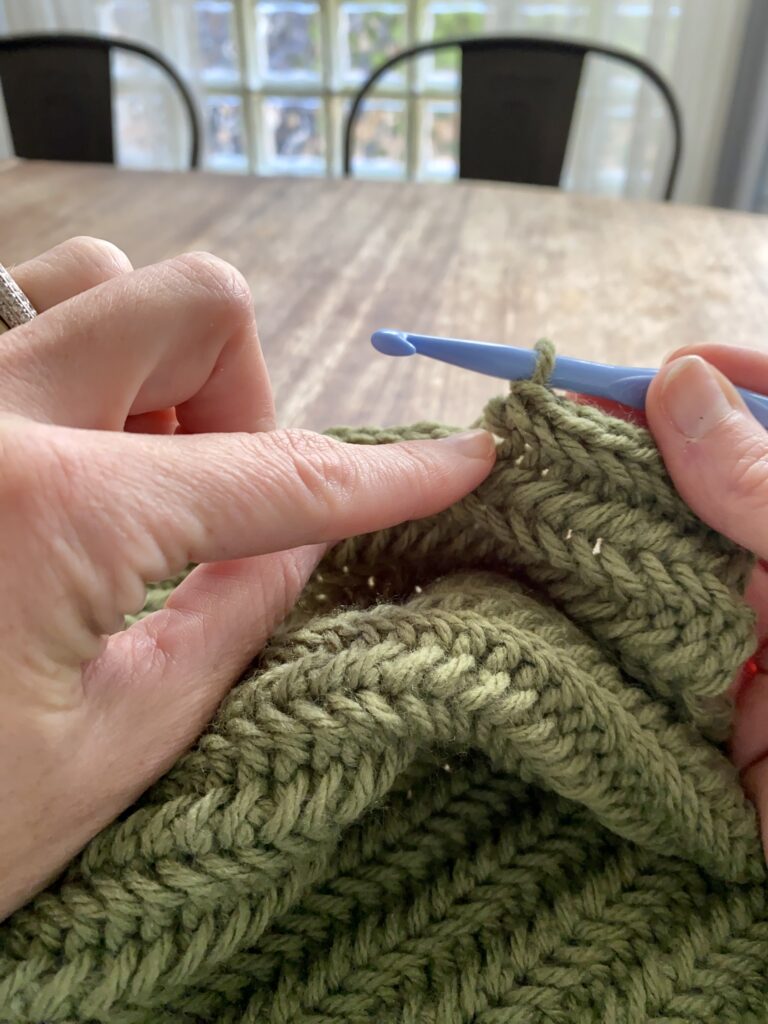
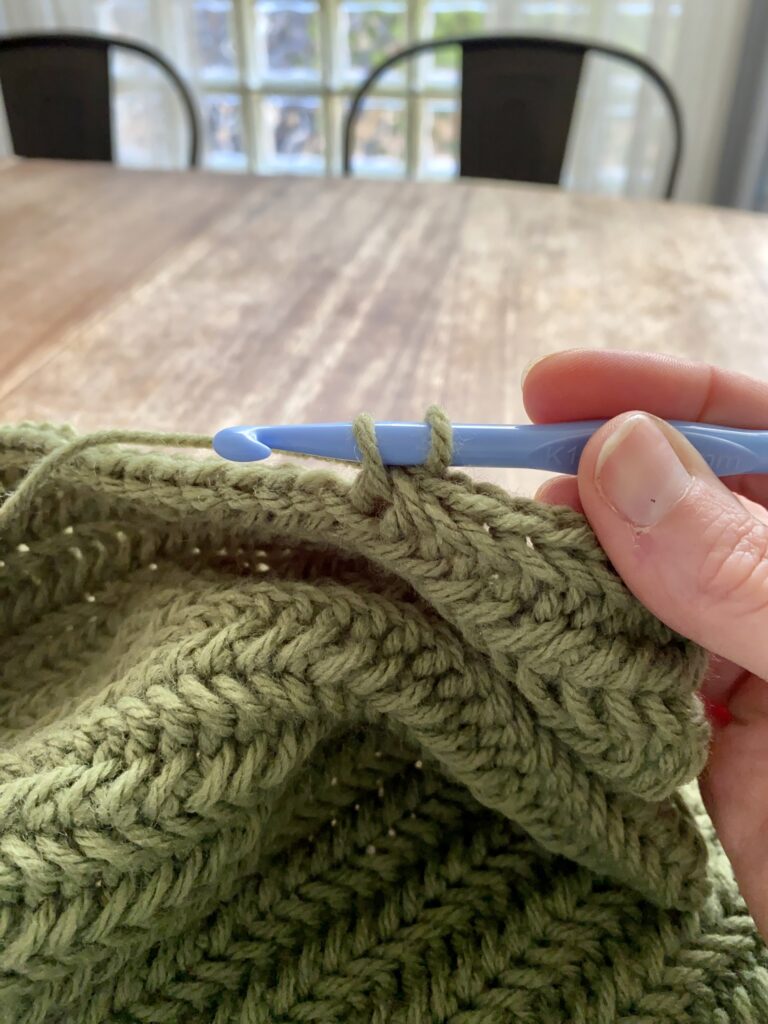
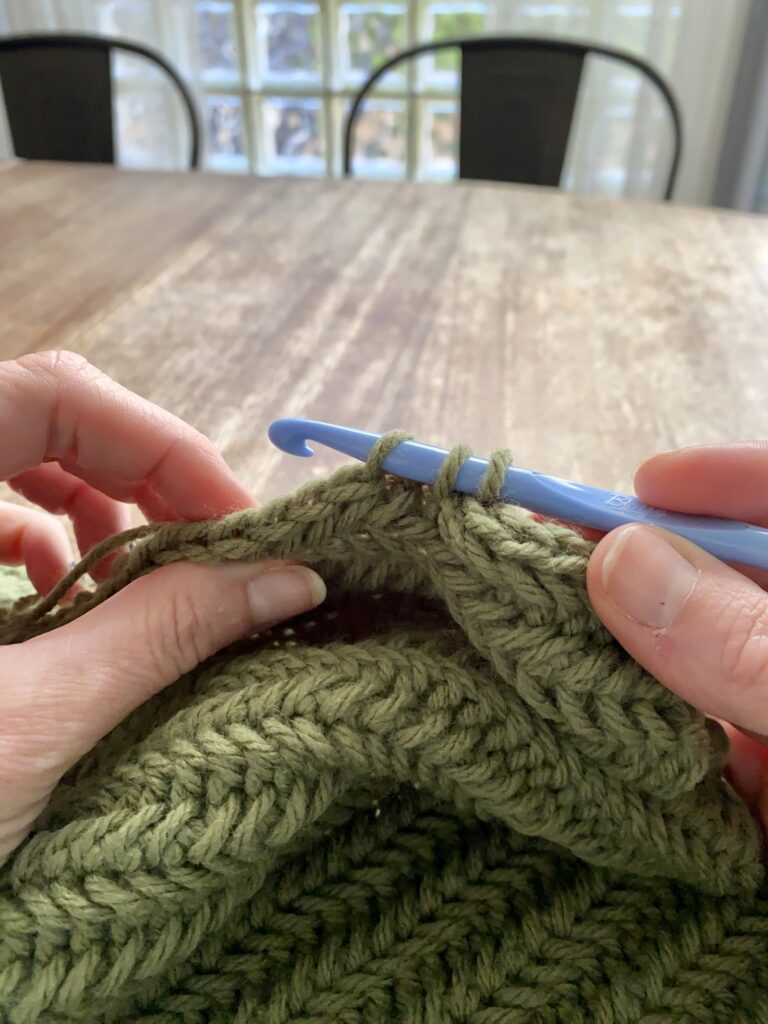
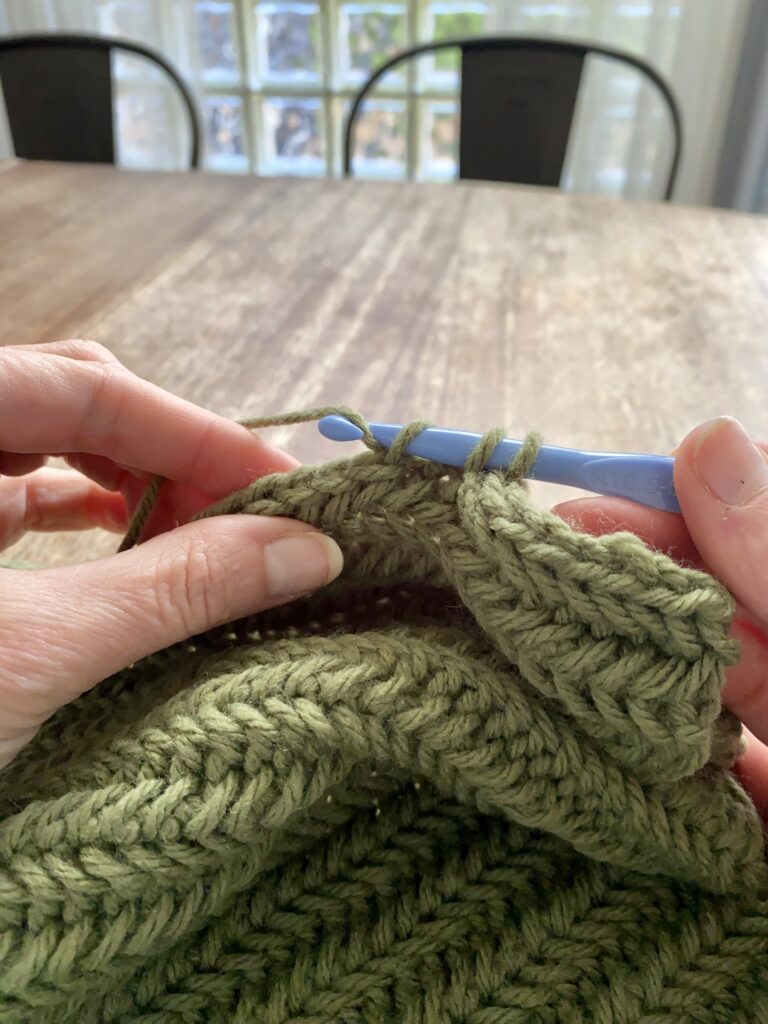
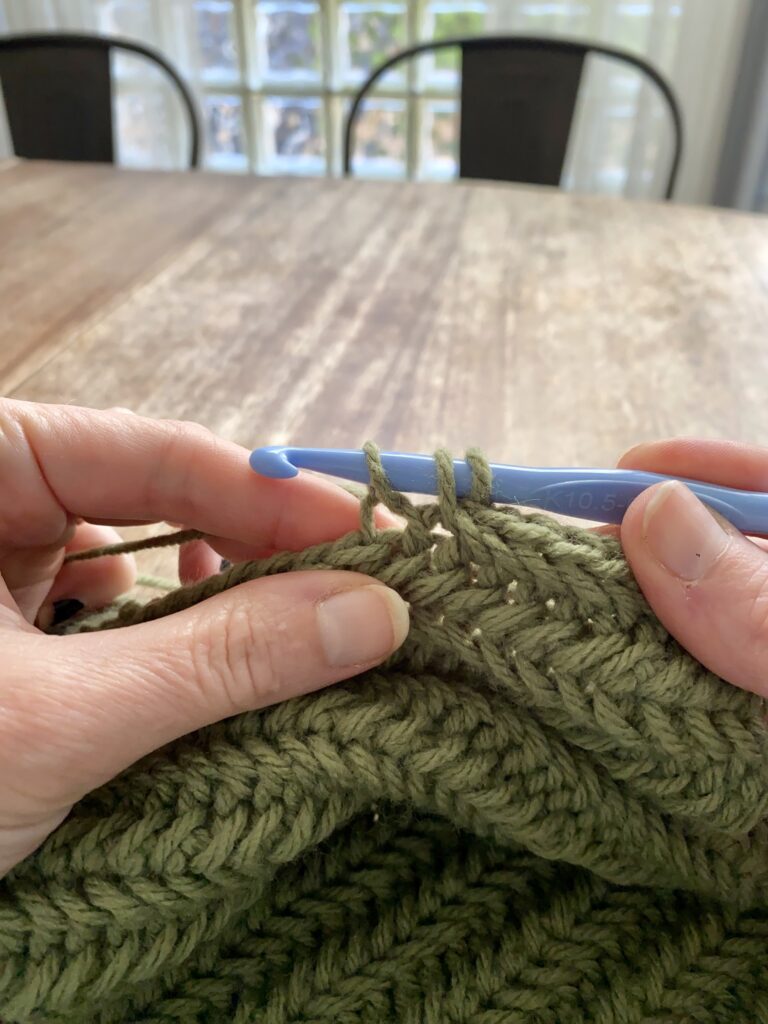
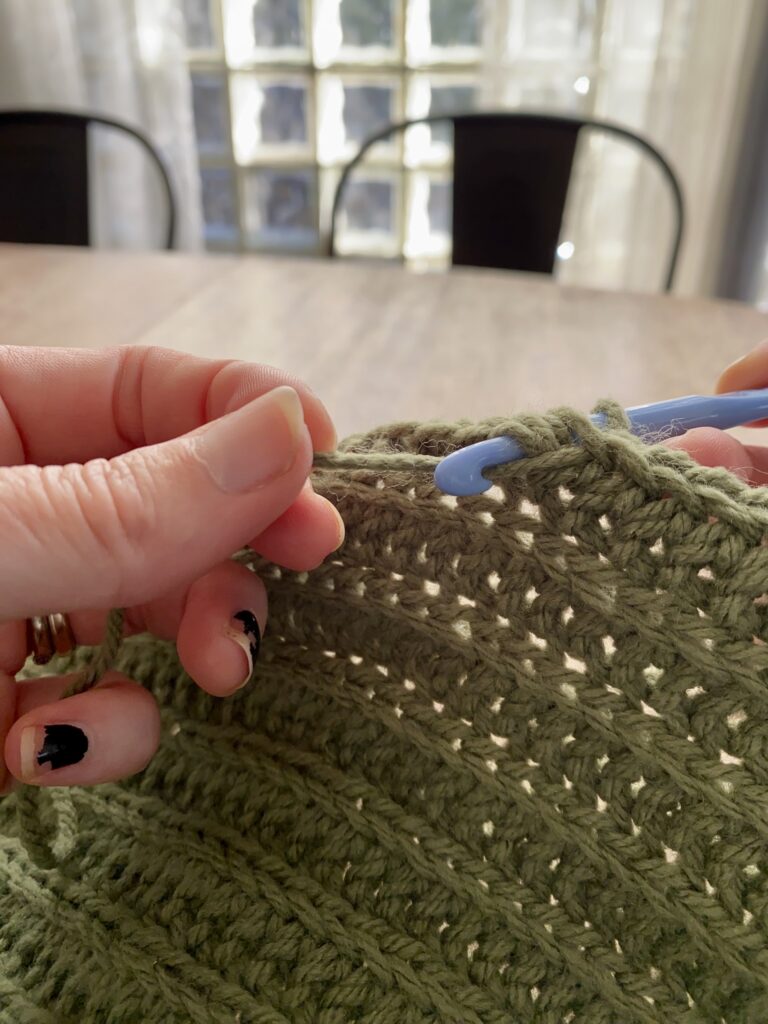
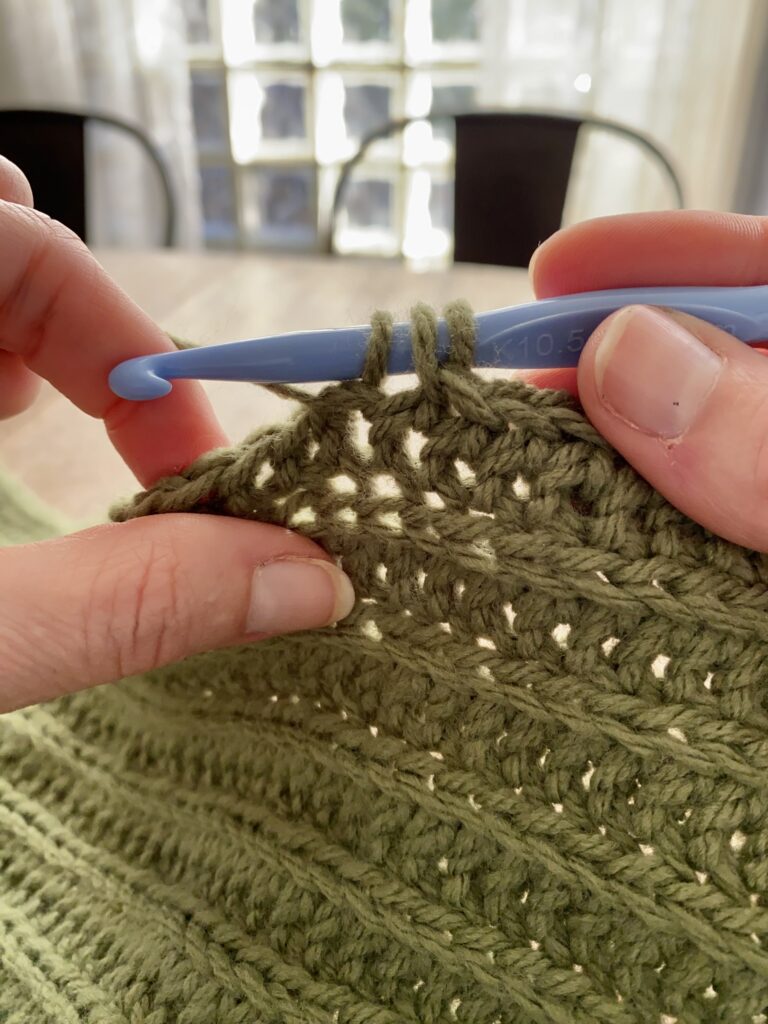
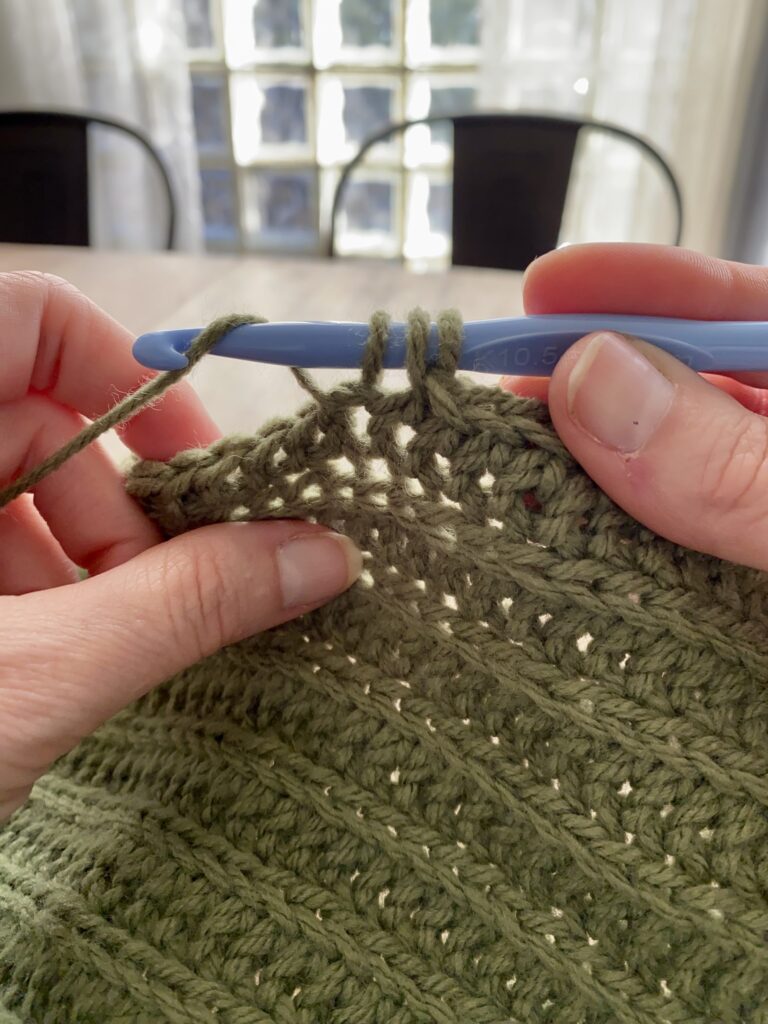
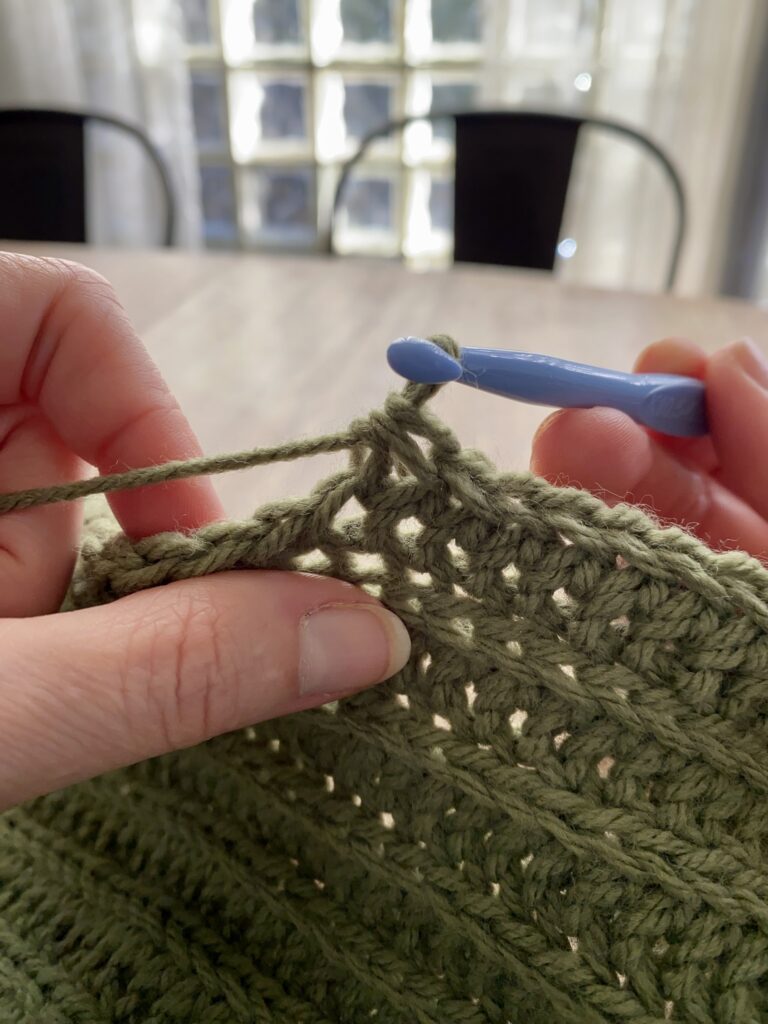
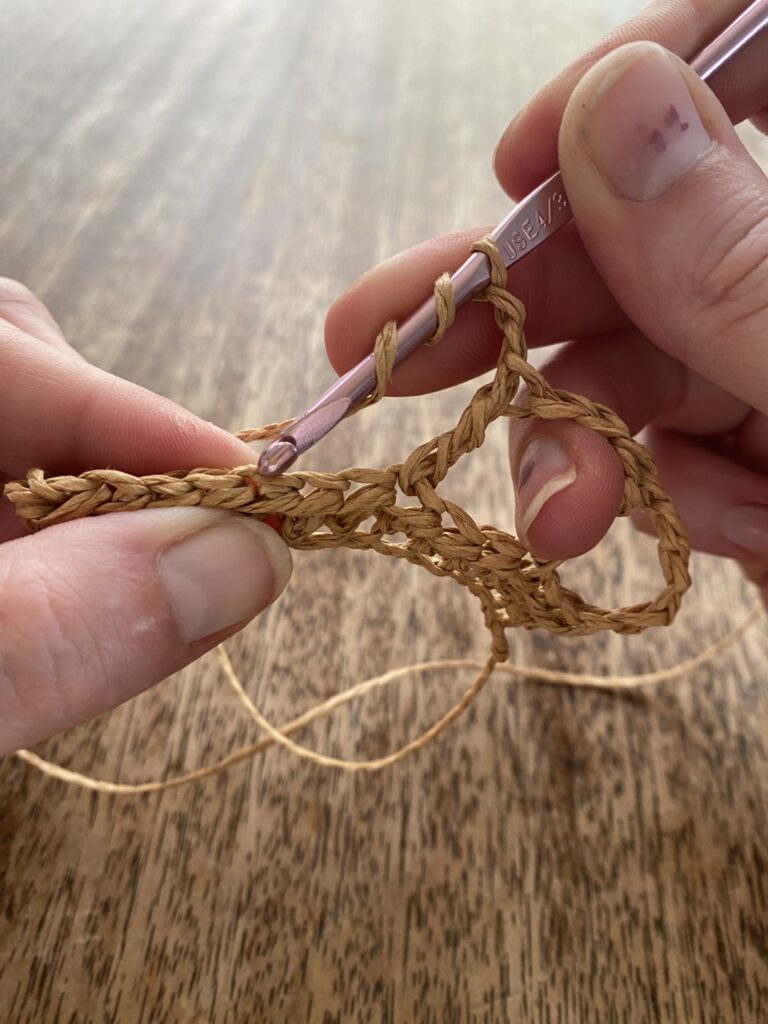
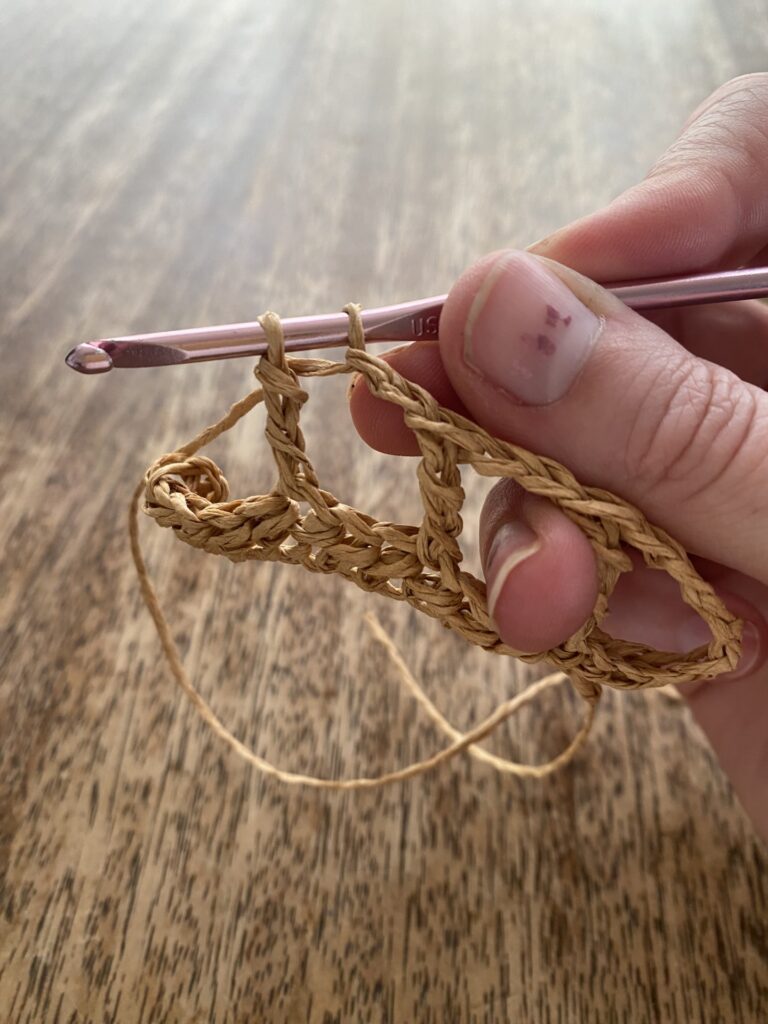
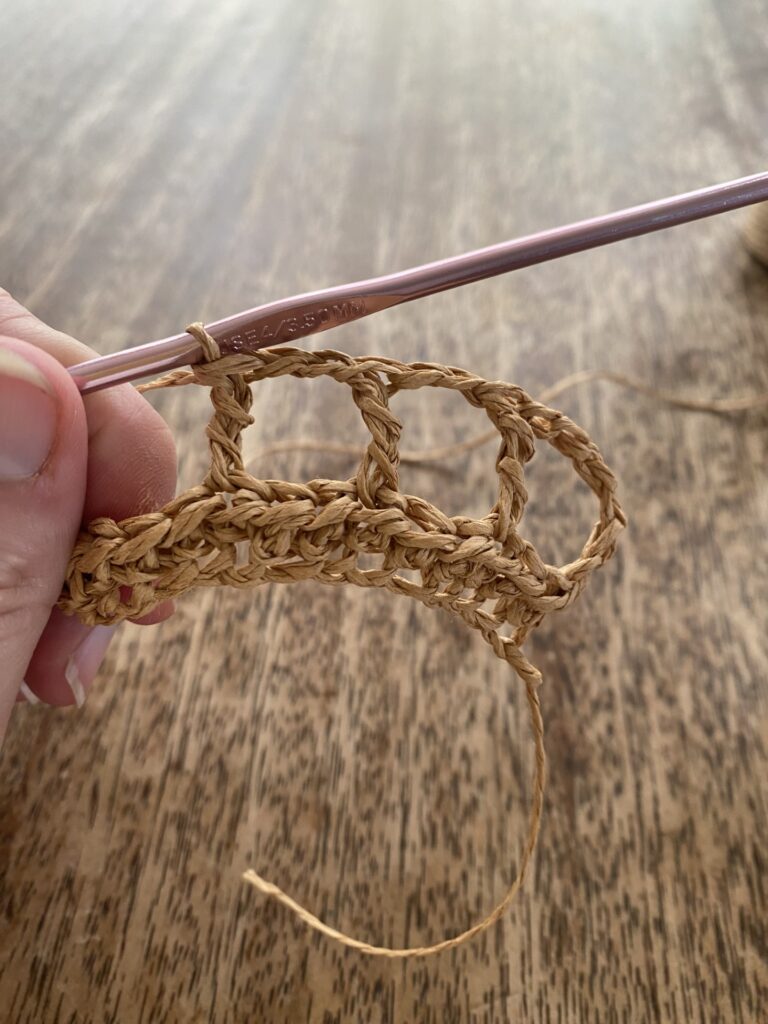
Row 3: Now we will continue working the same pattern of
*HDC in the next St, CH 1, SK next ST**
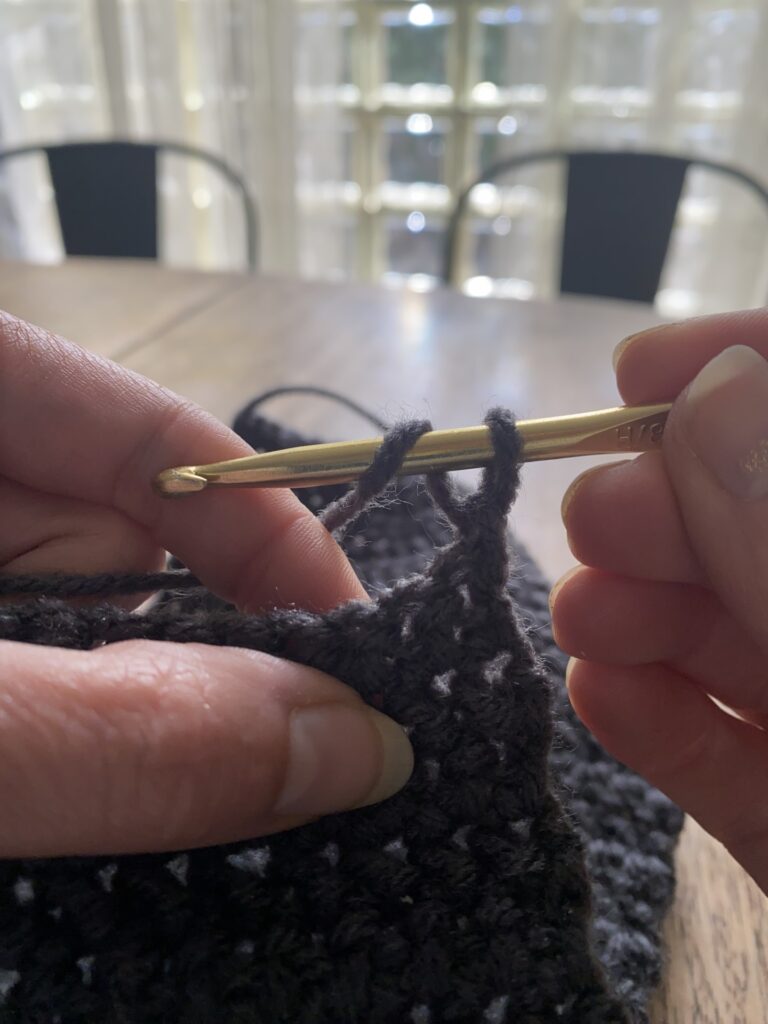
all the way across the row, but with one difference. For this row and each of the following rows you will be working your half double crochet in the chain one space, but instead of anchoring the stitch in the space, you will extend the length of the stitch by inserting your hook into the the CH stitch below the space. See Picture. A short video below shows a few stitches of the row and where to place the extended Half Double crochet.

Front Post Double Crochet:
This stitch is how we create the waffle stitch, which is a fun texture to crochet and adds interest to a variety of projects.
To begin a front post double crochet stitch, let’s start by identifying the front posts. The posts are all of the double crochet posts that are vertical along the length of the work. To make a Front Post Double Crochet, instead of inserting the hook into the top of the stitch, we’ll be pulling the post forward and inserting the hook behind the post. Ready to try it?
find the Front Post.
Step 1: Find the next front post.
Step 2:
Step 2:
Step 3:
Step 4:
Step 5:
Half Double Crochet:
Step 1: Yarn over
Step 2: Insert hook into the next Stitch.
Step 3: Yarn over and pull up a loop.
Now you should have 3 loops on your hook.
Step 4: Yarn over once more.
Step 5: Pull through all three loops on the hook. Half double crochet made.
Half Double Crochet Waistcoat Stitch:
Row 1: CH desired number of Stitches.
Row 2: SC in second CH from hook and in each remaining CH across. CH 1, turn.
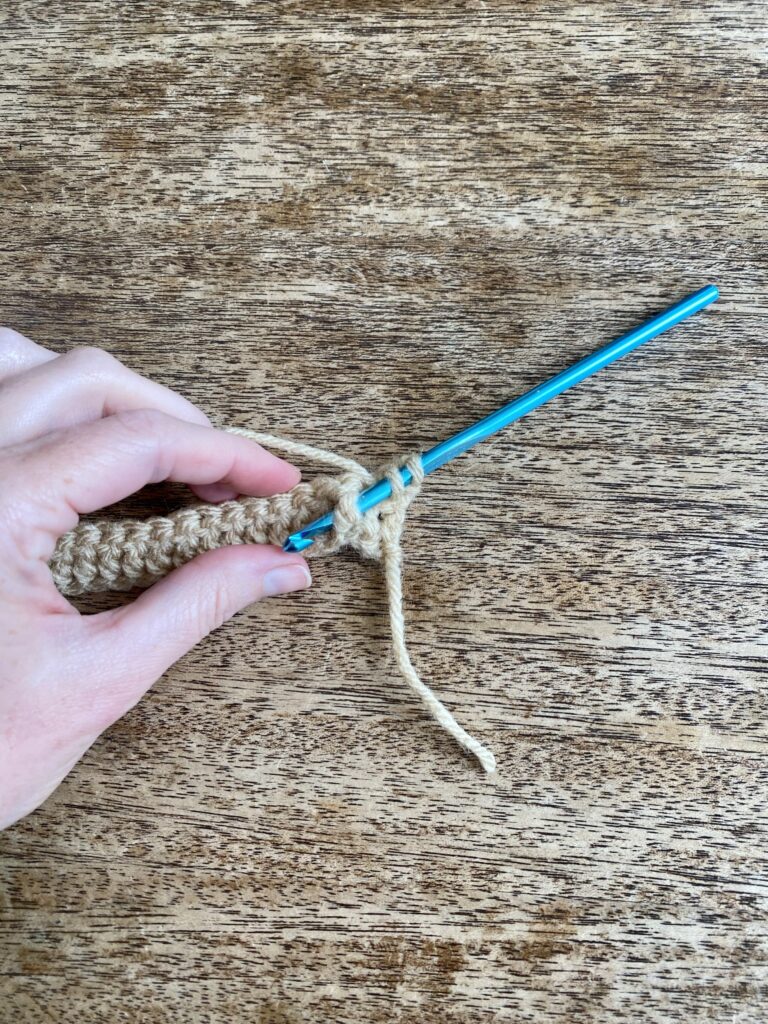
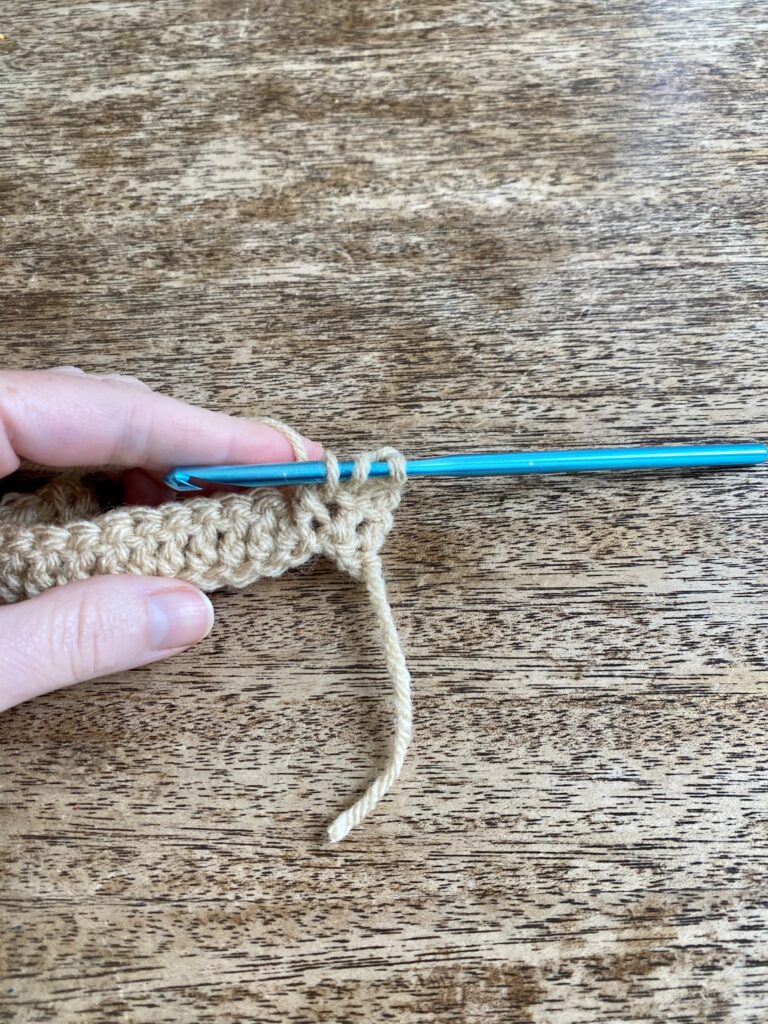
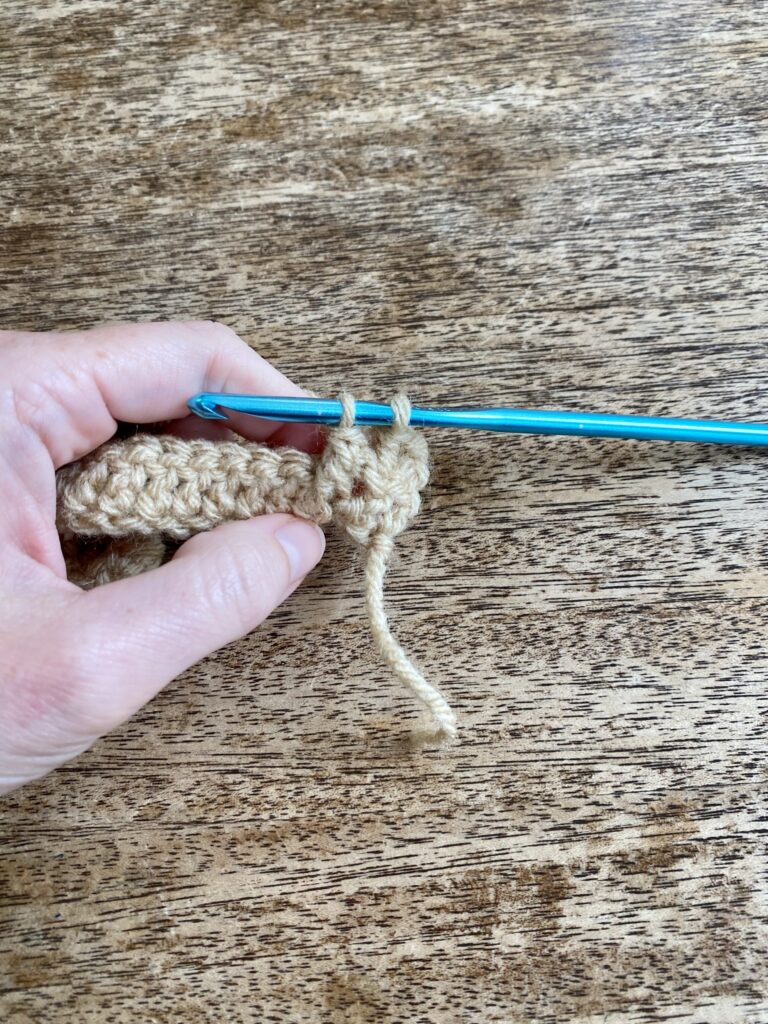
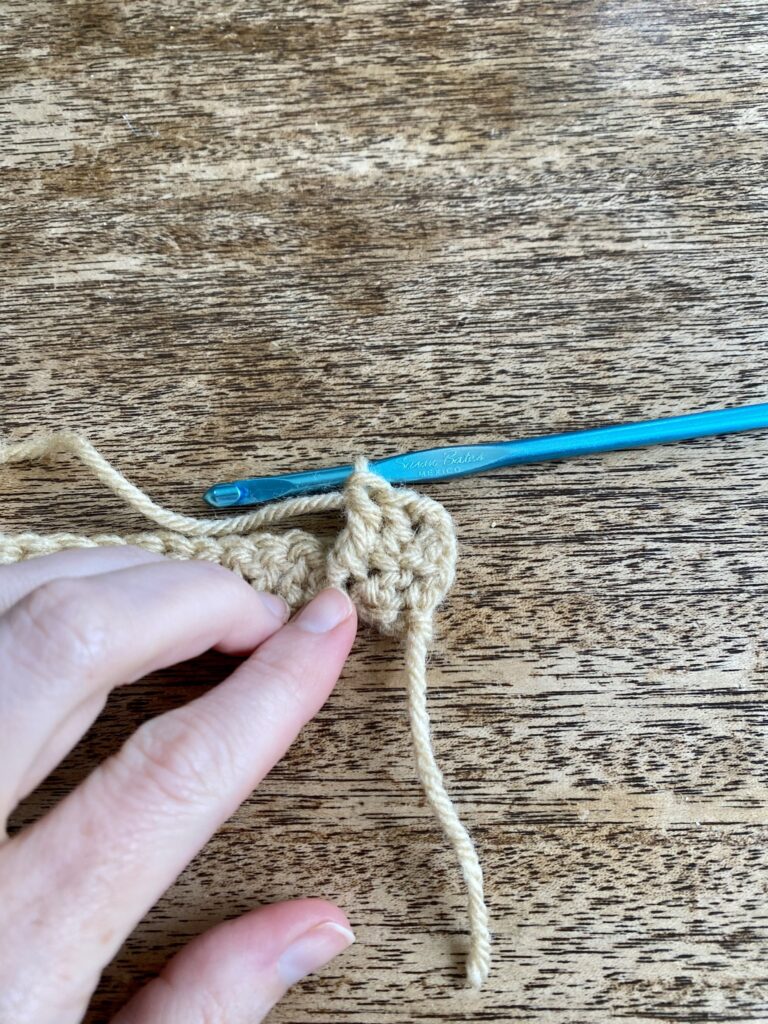
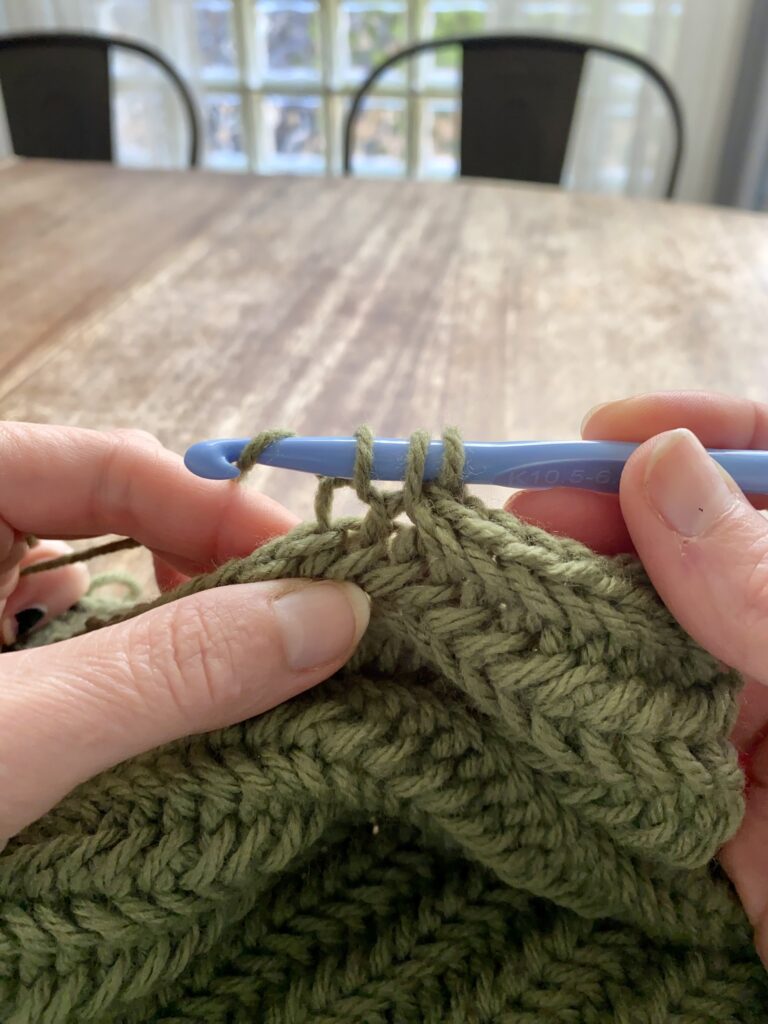
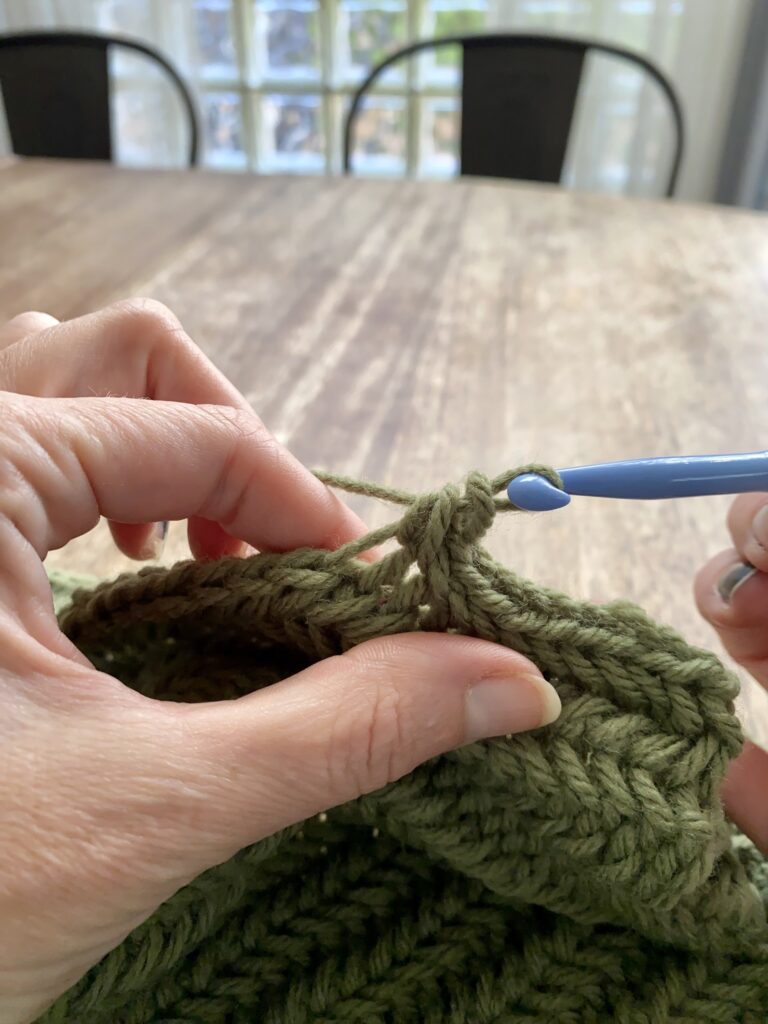
Row 3: *Yarn over and insert hook into the V of the next ST. See Picture.

Pull up a loop. You now have 3 loops on the hook.
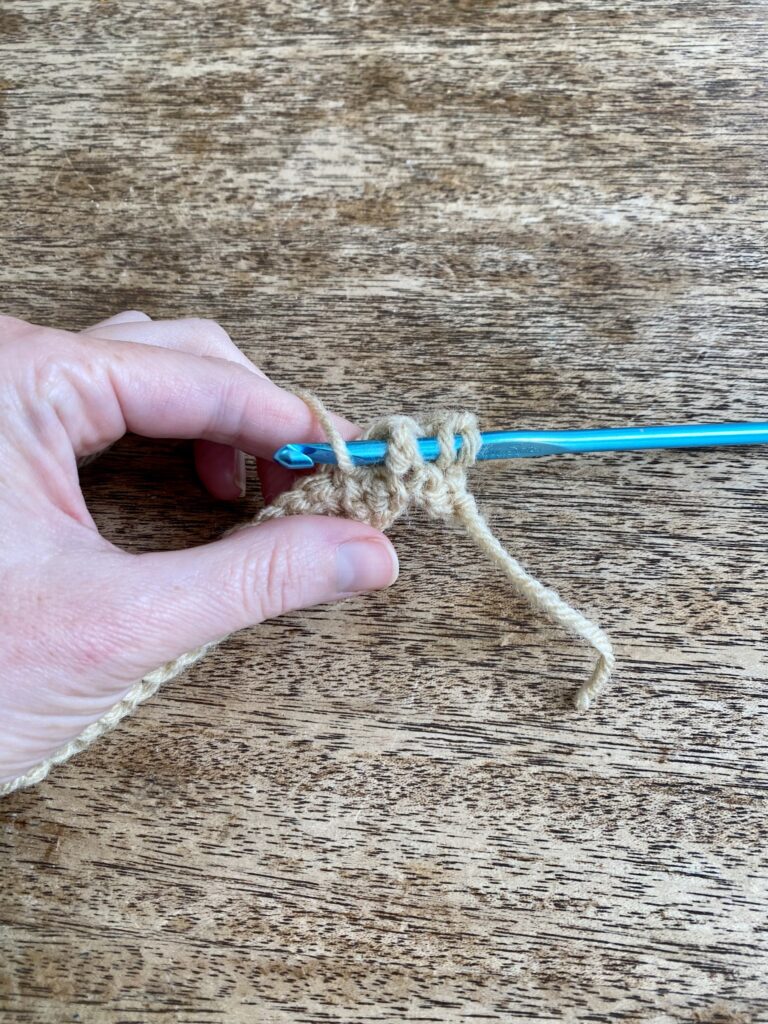
Yarn over and pull through all 3 loops. Half Double Crochet Waistcoat ST made.** Continue from * to ** across, remembering to insert the hook in the V of the ST.
To continue Half Double Crochet Waistcoat ST, repeat Row 3 for as many rows as needed for the pattern you are working. The important step is inserting the hook into the V. That’s what creates the look and feel of the waistcoat stitch.
Herringbone Half Double Crochet:
Step 1: Yarn over
Step 2: Insert hook into the next Stitch.
Step 3: Yarn over and pull loop through the work and through the second loop on the hook.
Step 4: Yarn over and pull through both loops on the hook. Herringbone Half Double Crochet (HHDC made) Great job! You did it!

Herringbone Single Crochet:
This is a great stitch for adding the beautiful herringbone texture into your work. It has two parts, an A stitch that you will crochet an entire row of, then you will turn and work the Herringbone SC B stitch going the other direction.
Herringbone Single Crochet A stitch:
Step 1: Identify the lowest Diagonal leg stitch from the previous ST. If you are just beginning the row, this will be the loop of the chain stitch at the beginning of the row.
Step 2: Insert hook into the identified diagonal lower leg loop from Step 1.
Step 3: Now identify the front loop of the next Stitch in the row.

Step 4: Insert hook in the front loop only of the next Stitch. Insert the hook from below going upwards into the loop.
Step 5: Yarn over and pull up a loop.
Step 6: Now you should have 3 loops on the hook.
Step 6: Yarn over once more.
Step 7: Pull through all three loops on the hook. Herringbone Single Crochet Stitch A made. Continue all the way across the row repeating the same 7 steps for each stitch. After working the last stitch, chain 1 and turn. Now work the next row following the Herringbone Single Crochet B stitch. (See below.)
Herringbone Single Crochet B Stitch:
Step 1: Identify the lowest leg stitch from the previous stitch. If you are just beginning the row, this stitch will be the first chain stitch after turning. Move your yarn to the front of the work for this row. (This feels a little funny at first but you’ll get used to it while working this stitch.)
Step 2: Insert hook from the back of the work towards the front into the identified lowest leg stitch.
Step 3: Next, identify the next stitch in the row. Notice that the next stitch will have a V shape with another strand behind it.
Step 4: Insert the hook from back of the work towards the front underneath the three strands we identified in step 3. (The strand behind the V and the both sides of the V.)
Step 5: Yarn over and pull through the work but not through the other two loops on the hook.
Step 6: Now you should have 3 loops on the hook.
Step 7: Yarn over once again.
Step 8: Pull through all three loops on the hook. Herringbone Single Crochet B Stitch made. You did it! Now repeat across the row. After completing the row, chain 1 and turn. You will continue by alternating row A and row B to continue the stitch.
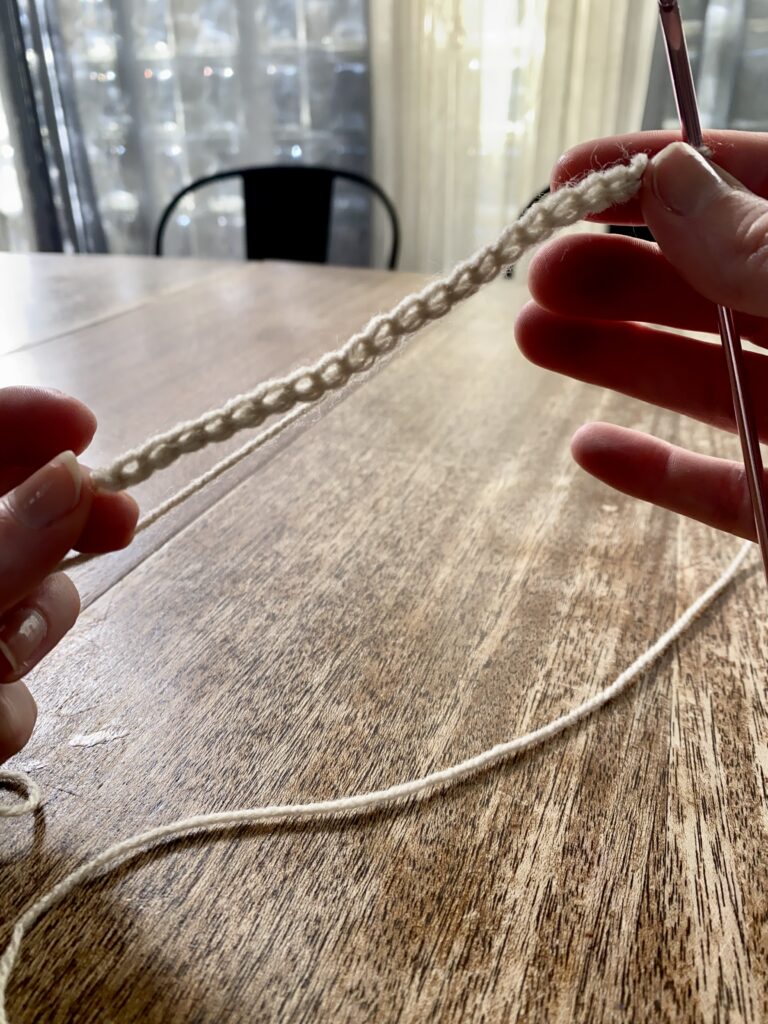
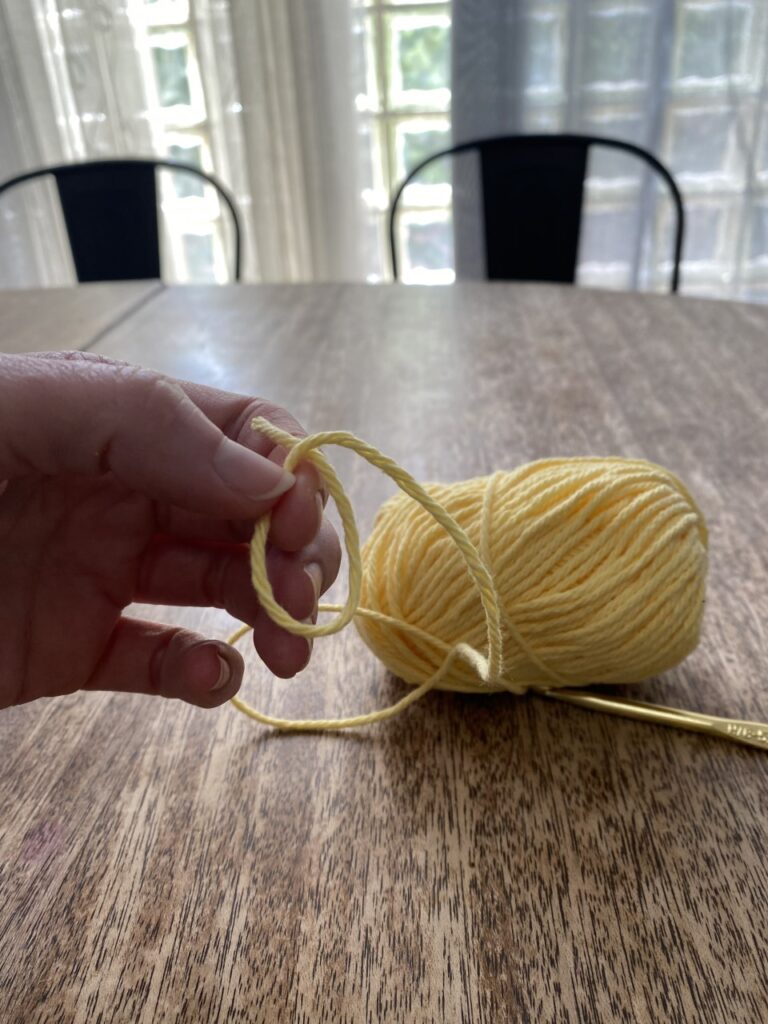
Magic Loop:
Many of my patterns begin with a 6 single crochet magic loop. If you need some help getting it started, here is a quick tutorial. I’ll also be including a video soon.
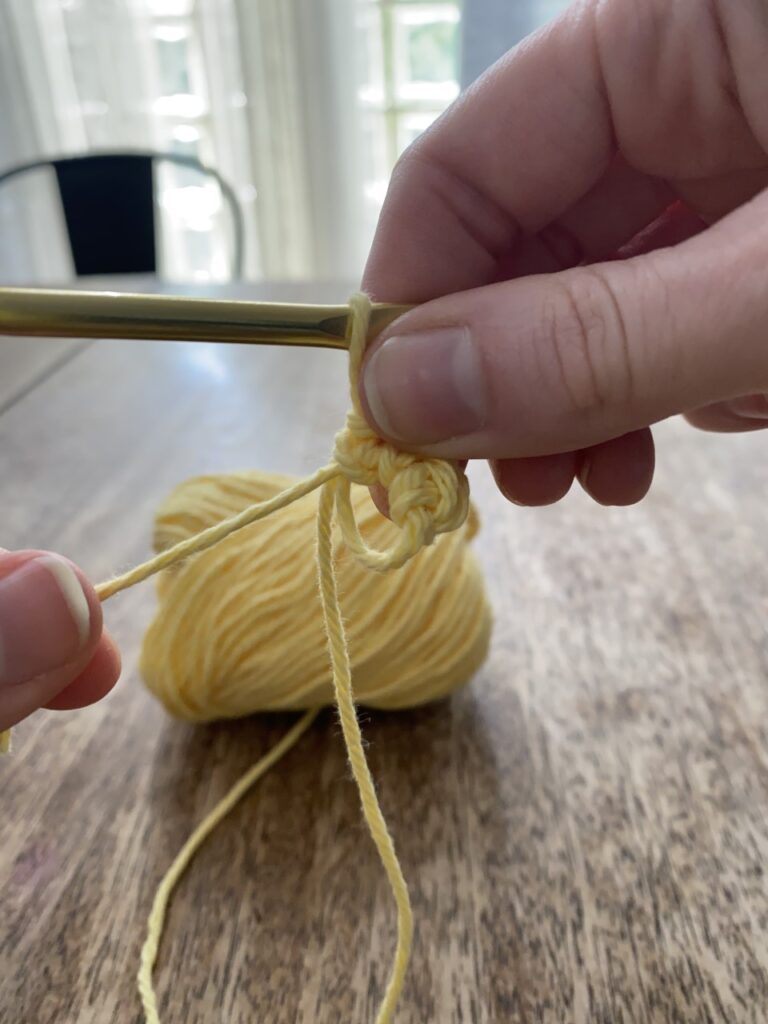
Step 1: Make a loop with the running end crossing over the cut end.
Step 2: Insert the hook into the loop and pull up a loop.
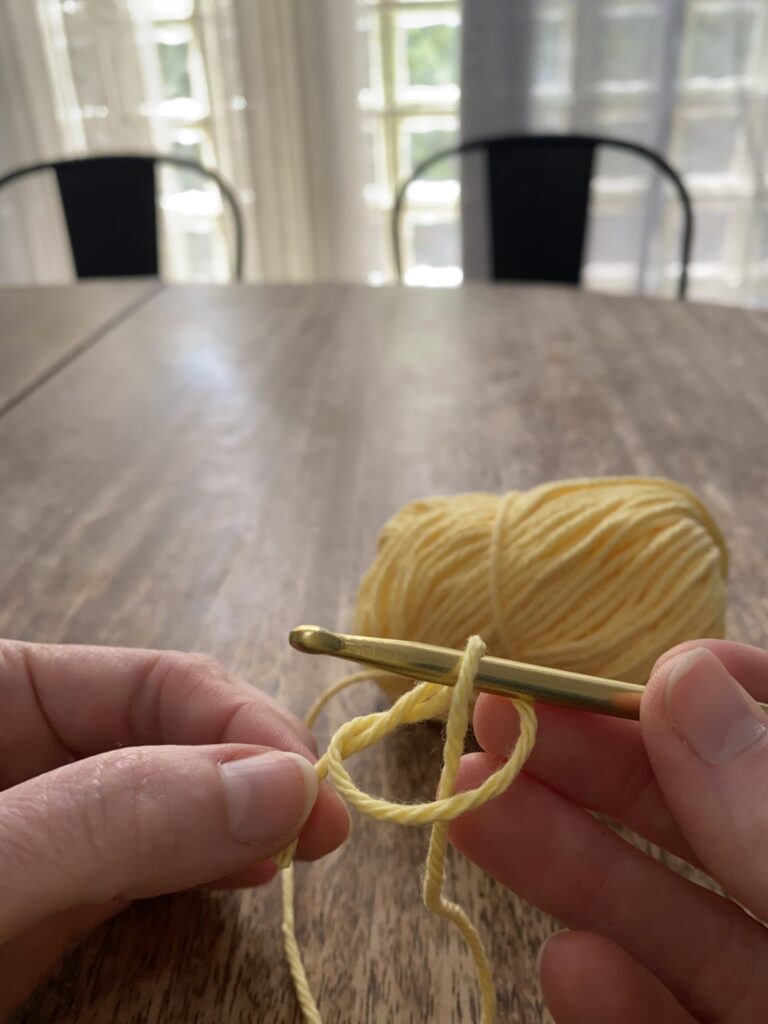
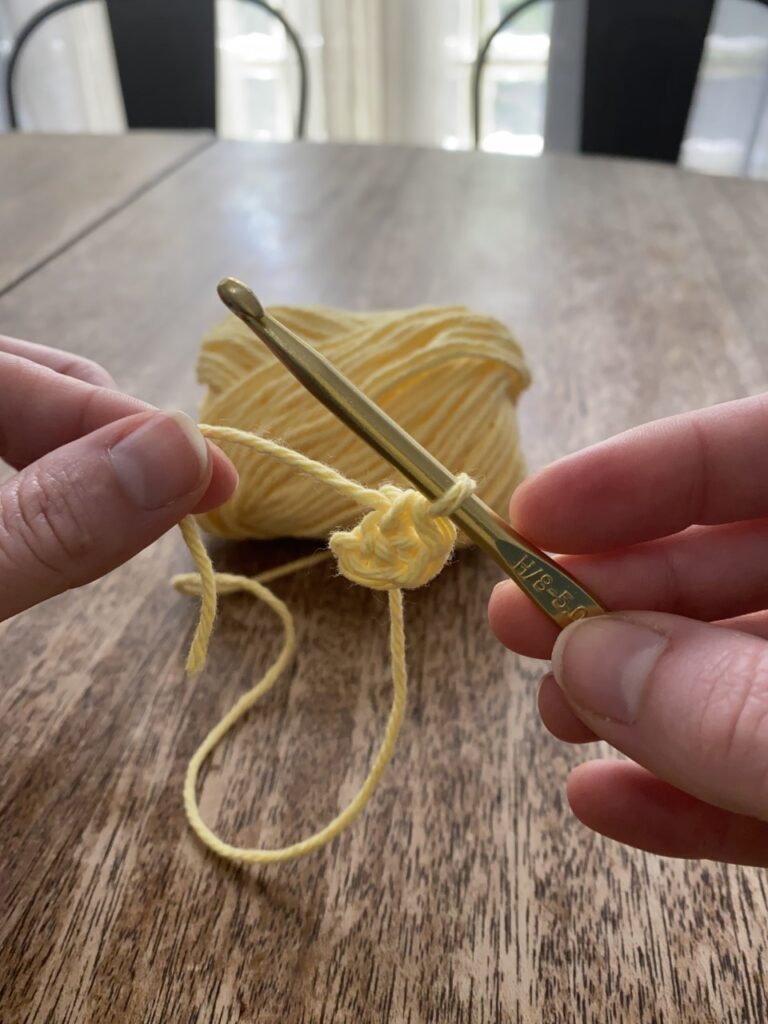
Step 3: Yarn over and pull through
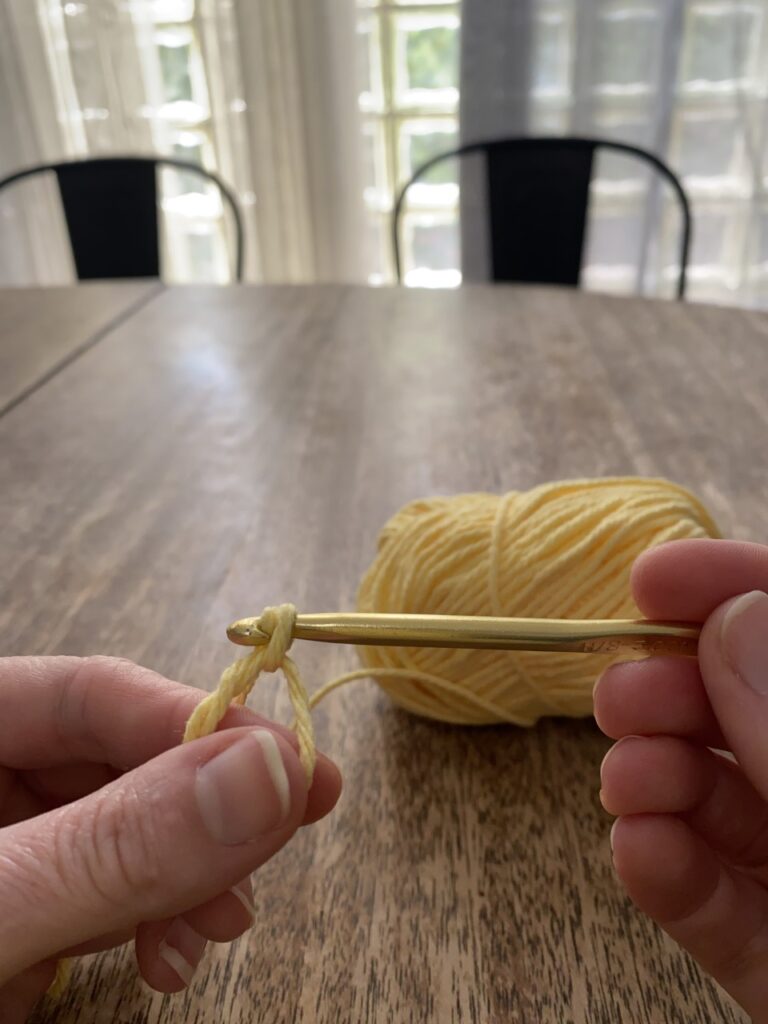
Step 4: Now we will add the desired number of single crochet stitches around this ring. In this case we will make 6 single crochets around the ring.
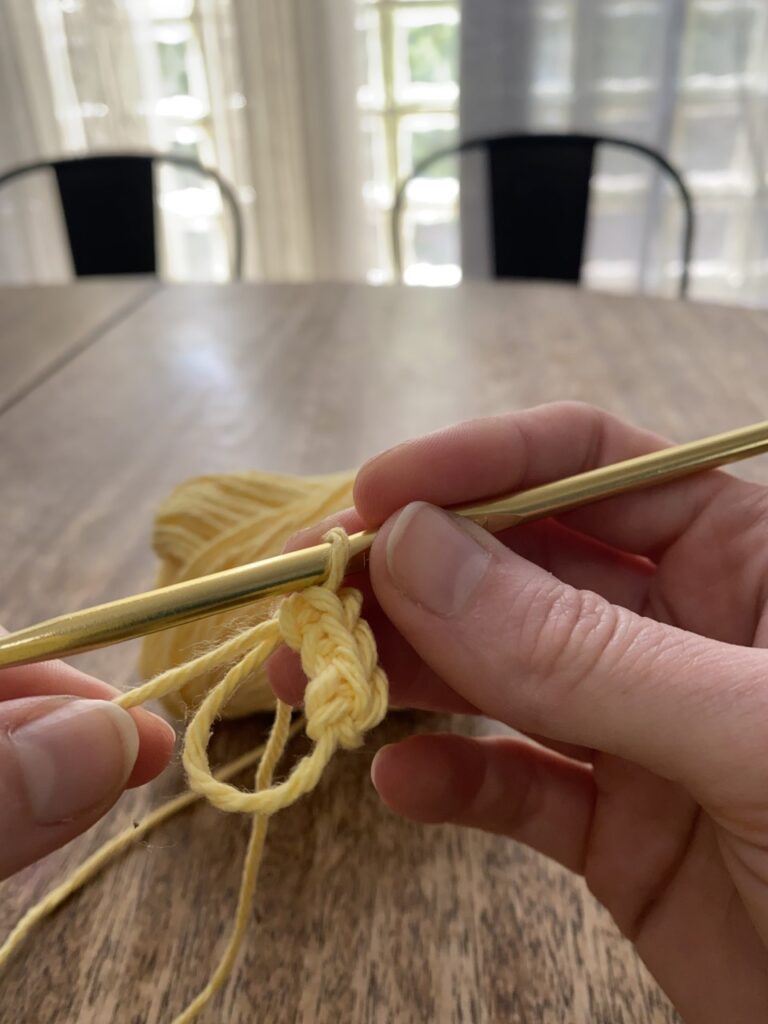
Step 5: After you have added the desired number of single crochet stitches to the loop. Find the cut end of the yarn.
Step 6: Gently pull the cut end to tighten and close the loop. Magic Loop made.
Treble Crochet:
Treble Crochet is similar to Double crochet but you begin with an extra loop on your hook.
- Yarn over twice.
2. Insert hook into the desired stitch. In this example we skipped the next two stitches and went into the third to create a square stitch.

3. Pull up a loop and yarn over. Now you should have 5 loops on your hook.

4. Pull the loop through the first two loops on the hook. Now you should have 3 loops on your hook.
5. Yarn over and pull through the next two loops on the hook. Now you have two loops on the hook. Finally, Yarn over and pull through the last two loops on the hook.
6. Treble Crochet made.