My Little Pretties Crochet Witches Hat
Here is a great addition to any fashionable outfit for a lovely Witch. You’ll be the Witch with all of the cackling compliments wearing this for your Witches Night Out. It’s fun and easy to make, and you’ll get to embellish it with your own creative flair to make it your own.
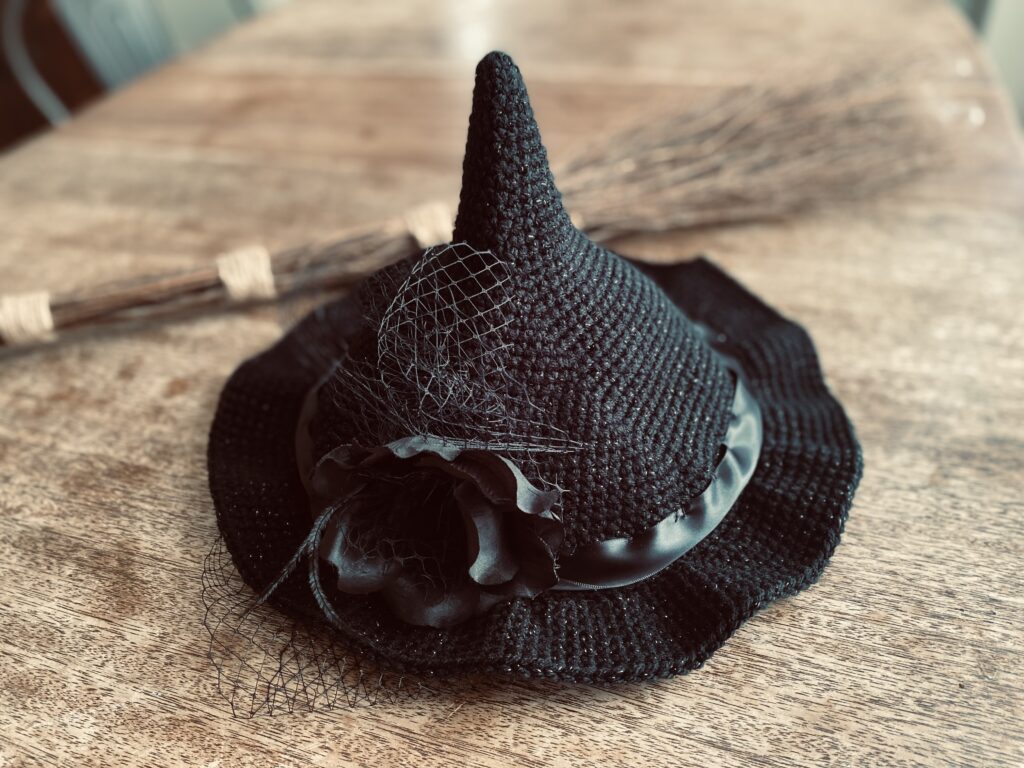
The Perfect Hat for Me
Oh, my hat, with a feather, so pointy and grand,
the finest in all of Witchy~Witch land.
With a wobble and tilt, it sits just right.
Guiding my broom through the starry night.
That feather, so fluffy, it flutters with pride,
as I cackle and soar on the winds’ wild ride.
It tickles my ear with a magical breeze,
casting spells with such elegant ease.
Without you, dear hat, I’d feel quite a mess,
like a cauldron without it’s bubbling success.
You’re my charm, my flair, my Witchy pizazz,
together we dazzle the midnight jazz.
So here’s to you hat, my enchanted crown.
In the world of witch fashion, you wear the gown.
With your feather so jaunty, we’ll never part,
for you, dear hat, are the brim of my heart.
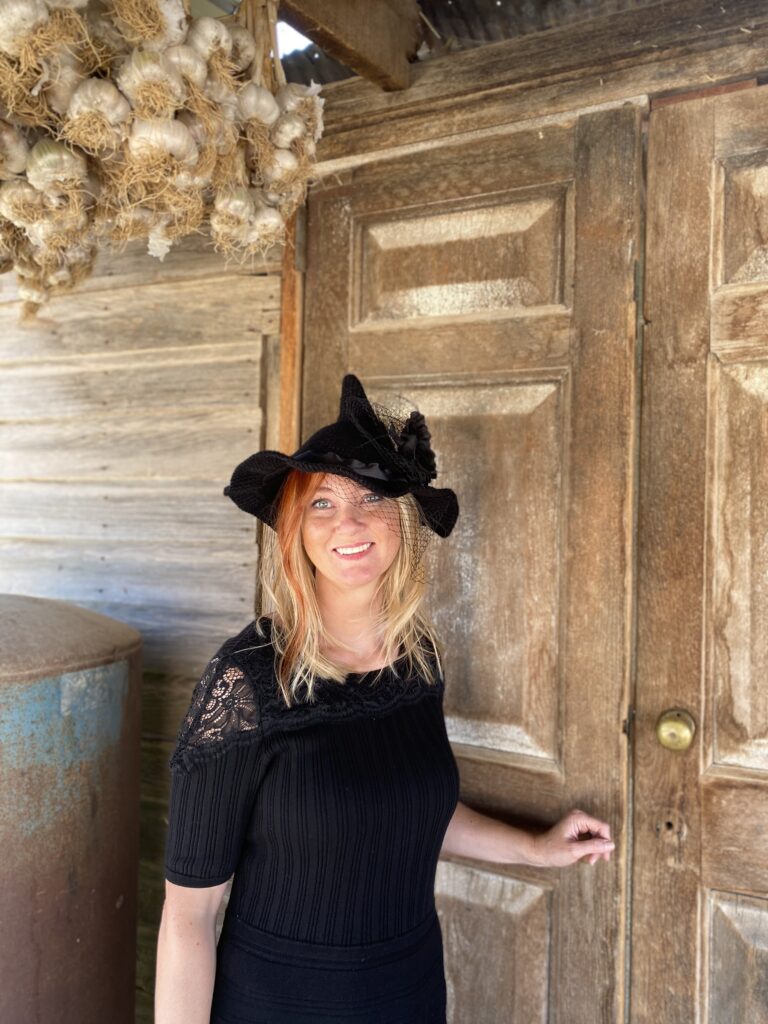
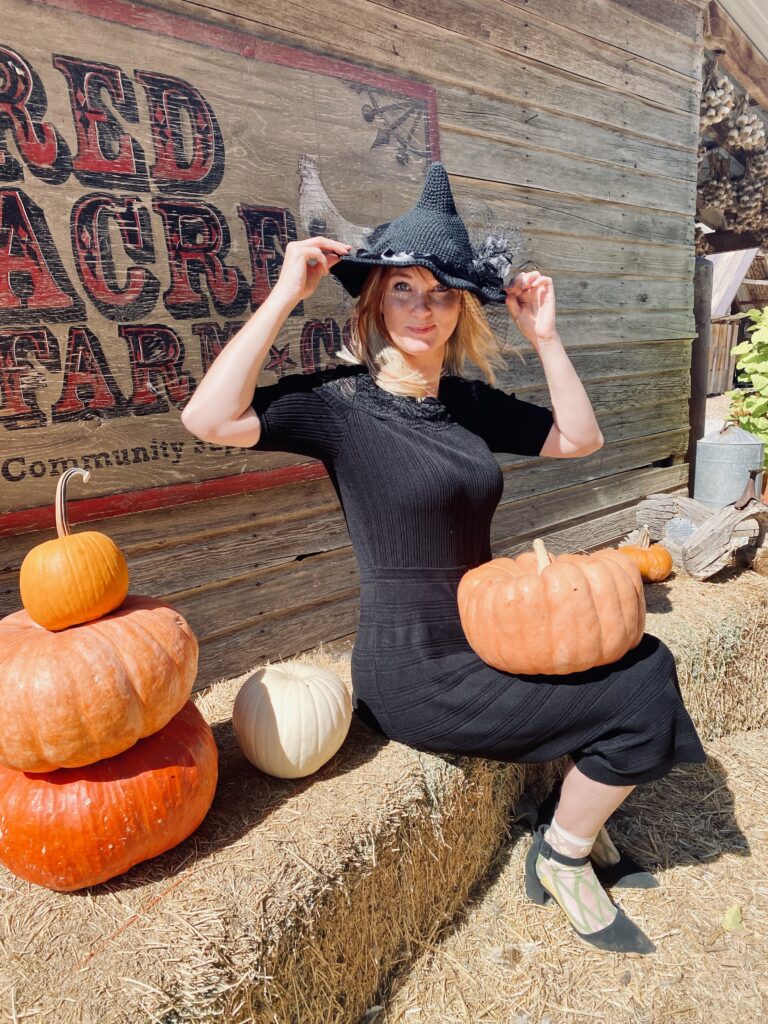
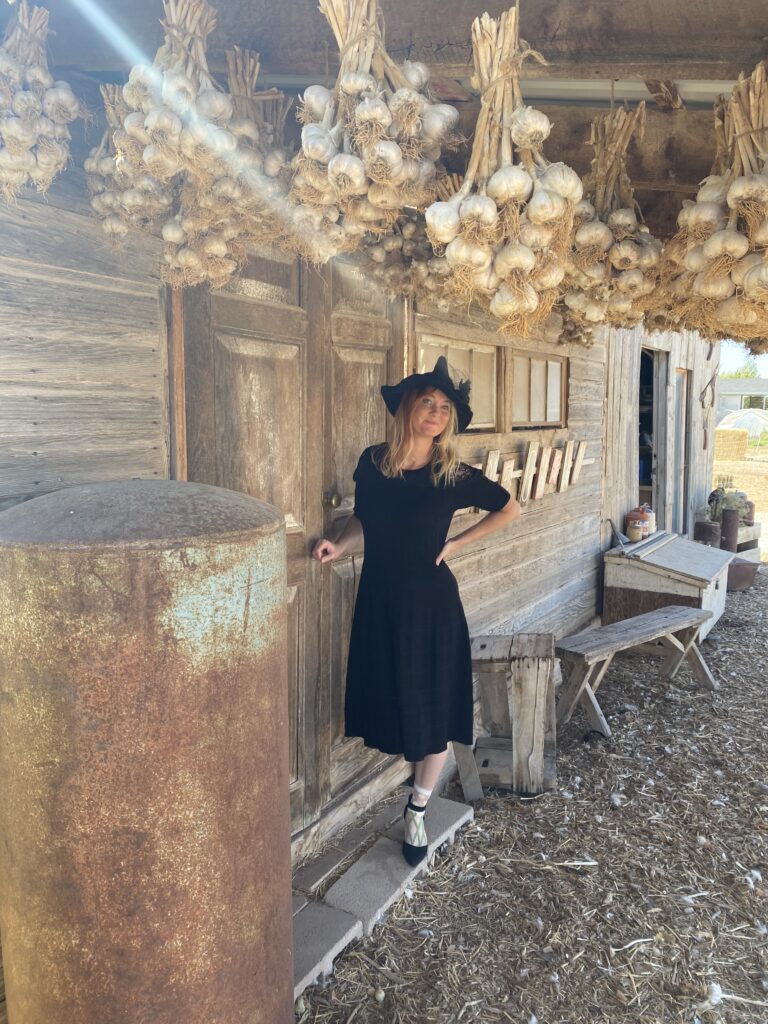
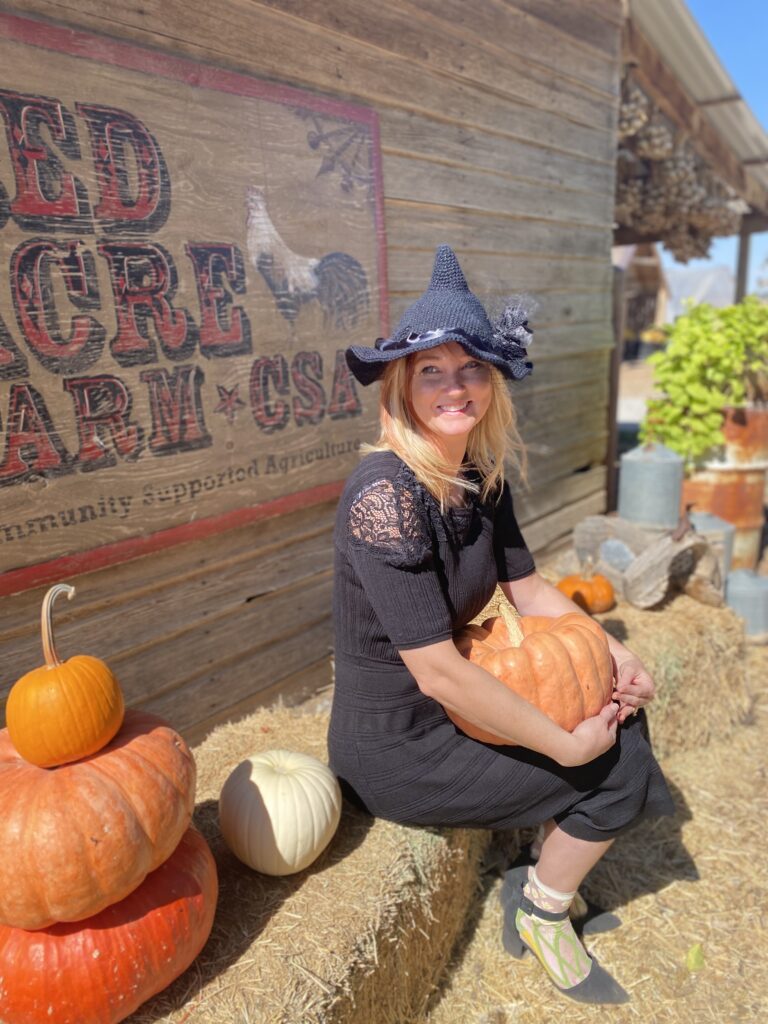
In making this Witches hat, I envisioned making it for a little farmhouse Witch to wear each day as she wanders her farm, watering her fields and feeding her black cat. It’s the perfect hat for all occasions. She can wear it to keep the sun out of her eyes through all of her farmhouse chores, she can stir her cauldron of steaming magic as she dances around her kitchen, she can wear it to town for her errands, or for a spooky night out. A witches hat, for a witch, is always in perfect style.
Materials:
Red Heart Super Saver Metallic yarn in Black
Size H8 crochet Hook
Bickmore Kahl Hat Stiffener (Optional, for stiffening the hat for a more rigid shape)
Lightweight floral wire (Optional for shaping the hat brim into curved or rounded shape)
Embellishments to make it your own: Silk Flowers, Netting, Ribbon, Buttons, Sequins, Feathers, Anything you choose!
If you prefer a printed PDF version of this pattern, please visit my etsy shop here. The small fee goes towards supporting my work, but the same pattern is shown below. Thanks so much!
Instructions:
Rnd 1: 6 SC in a magic loop. Pull the free end snugly to close the loop. If you’re new to the magic loop stitch or if you’d just like a quick review, visit my helpful tutorials page, here.
Rnd 2: SC in next ST, 2 SC in the next ST. Repeat from * to ** around. (9)
Rnd 3: *SC in the next 2 SC, 2SC in the next ST.** Repeat from * to ** around. (12)
Rnd 4: SC in each ST around. (12)
Rnd 5:* SC in the next 3 ST, 2 SC in the next ST. ** Repeat from * to ** around. (15)
Rnd 6: SC in each ST around. (15)
Rnd 7: *SC in the next 4 ST, 2 SC in the next ST. ** Repeat from * to ** around. (18)
Rnd 8: SC in each ST around. (18)
Rnd 9: *SC in the next 5 ST, 2 SC in the next ST.** Repeat from * to ** around. (21)
Rnd 10: SC in each ST around. (21)
Rnd 11: *SC in the next 6 ST, 2 SC in the next ST.** Repeat from * to ** around. (24)
Rnd 12: SC in each ST around. (24)


Rnd 13: SC in the next 3 ST, 2 SC in the next ST. SC in the next 3 SC, 2 SC in the next ST. *SC in the next 7 ST, 2 SC in the next ST.** Repeat from * to ** once more. (28)
Rnd 14: SC in each ST around. (28)
Rnd 15: SC in the next 4 ST, 2 SC in the next ST. SC in the next 4 ST, 2 SC in the next ST. *SC in the next 8 SC, 2 SC in the next ST.** Repeat from * to ** once more. (32)
Rnd 16: SC in the next 5 SC, 2 SC in the next ST. SC in the next 5 SC, 2 SC in the next ST. *SC in the next 9 SC, 2 Sc in the next ST.** Repeat from * to ** once more. (36)
Rnd 17: SC in the next 6 SC, 2 SC in the next ST. SC in the next 6 SC, 2 SC in the next ST. *SC in the next 10 SC, 2 SC in the next ST.** Repeat from * to ** once more. (40)
Rnd 18: SC in the next 7 ST, 2 SC in the next ST. SC in the next 7 ST, 2 SC in the next ST. * SC in the next 11 ST, 2 SC in the next ST.** Repeat from * to ** once more. (45)
Rnd 19: SC in the next 8 ST, 2 SC in the next ST. SC in the next 8 ST, 2 SC in the next ST. * SC in the next 12 ST, 2 SC in the next ST.** Repeat from * to ** once more. ( 48)
Rnd 20: SC in the next 9 ST, 2 SC in the next ST. SC in the next 9 ST, 2 SC in the next ST. *SC in the next 13 ST, 2 SC in the next ST.** Repeat from * to ** once more. (52)
Rnd 21: SC in the next 10 ST, 2 SC in the next ST. SC in the next 10 ST, 2 SC in the next ST. * SC in the next 14 ST, 2 SC in the next ST.** Repeat from * to ** once more. (56)
Rnd 22: SC in the next 11 ST, 2 SC in the next ST. SC in the next 11 ST, 2 SC in the next ST. * SC in the next 15 ST, 2 SC in the next ST. ** Repeat from * to ** once more. (60)
Rnd 23: SC in the next 12 ST, 2 SC in the next ST. SC in the next 12 ST, 2 SC in the next ST. * SC in the next 16 ST, 2 SC in the next ST.** Repeat from * to ** once more. (64)
Rnd 24: SC in the next 13 ST, 2 SC in the next ST. SC in the next 13 ST, 2 SC in the next ST. *SC in the next 17 ST, 2 SC in the next ST.** Repeat from * to ** once more. (68)
Rnd 25: SC in the next 14 ST, 2 SC in the next ST. SC in the next 14 ST, 2 SC in the next ST. * SC in the next 18 ST, 2 SC in the next ST.** Repeat from * to ** once more. (72)
Rnd 26: SC in the next 15 ST, 2 SC in the next ST. SC in the next 15 ST, 2 SC in the next ST. * SC in the next 19 ST, 2 SC in the next ST.** Repeat from * to ** once more. (76)
Rnd 27: SC in the next 16 ST, 2 SC in the next ST. SC in the next 16 ST, 2 SC in the next ST. * SC in the next 20 ST, 2 SC in the next ST.** Repeat from * to ** once more. (80)
Rnd 28: SC in the next 17 ST, 2 SC in the next ST. SC in the next 17 ST, 2 SC in the next ST. * SC in the next 21 ST, 2 SC in the next ST.** Repeat from * to ** once more. (84)
Rnd 29: SC in the next 18 ST, 2 SC in the next ST. SC in the next 18 ST, 2 SC in the next ST. * SC in the next 22 ST, 2 SC in the next ST.** Repeat from * to ** once more. (88)
Rnd 30: SC in the next 19 ST, 2 SC in the next ST. SC in the next 19 ST, 2 SC in the next ST. * SC in the next 23 ST, 2 SC in the next ST.** Repeat from * to ** once more. (92)
Rnd 31: SC in the next 20 ST, 2 SC in the next ST. SC in the next 20 ST, 2 SC in the next ST. * SC in the next 24 ST, 2 SC in the next ST.** Repeat from * to ** once more. (96)
Rnd 32: SC in the next 21 ST, 2 SC in the next ST. SC in the next 21 ST, 2 SC in the next ST. * SC in the next 25 ST, 2 SC in the next ST.** Repeat from * to ** once more. (100)
Rnd 33: *SC in the next 24 ST, 2 SC in the next ST. ** Repeat from * to ** around. (104)
Rnd 34: *SC in the next 25 ST, 2 SC in the next ST.** Repeat from * to ** around. (108)
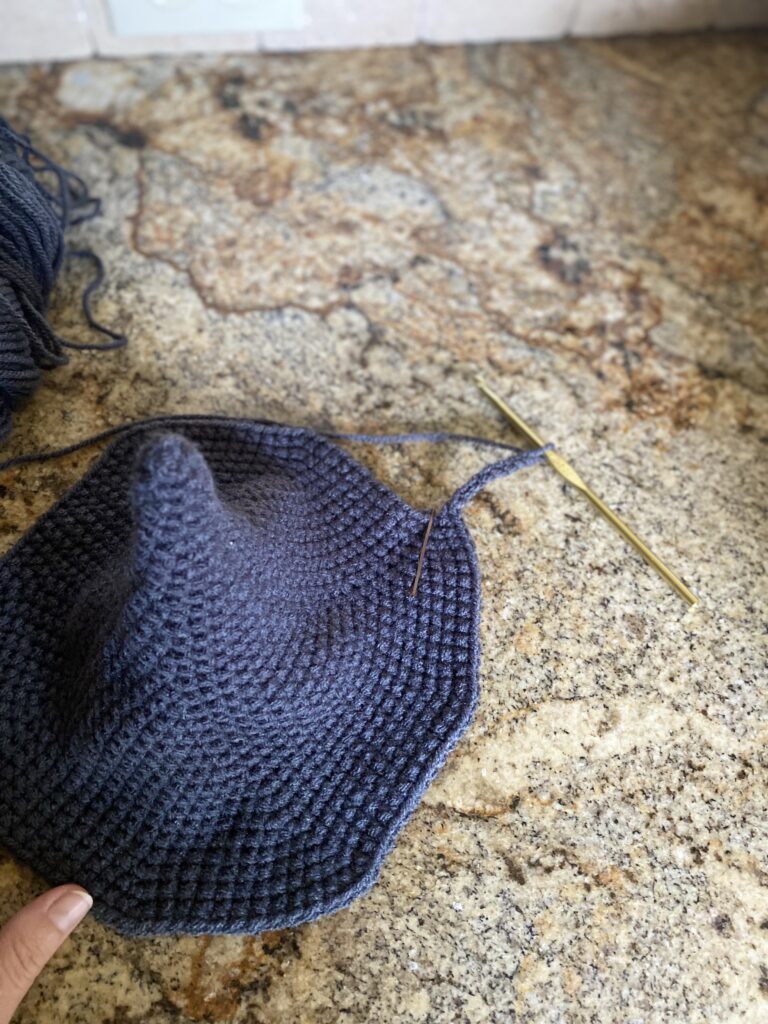
Rnd 35: *SC in the next 26 ST, 2 SC in the next ST.** Repeat from * to ** around. (112)
Hat Band Rigidity:
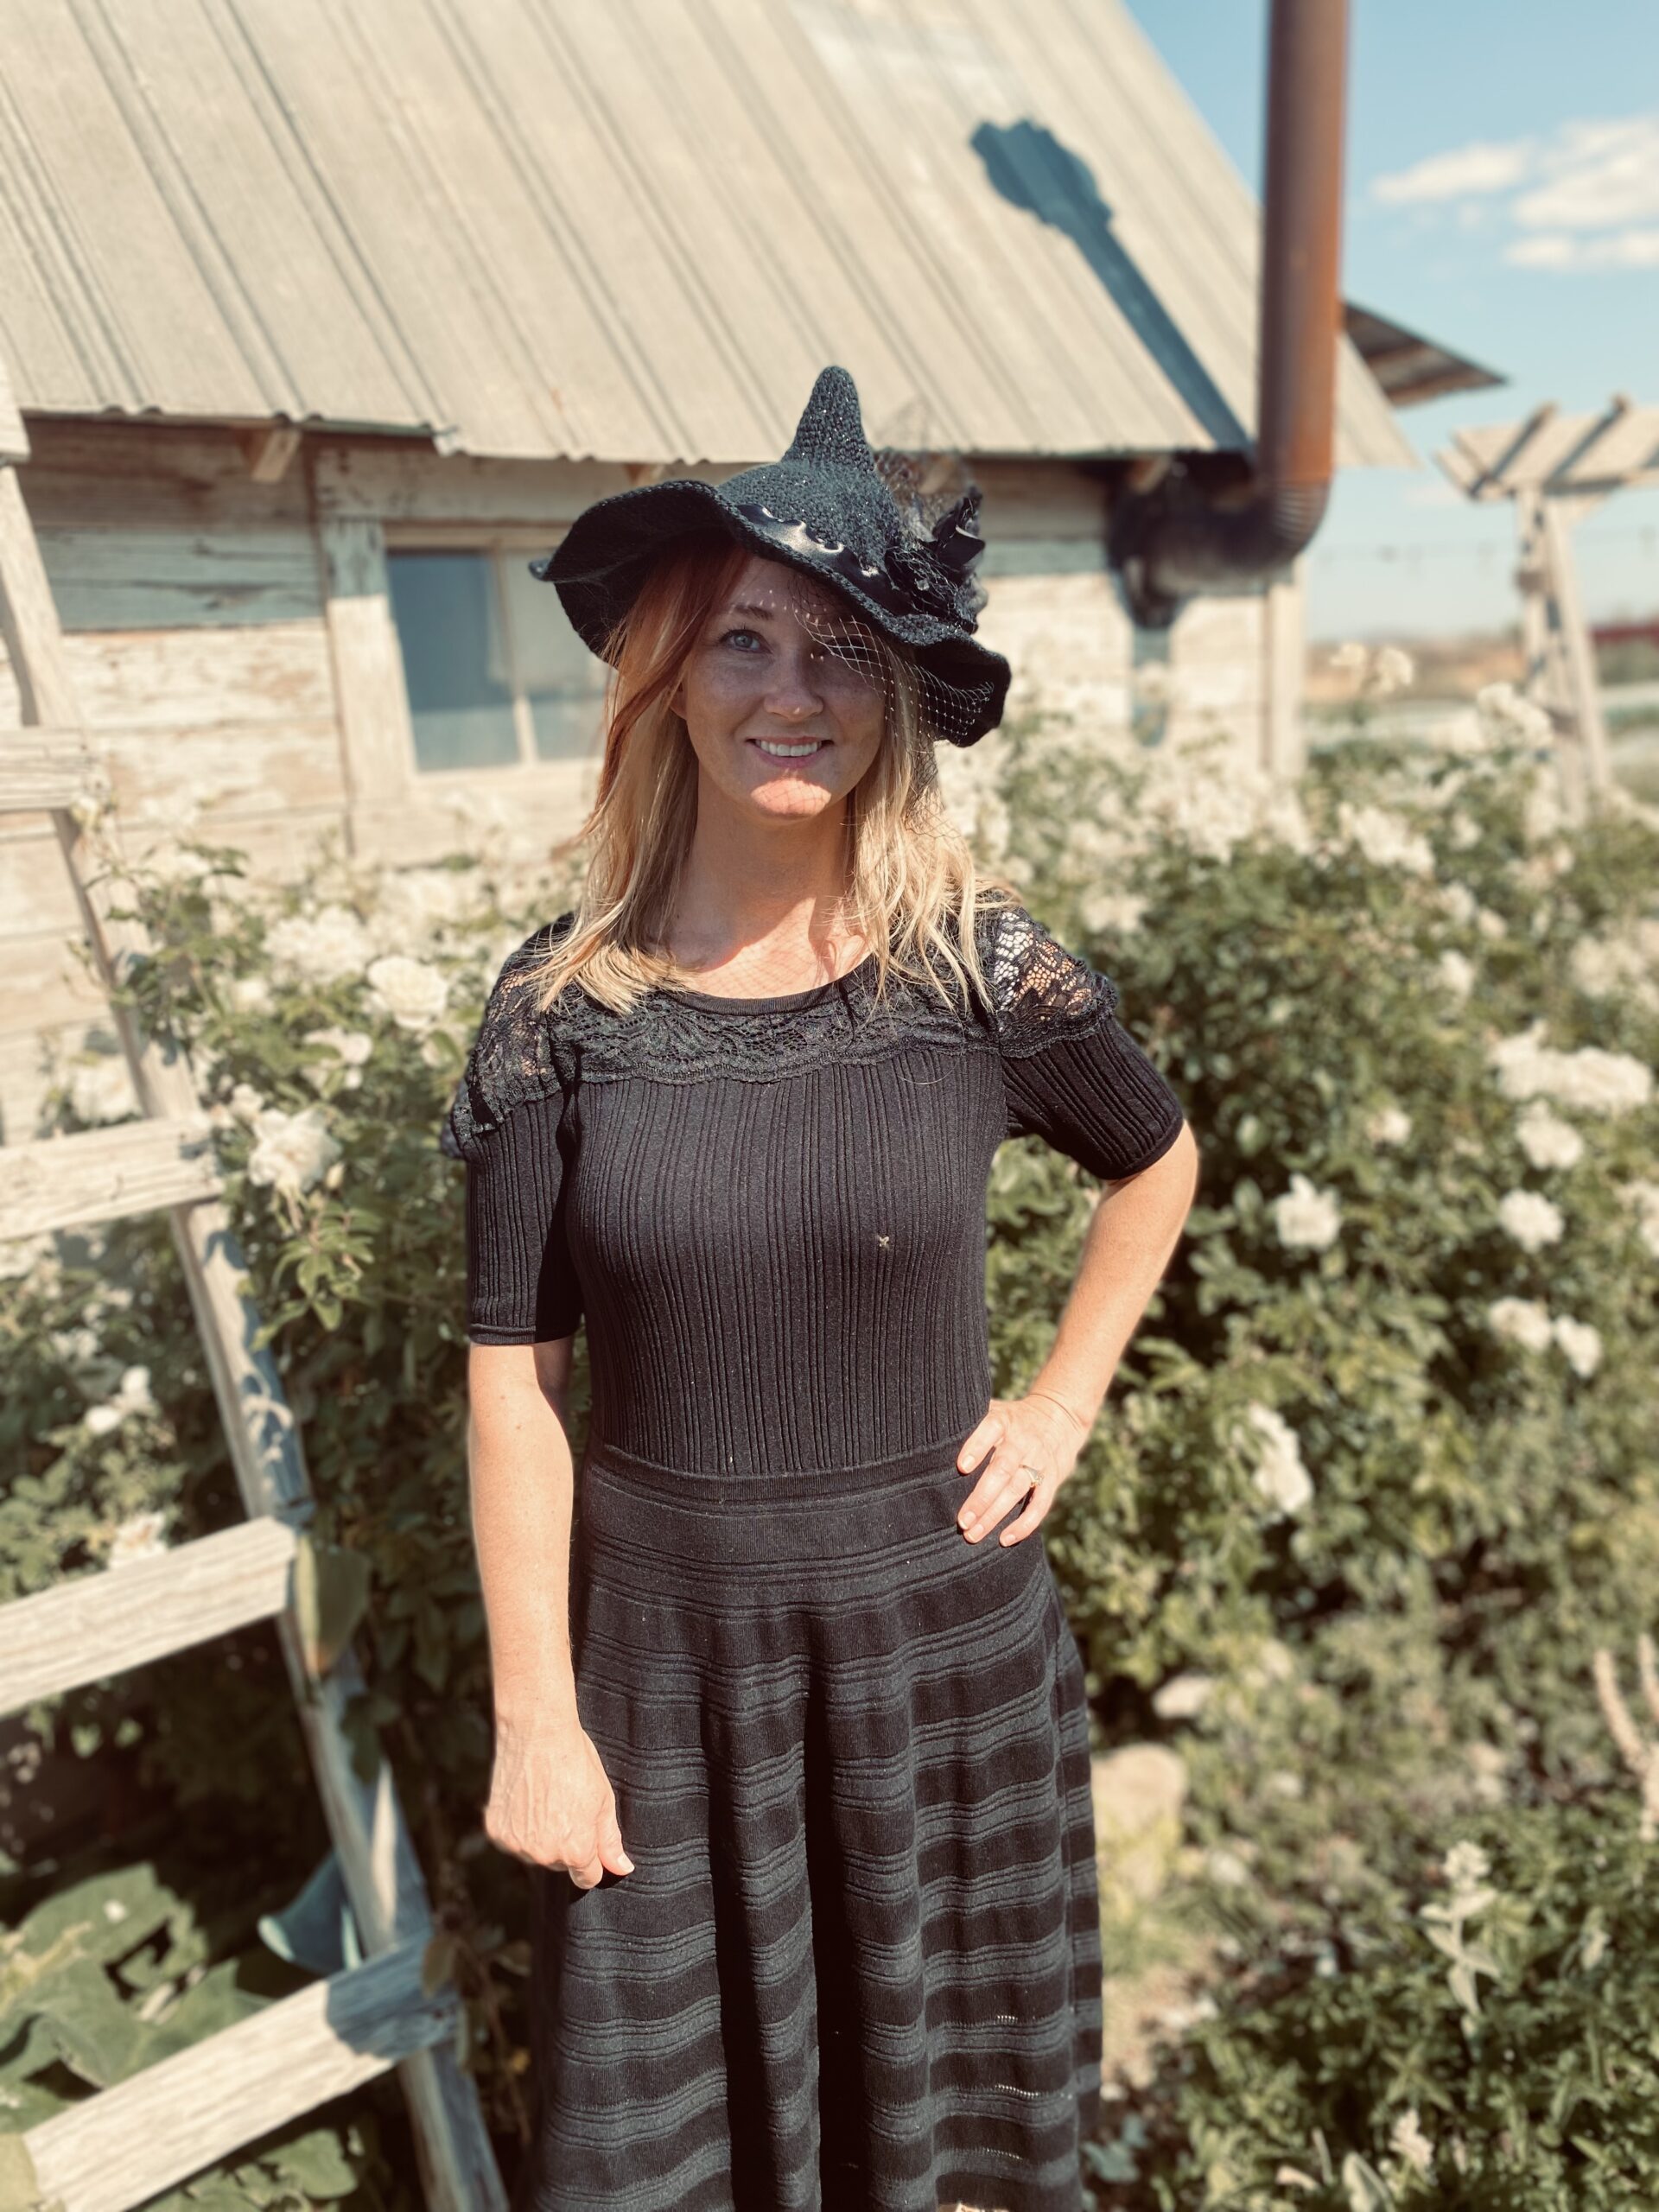
Let’s take a moment here to talk about how rigid you’d like your hat band to be. When I made the example in the pictures I didn’t use any stiffeners for the hat band as I preferred the silly look of a more floppy hat. A kind reviewer brought to my attention that some crochet artists might like the brim to have more structure to better hold it’s shape. So let’s discuss some options for stiffening the hat band and you can opt for your choice depending on how rigid you’d prefer it to be.
- One excellent option for providing a slightly stiffer fabric for the whole hat or just the hat brim is a fabric stiffening spray which is basically a sprayable starch. Bickmore Kahl Hat Stiffener which comes as a spray starch is buildable and will not yellow or otherwise adversely affect the hat. I would recommend starching the hat before adding embellishments at the end if you’d like to try this option.
- We can also thicken the hat brim by substituting the remaining stitches of the pattern with Half Double Crochet Stitch instead of Single Crochet stitch which will create a more dense fabric that will hold its shape more rigidly than the Single Crochet stitch. If you’d like to try this method, continue on with the pattern using Half Double Crochet Stitch instead of SC.
- Along the same lines as option two, adding more yarn while using the same size crochet hook will create more bulk. You can add a second strand of yarn to your work and continue working the pattern as written if you’d like to try this option.
- One more option for stability that might be favorable if you’d like to be able to mold or shape the hat brim into unique curves or rounded shapes might be to weave in a strand of lightweight wire like floral wire. This option will increase stability of the hat and give it the ability to hold its shape the way you mold it.
Rnd 36-41: SC in each ST around. (112)
Rnd 42: in FLO, *SC in the next St, 2 SC in the next ST** Repeat from * to ** around. (168)
Rnd 43-48: SC in each ST around. (168)
Fasten off and weave in ends.

Embellishments:
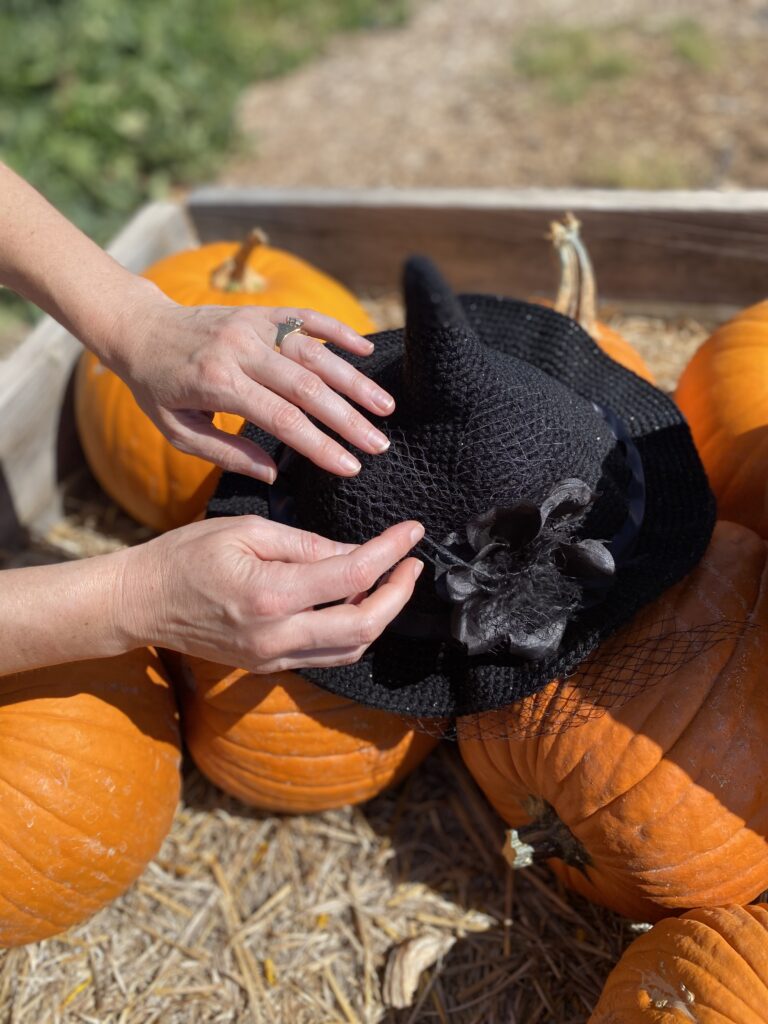
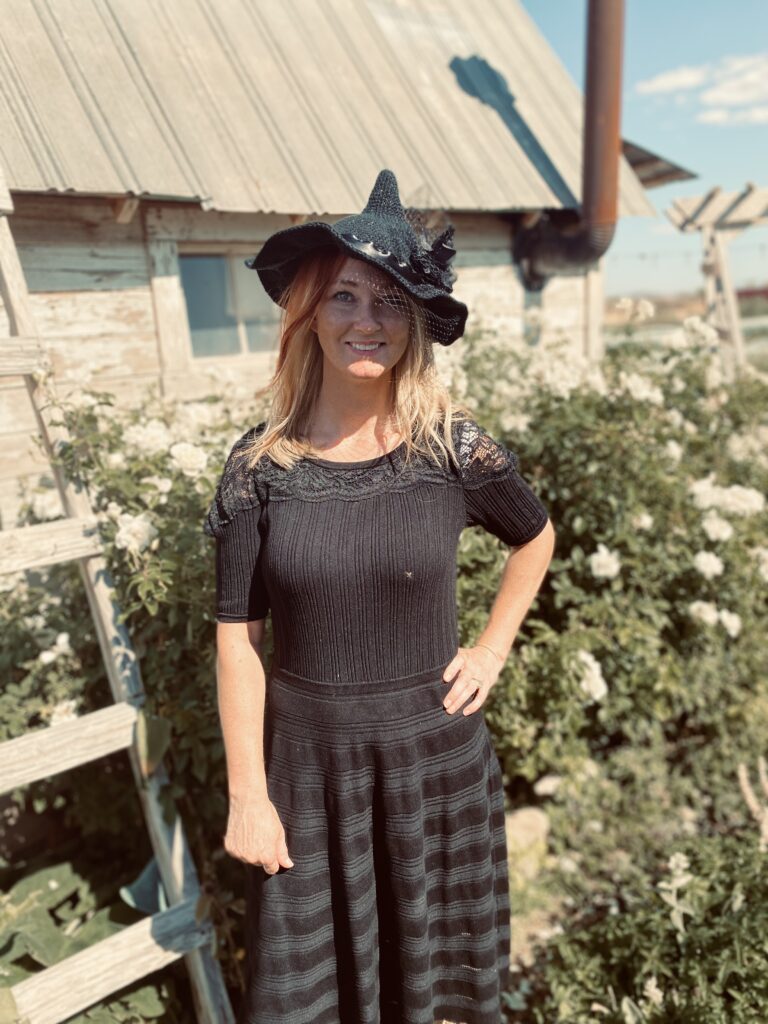
Now comes the fun part. Embellish your witch hat to match your unique personality. I used netting and a silk flower with a black satin ribbon for the hat band. I kept this version all black but I’d love to make a few more to add some pops of color. I can’t wait to see what you create.
I hope you’ll enjoy making this pattern, I would love to hear from you if you need additional help or clarification and of course, I’d love to see your finished hat. Happy crocheting, my little pretties:)

copyright
This pattern and its images are copyright protected and the sole property of Briarberryfarmhouse.com
Please do not redistribute, transfer, or sell the pattern, or alter it to claim as your own. You may sell any products you create from this pattern. Please credit the designer by linking online listings to Briarberryfarmhouse.com
