Fisherman’s Net Bag
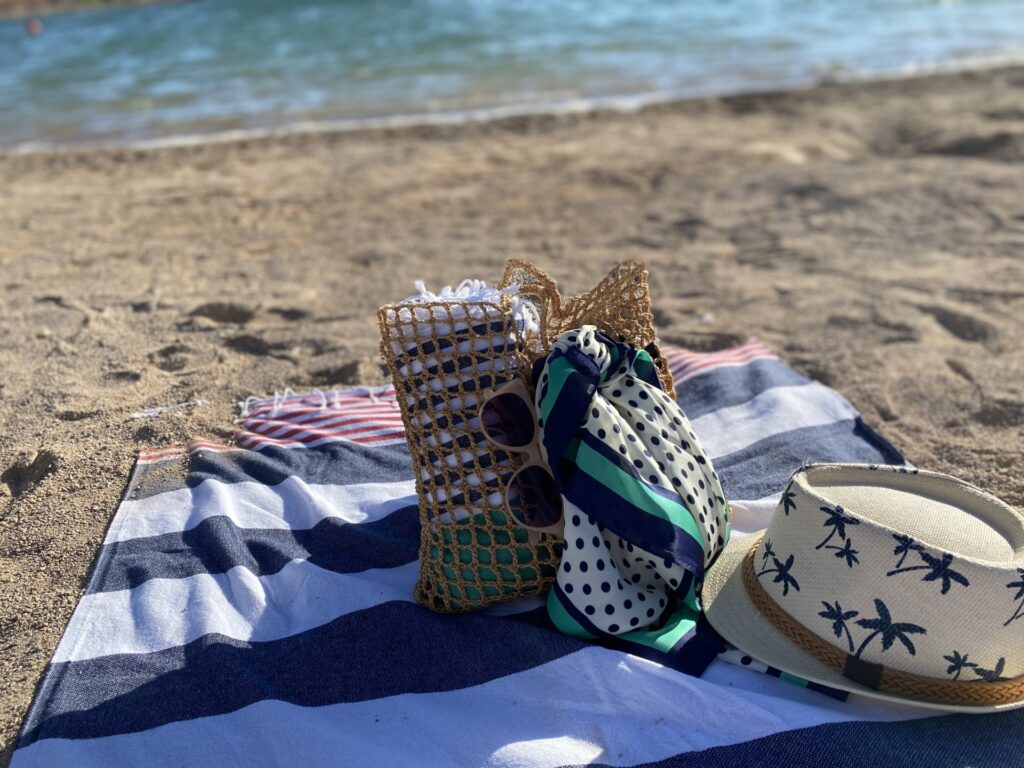
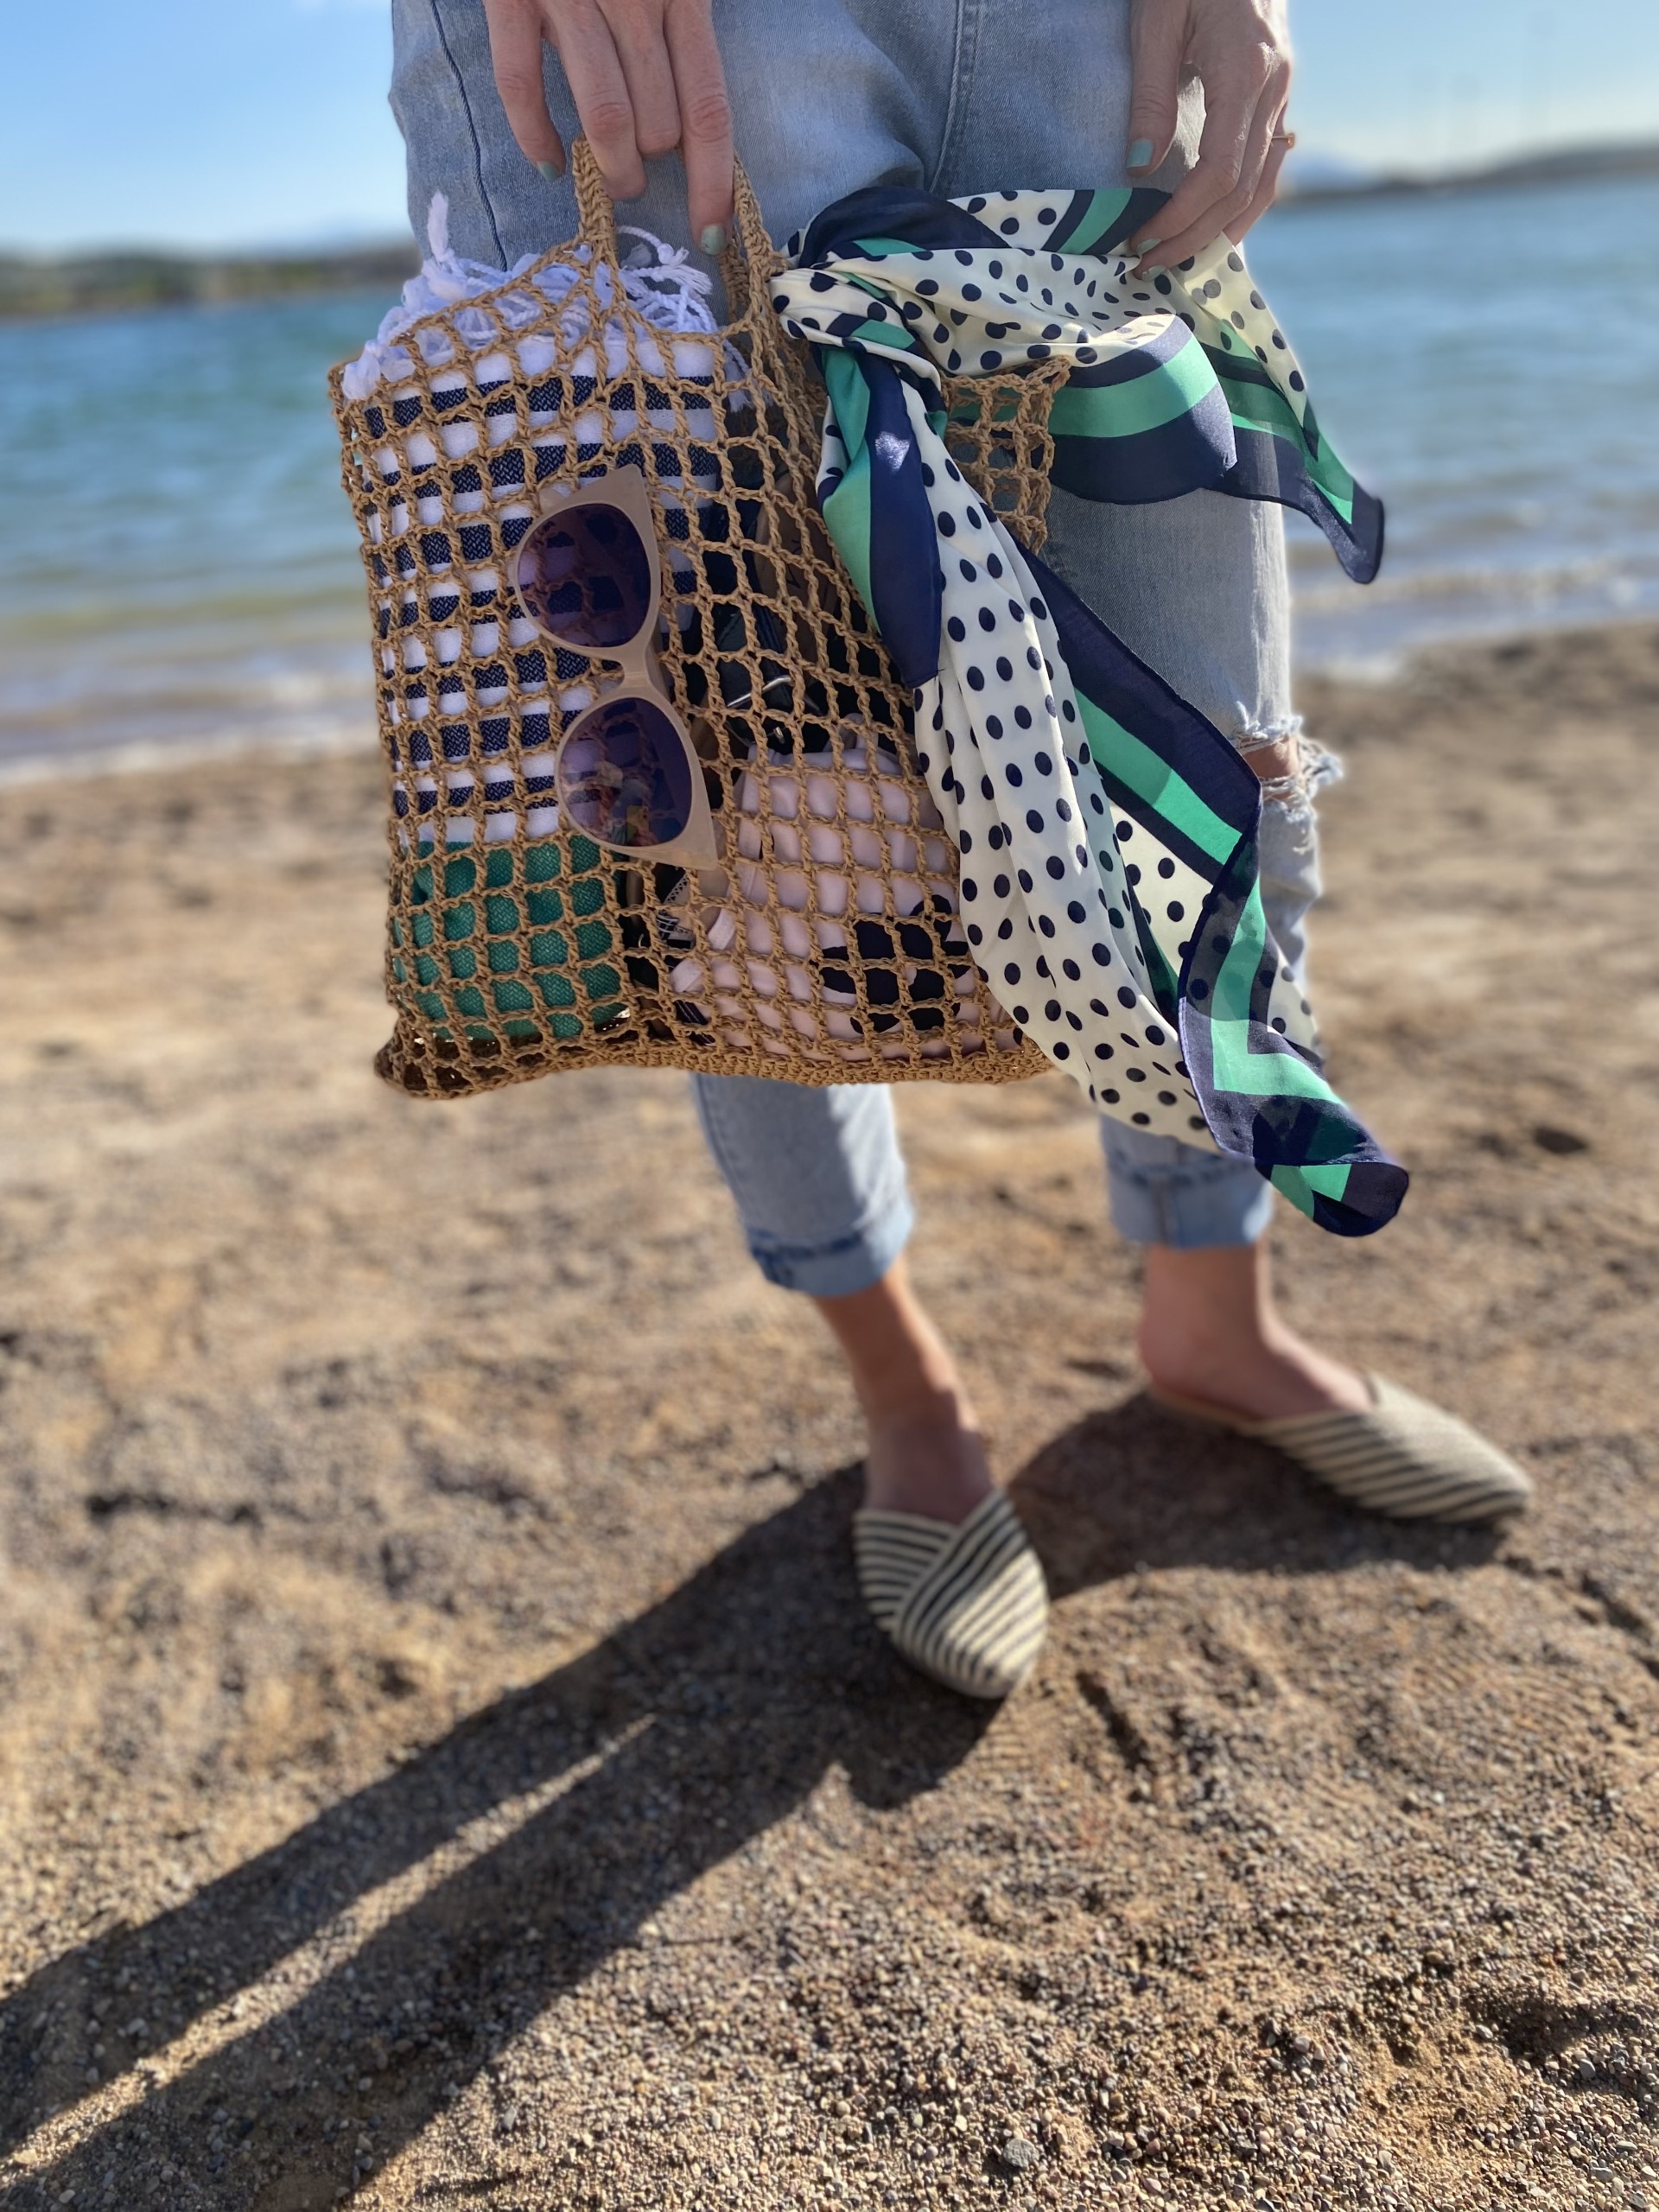
When you want to pack light with just a beach towel, swimsuit, sandals, sunscreen, and water, this is your go to bag for great sunkissed style that will help you leave the sand at the beach. Minimal supplies needed to make this bag, Grab your hook and some cotton raffia and you’re ready to start. The square fishermans net stitches are made using the Treble Crochet Stitch.
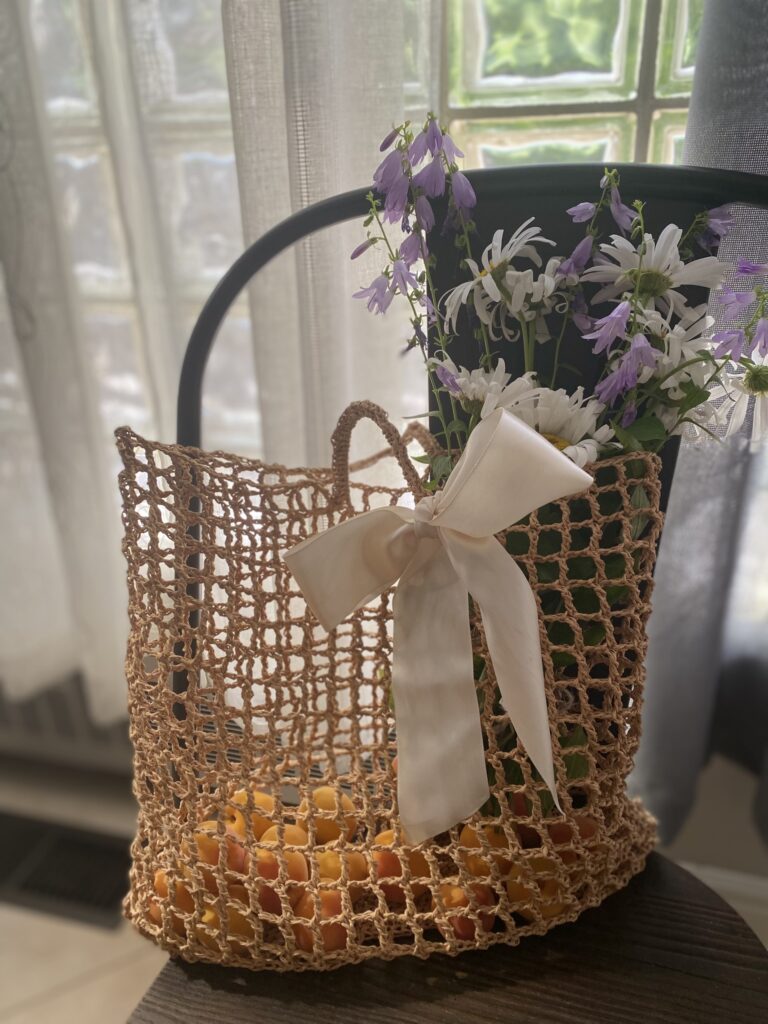
Pattern Instructions:
If you would prefer a printable version of this pattern, click the download button.
Materials:
- Raffia for crocheting in your color of choice. I used this Natural Cotton Raffia Yarn in Brown.
- US size E4 (3.5 mm) hook.
Gauge:
10 Stitches X 7 rows= 2″X2″ square
Pattern used for gauge: HDC
Sizes:
Finished bag measures 13″X13″.
Abbreviations:
CH – Single Crochet
FSC – Foundation Single Crochet
HDC – Half-double Crochet
DC – Double Crochet
SLST – Slip Stitch
ST(S) – Stitch(es)
SK – Skip
TRCRO- Treble Crochet
Special Stitches:
This Pattern uses the Treble Crochet stitch to create the net pattern. To learn how to Treble Crochet, visit my helpful tutorials page here.
Pattern Instructions:
Bottom of bag:
Rnd 1: Chain 51, turn. Now we will be crocheting around this foundation chain in a round.
Rnd 2:HDC in second chain from the hook and in the next 49 ST. 3 HDC in next stitch . Now continue working around the foundation chain, HDC in next 49 St. 3 HDC in last ST (104 HDC).
Rnd 3:HDC in next 50 HDC. 3 HDC in next ST. HDC in next 50 ST, 3 HDC in last ST. (106)
Rnd 4:HDC in next 50 ST. 2 HDC in each of the next 3 ST. HDC in next 50 ST. 2 HDC in each of the last 3 ST. (112)
Rnd 5:HDC in the next 50 ST. 2 HDC in each of the next 6 ST. HDC in next 50 ST. 2 HDC in each of the next 6 ST. (124)
Now, let’s start the Net pattern:
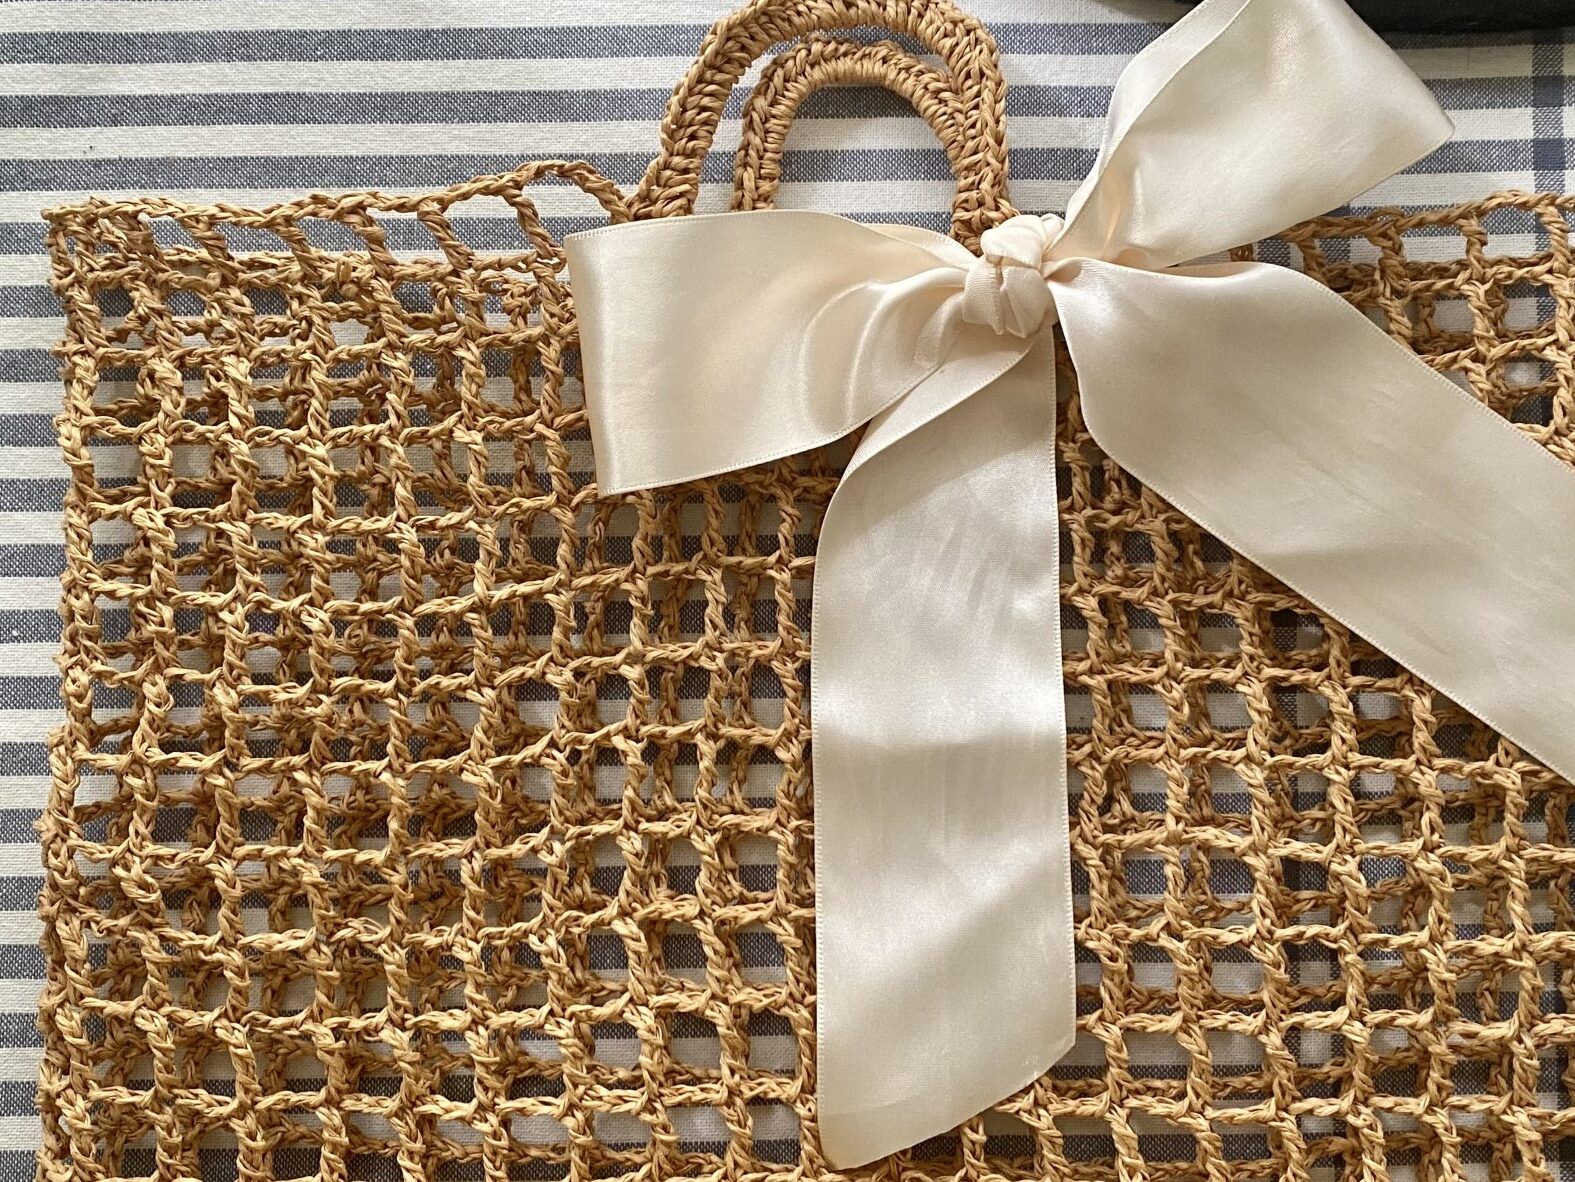
Rnd 6: CH 5. SK next 2 ST, TRCRO in the next ST. * CH 2, SK next 2 ST, TRCRO in next ST. ** Repeat from * to ** around. You should now have 42 squares in the row.
Rnd 7-21: * CH 2, SK next 2 CH, TRCRO in next TRCRO.** Repeat from * to ** around. Don’t fasten off.
Handles:
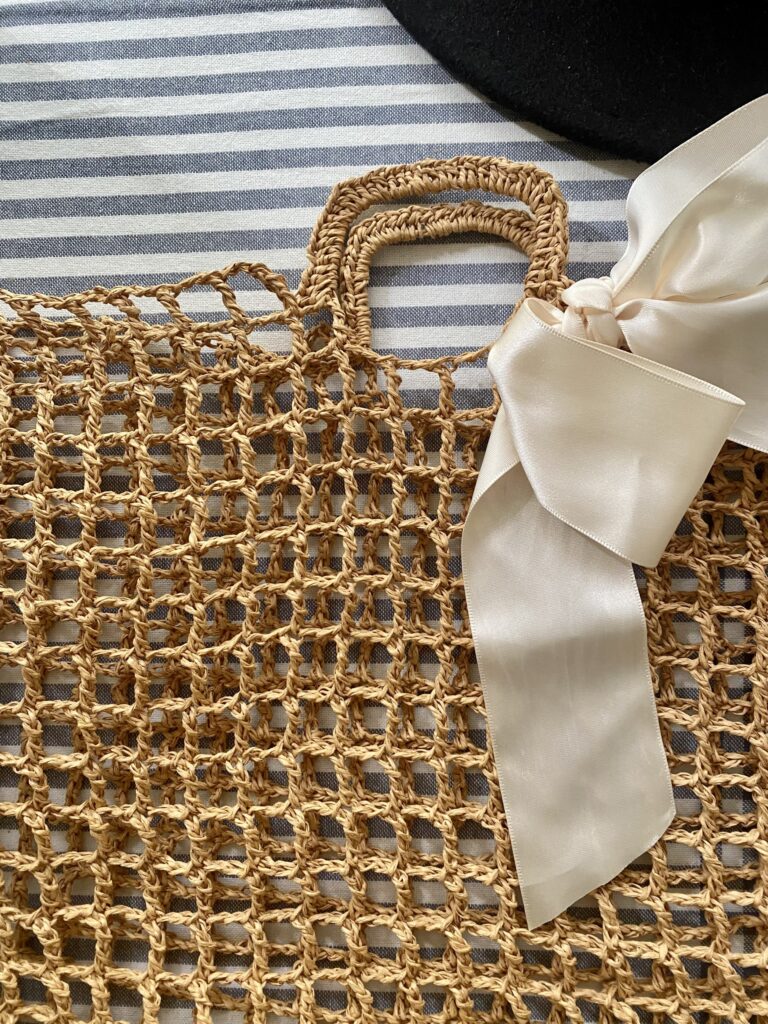
Lay bag flat and mark the center squares on both sides with a stitch marker or paper clip. Now mark one square to the right and to the left of the middle square on both sides. These marked squares will be the space for the handles.
Rnd 22: Starting at the end of rnd 21, *CH2, SK next 2 ST, TRCRO in next TRCRO.** Repeat from * to ** until you reach the squares marked for the handles.
CH 20, SK next 2 TRCRO Posts, TRCRO in next TRCRO. Continue working around. *CH 2, SK next 2 ST, TRCRO in next TRCRO.** Repeat from * to ** 18 times.
CH 20, Sk next 2 TRCRO posts, TRCRO in next TRCRO.
Finally, finish out the remainder of the round with *CH 2, Sk next 2 ST, TRCRO in next TRCRO. **Repeat from * to ** 9 times to the end of the round.
Rnd 23: *CH2, SK next 2 ST, TRCRO in next TRCRO.** Repeat from * to ** 9 times to CH 20 space. 40 HDC in CH 20 Space. *CH 2, SK next two ST, TRCRO in next TRCRO** Repeat 18 times to the other CH 20 Space. 40 HDC in CH 20 space. *CH 2 , SK next 2 ST, TRCRO in next TRCRO.** Repeat 9 times to the end of the row. Finish with a DC instead of a TRCRO to adjust for height difference. Fasten off and weave in end.
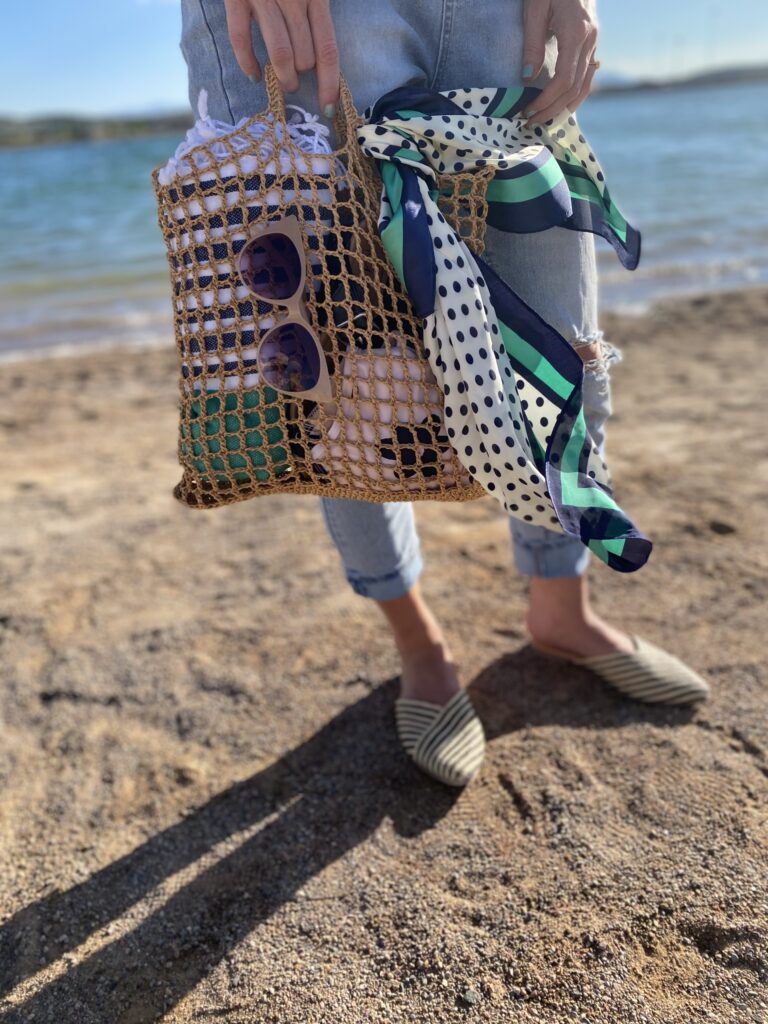
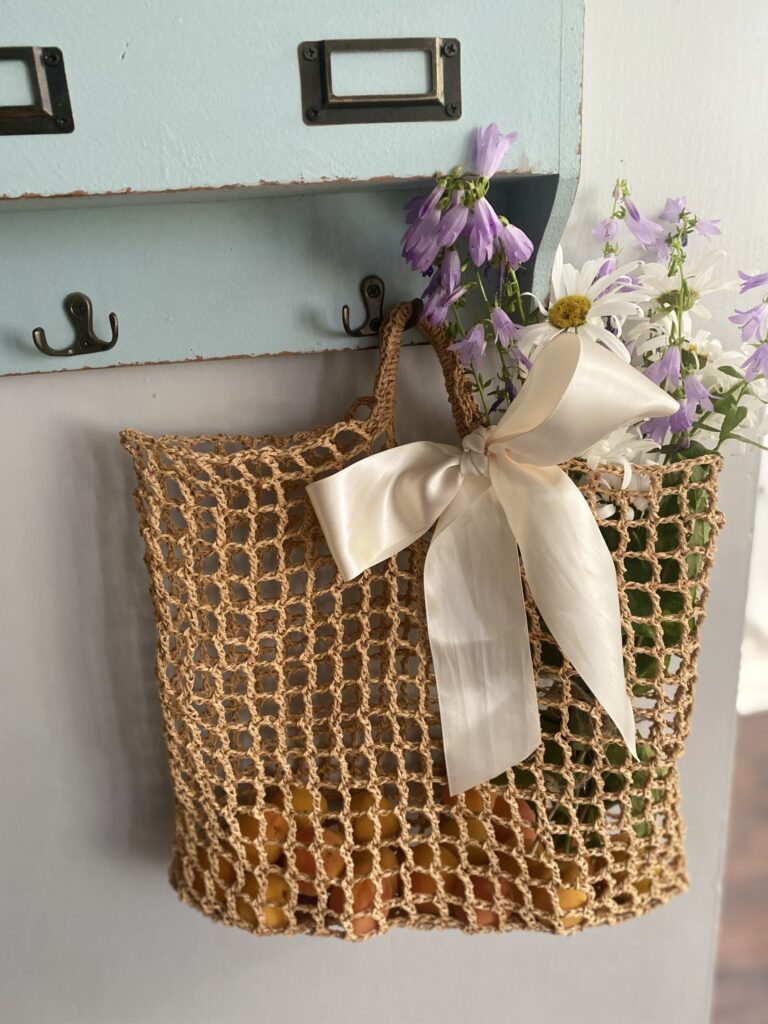
I love the versatility and artisan look of this bag. Great for an alfresco dinner date, or a trip to a Farmers Market. Its light airy design complements a variety of different styles.
Copyright
This pattern and its images are copyright protected and the sole property of
Abby Holmgren.
Please do not redistribute, transfer, or sell the pattern, or alter it to claim as your own. You may sell any products you create from this pattern. Please credit the designer by linking online listings to Briarberryfarmhouse.com or tagging @abbyroad1> #fishermansnetbag.
