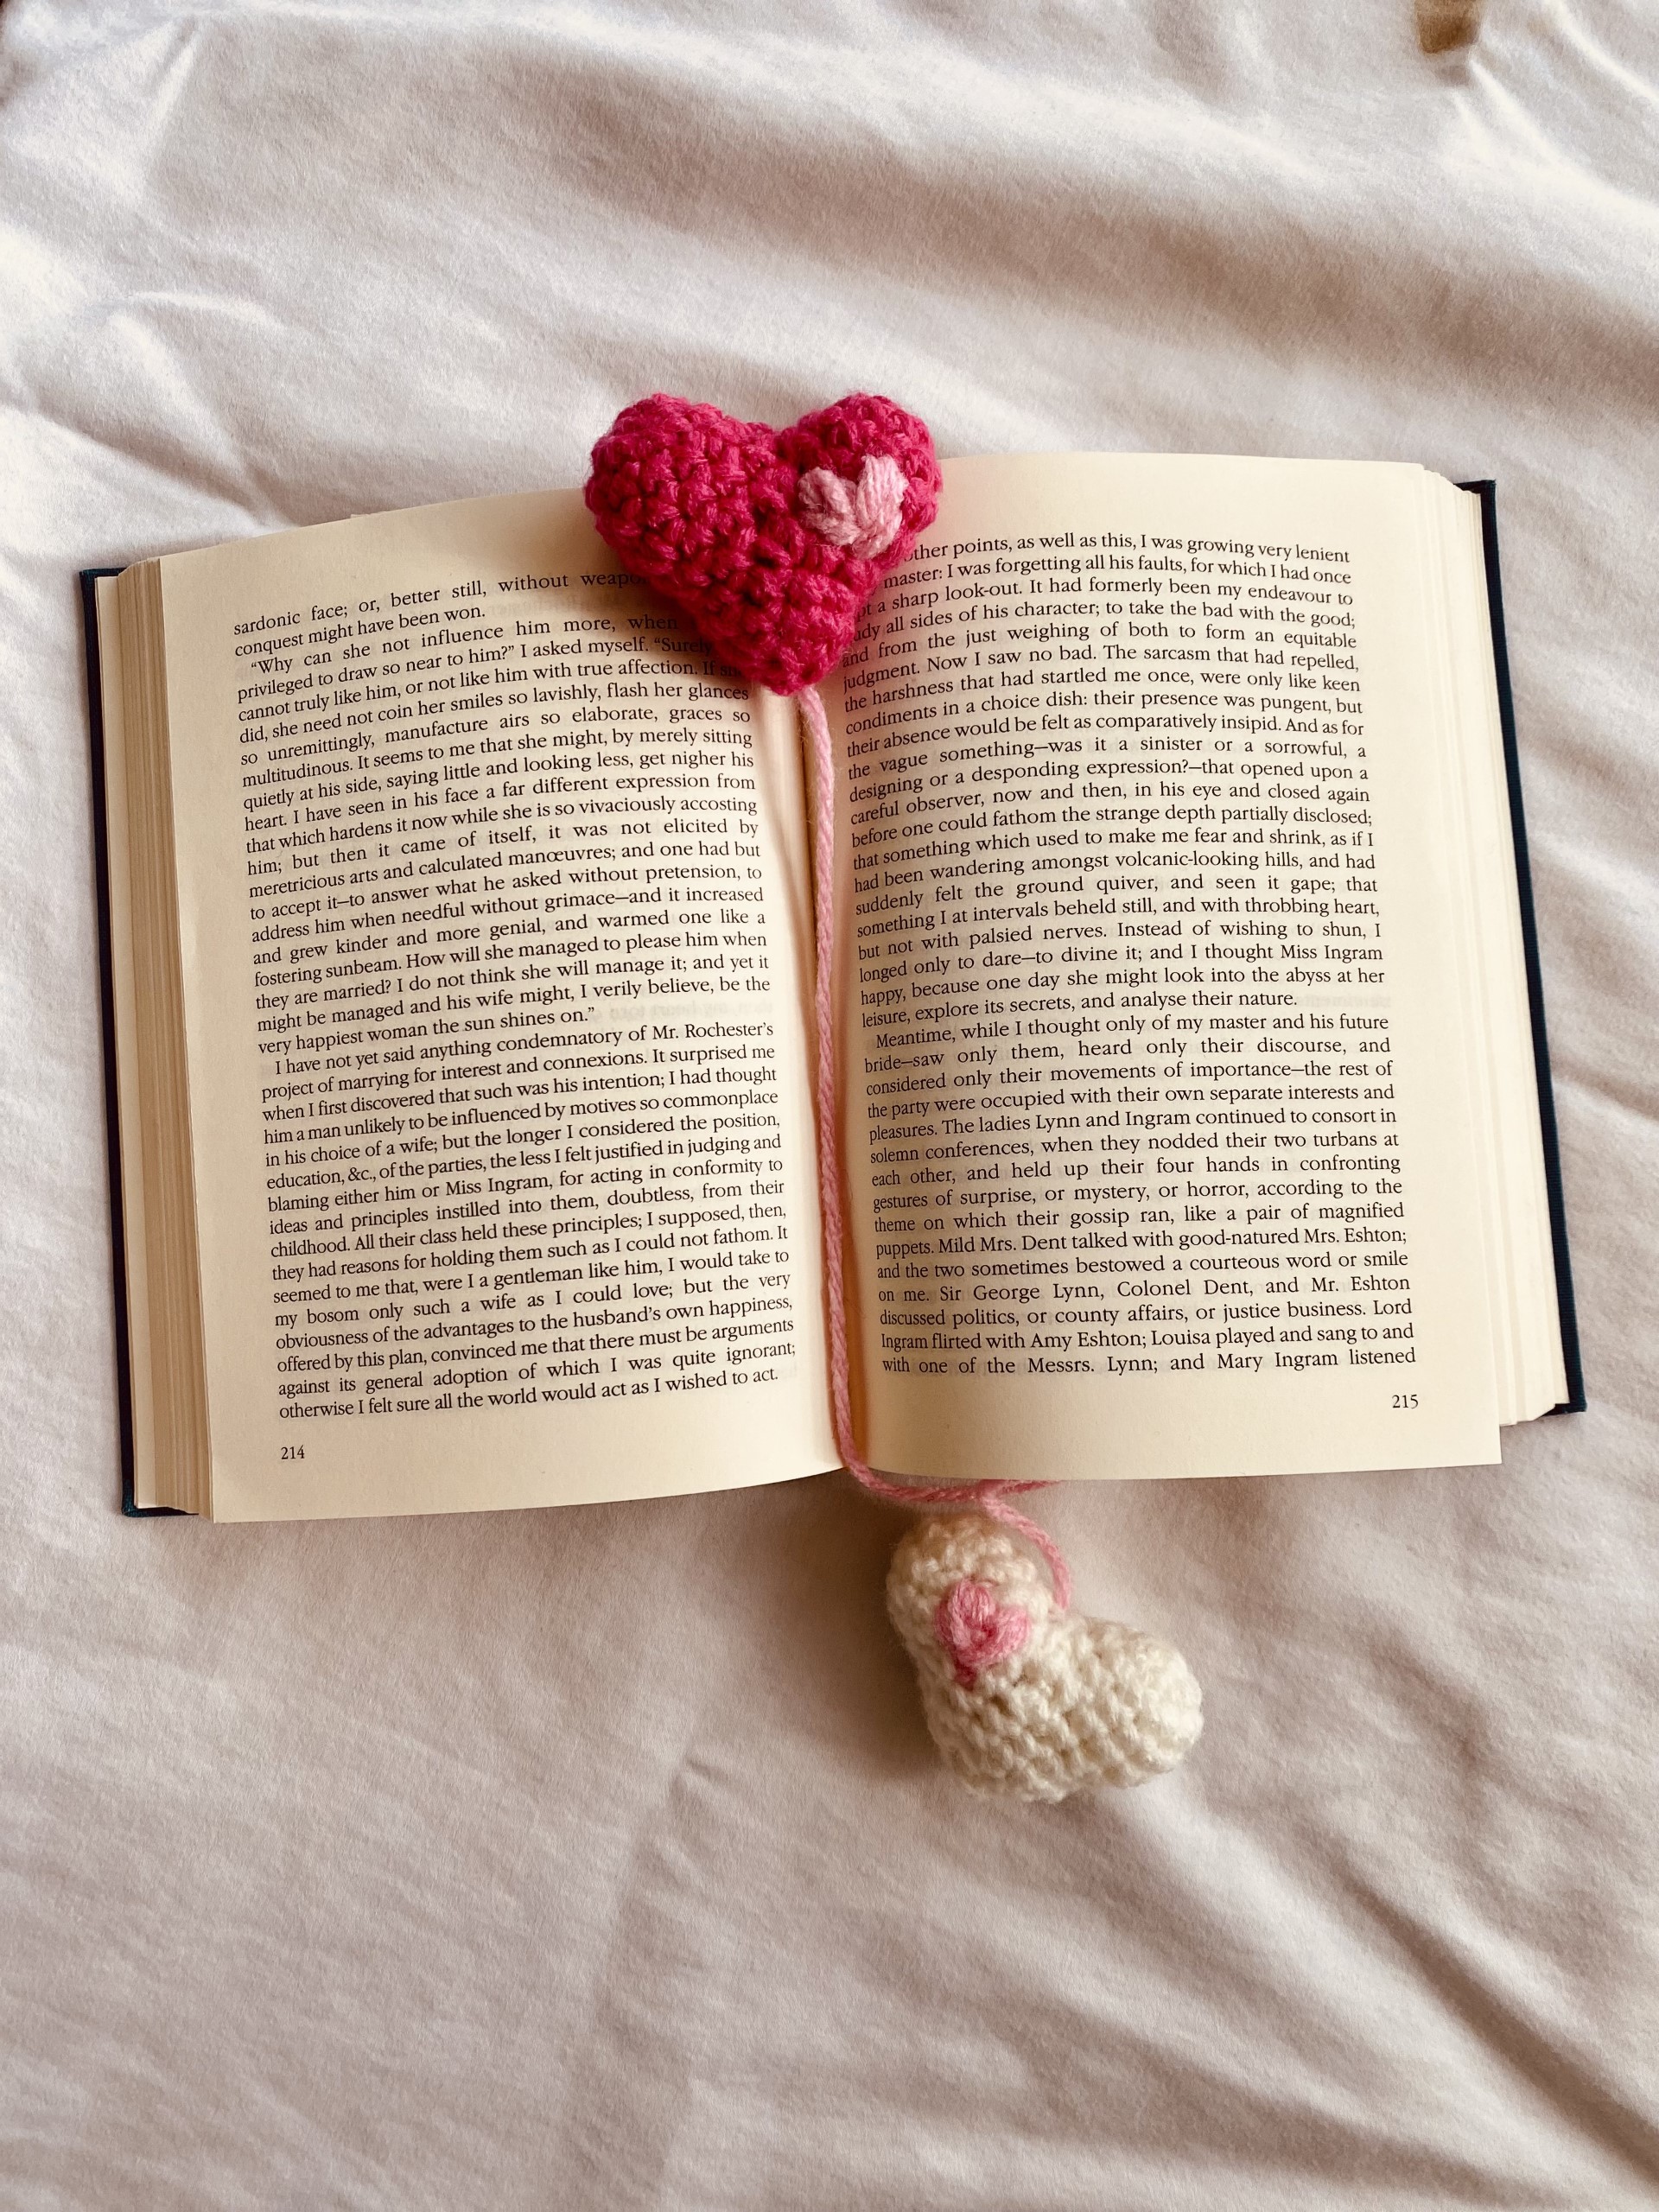
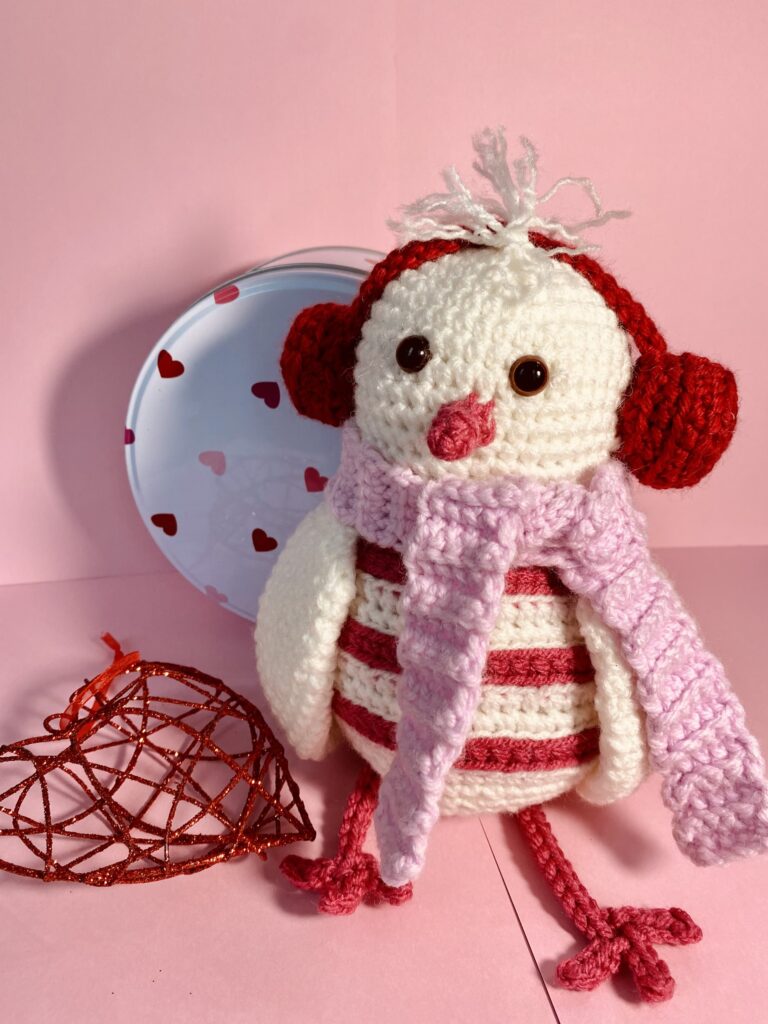
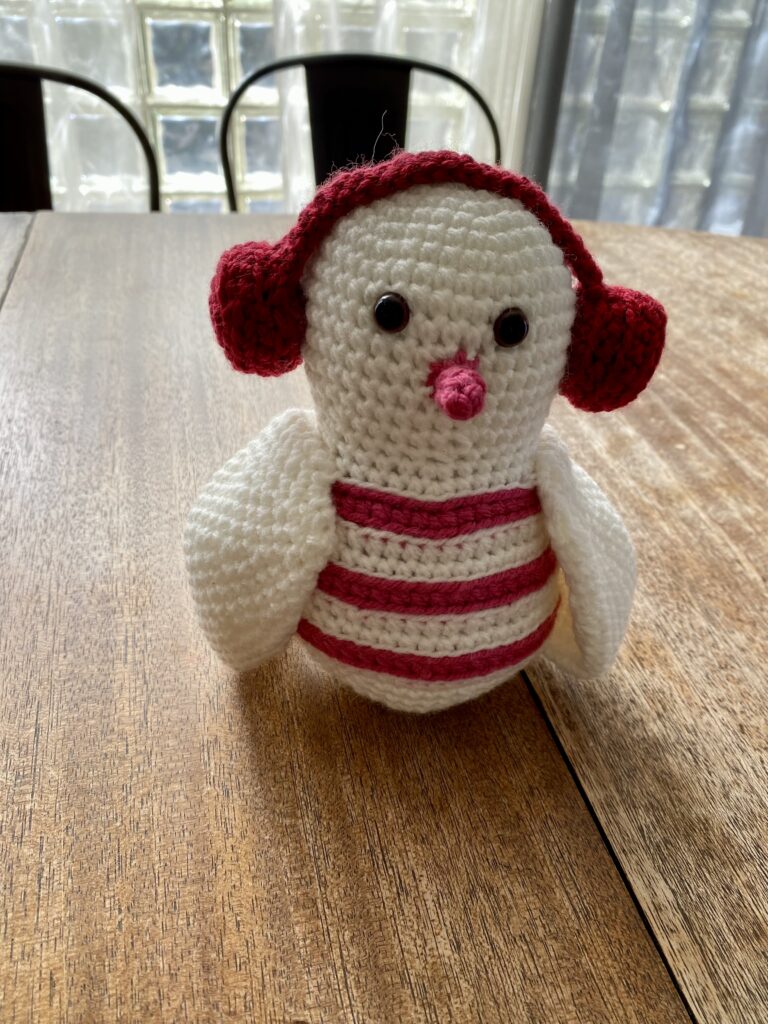
Little Love Bird
Sigh… Valentines Day comes but once a year. When love is in the air and you’re trying to think of the perfect way to celebrate the loved ones in your life maybe a cute little Love Bird will be just the thing. This pattern is great for advanced beginners who want to make some fun accessories for their amigurumi creations.
Materials:
Bernat Baby Sport yarn in Baby Eccru
Mainstays Anti- Pill acrylic yarn in Pink
Lion Brand Basic Stitch anti-pilling yarn in Red Heather
Lion Brand Pound of Love yarn in Pastel Pink
Small amount of black yarn or black embroidery thread
size E4 (3.5 mm) crochet hook
Fiberfill or stuffing of choice
Yarn needle
Amigurumi Safety eyes
Gauge:
9 stitches X 9 rows = 2X2 inch square
Pattern used for gauge: SC
Special Stitches:
We will be practicing the Magic Ring in this pattern. If you are new to this stitch or would like a quick refresher, visit my helpful tutorials page by clicking here.
Finished Size:
Finished size of bird is 8 inches tall by 5 inches wide.
Notes:
This Love Bird begins at the top of the head and works down from top to bottom. After crocheting the body, we will then make the wings, feet, beak, tail, and then the accessories for the bird.
Pattern Instructions:
Rnd 1: With Eccru yarn, work 6 sc in a magic ring. Pull ring snugly to close loop. (6)
Rnd 2: 2 SC in each ST around. (12)
Rnd 3:: Use a Stitch marker to indicate the beginning of each row. *SC in next ST, 2 SC in the next ST.** Repeat from * to ** around. (18)
Rnd 4: *SC in the next 2 ST, 2 SC in next ST.** Repeat from * to ** around. (24)
Rnd 5: *SC in the next 3 ST, 2 SC in the next ST.** Repeat from * to ** around. (30)
Rnd 6: *SC in the next 4 ST, 2 SC in the next ST.** Repeat from * to ** around. (36)
Rnd 7: *SC in the next 5 ST, 2 SC in the next ST.** Repeat from * to ** around. (42)
Rnd 8-14: SC in each ST around. (42)
Rnd 15:* SC in the next 5 St, Decrease over the next 2 ST.** Repeat from * to ** around. (36)
Rnd 16: *SC in the next 4 ST, 2 SC in the next ST.** Repeat from * to ** around. ( 30)
Rnd 17: *SC in the next 4 SC, 2 SC in the next ST.** Repeat from * to ** around.** (36)
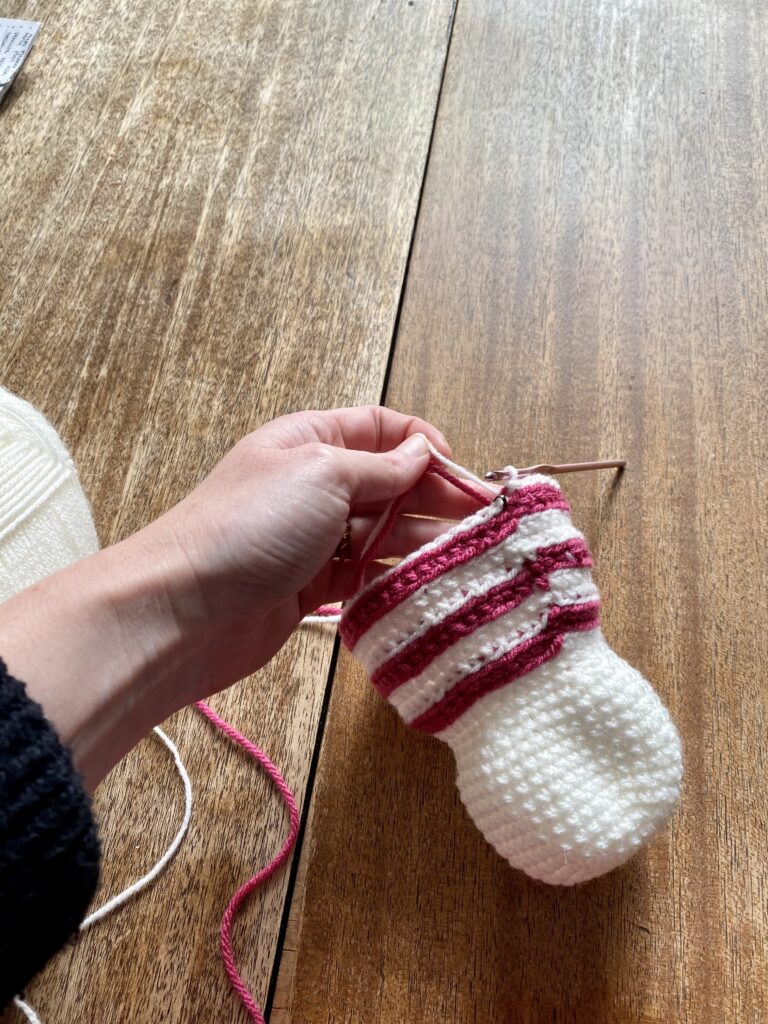
Rnd 18: *SC in the next 5 SC, 2 SC in the next ST.** Repeat from * to ** around. (42) Color change to pink yarn at the last pull through of the last ST of the row. Don’t fasten off white, leave it attached for pick back up later.
Rnd19: With Pink yarn SL ST in BLO of each ST around. (42.)
Rnd 20: *SC in the next 6 ST, 2 SC in the next ST.** Repeat from * to ** around. (48) Color change to white at the last pull through of the last stitch of the round. Don’t’ take fasten off Pink.
Rnd 21: With White, SL ST in BLO of each ST around. (48)
Rnd 22: SC in BLO of each ST around. (48)
Rnd 23: SC in each ST around. (48) Color change to pink at the last ST of the round, leaving white attached at the back of the work.
Rnd 24: SL ST in BLO of each ST around. (48)
Rnd 25: SC in each ST around. (48) Color change to White at the last ST if the round, leaving Pink attached at the back of the work.
Rnd 26: With White, SL ST in each ST around.(48)
Rnd 27: SC in each st around.(48)
Rnd 28: SC in each ST around. (48) Color change to Pink at the last ST of the round leaving white attached at the back of the work.
Rnd 29: With Pink, SL ST in BLO of each ST around. (48)
Rnd 30: SC in each ST around. (48) Color change to White at the last ST of the round.
Rnd 31: With White, SL ST in each ST around. (48)
Rnd 32: SC in each ST around. (48)
Rnd 33: SC in next 12 ST, *Decrease in next ST, SC in next 5 ST, Decrease in next ST,** repeat from * to ** 2 more times. SC in next 12 ST. (46)
Rnd 34: SC in the next 5 ST,Decrease in the next ST. * SC in the next 4 ST, decrease** repeat from * to ** 6 times. SC in last 5 ST. (40)
Rnd 35: SC in the next 7 ST*decrease, SC in the next 3 ST.** Repeat From * to **4 more times decrease in next ST. SC in next 7 ST. (32)
Rnd 36: SC in the next 5 ST, *SC in next ST, Decrease.** Repeat from * to ** 6 more times. SC in the next 5 ST. (25)
Rnd 37: SC in each ST around. (25)
Rnd 38: *SC in next ST, Decrease.** Repeat from * to ** around. (17)
Stuff head and body firmly with fiberfill.
Rnd 39: *SC in next ST, Decrease.** Repeat from * to ** around. (12)
Rnd 40: Decrease around. (6) Fasten off leaving a tail for weaving. Using a yarn needle, weave loose end through the back loop of each of the remaining 6 stitches of the round. Pull snugly to close the hole and secure in place. Weave in end.
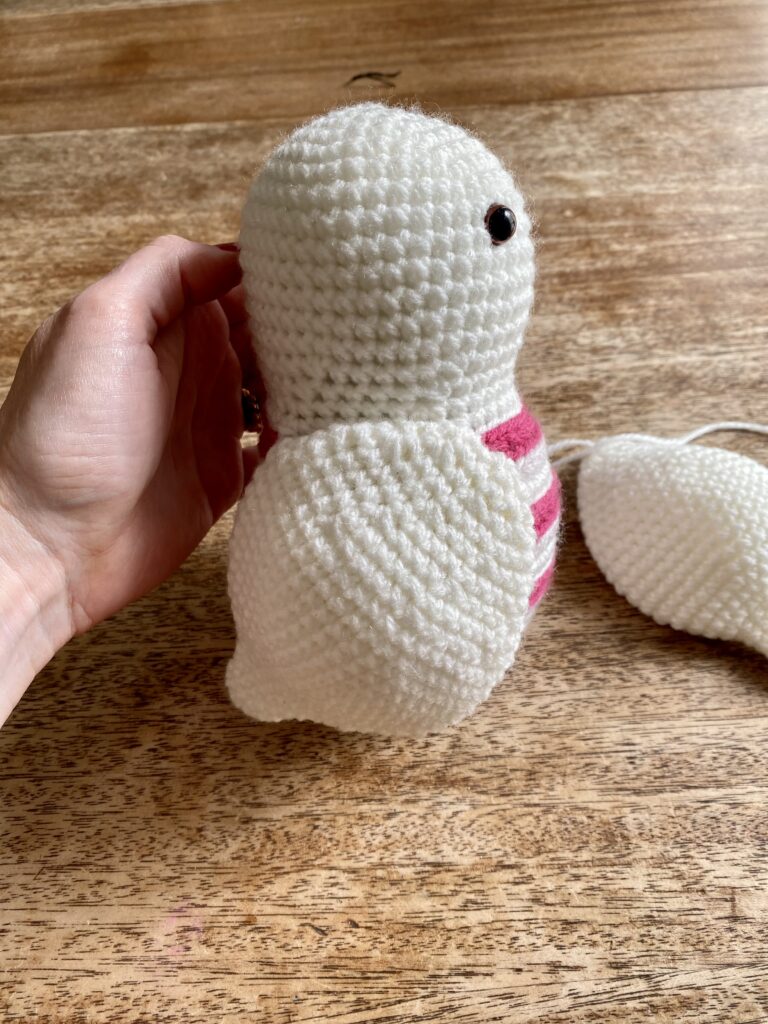
Wing: (make 2)
Rnd 1: 6 SC in a magic loop. Pull snugly to close the loop. (6)
Rnd 2: Use a stitch marker to mark the beginning stitch of each round. *SC in next ST, 2 SC in next ST.** Repeat from * to ** around. (9)
Rnd 3: SC in each ST around. (9)
Rnd 4: *SC in the next 2 ST, 2 SC in next ST.** Repeat from * to ** around. (12)
Rnd 5: SC in each ST around. (12)
Rnd 6: *SC in next 3 SC, 2 SC in next ST.** Repeat from * to ** around. (15)
Rnd 7: SC on each ST around. (15)
Rnd 8: 2 SC in each ST around. (30)
Rnd 9: SC in each ST around. (30)
Rnd 10: *SC in the next 4 ST, 2 Sc in next ST.** Repeat from * to ** around. (36)
Rnd 11: SC in each ST around. (36)
Rnd 12: *SC in the next 5 ST, 2 SC in the next ST.** Repeat from * to ** around. (42)
Rnd 13-18: SC in each ST around. (42)
Rnd 19: *SC in the next 4 ST, Decrease.** Repeat from * to ** around. (35)
Rnd 20: SC in each ST around. (35)
Rnd 21: *SC in next 3 ST, Decrease** repeat from * to ** around. (28)
Rnd 22: SC in each ST around.(28)
Rnd 23: *SC in the next 2 ST, Decrease.** Repeat from * to ** around. (21)
Rnd 24: SC in each ST around. (21)
Rnd 25: *SC in the next ST, Decrease.** Repeat from * to ** around. (14)
Rnd 26: SC in each ST around. (14)
Rnd 27: Decrease around. (7)
Fasten off, leaving a long tail for stitching.Using a yarn needle and the long tail, stitch the opening of the wing closed. Continue using the remainder of the long tail for stitching the wing to the body of the bird. I stitched the wings onto the body at a bit of an angle.
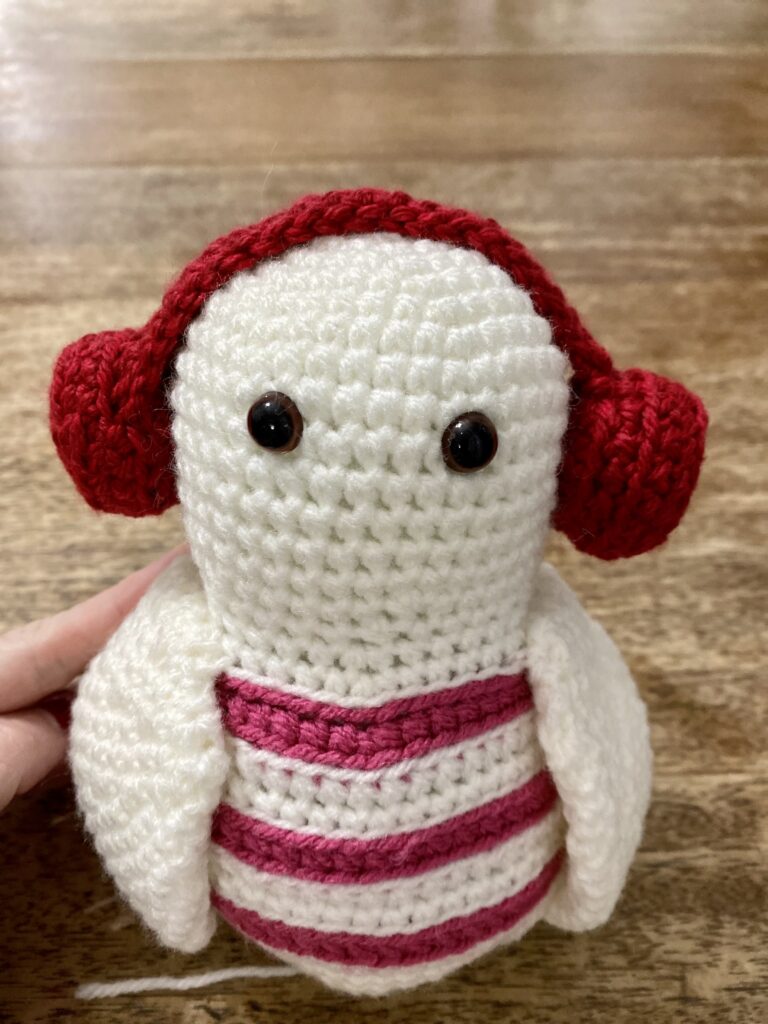
Ear Muffs:
Row 1: Using Red yarn, CH 21 turn. (21)
Row 2: SC in second CH from hook and in each remaining CH across. (20) CH 1, turn.
Row 3: SC in each ST across. (20) Fasten off, leaving a tail for stitching.
Muffs: (make 2)
Rnd 1: 6 SC in a magic loop. Pull snugly to close the loop. (6)
Rnd 2: 2 SC in each ST around. (12)
Rnd 3: *SC in next ST, 2 SC in next ST.** Repeat from * to ** around. (18)
Rnd 4: SC in BLO of each ST around. (18)
Rnd 5: SC in each ST around. (18)
Fasten off, leaving a long tail for stitching.
Earmuff Round Piece: (Make 2)
Rnd 1: 6 SC in a Magic loop. Pull snugly to close the loop. (6)
Rnd 2: 2 SC in each ST around. (12)
Rnd 3: * SC in the next ST, 2 SC in the next ST.** Repeat from * to ** around. (18)
Fasten off and weave in end. Using the long tail from the muff piece, begin stitching the earmuff round piece to the muff piece. Before completing the stitching, stuff the muff with a small amount of fiberfill. Finish stitching the seal closed and weave in the end. Using the long tail from the earmuff band piece, attach the muff to the headband piece. Repeat on the other side. After completing the earmuffs, attach them in place on the sides of the birds head.
Beak:
Rnd 1: With Pink yarn, 4 SC in a magic loop. Pull snugly to close the loop. (4)
Rnd 2-3 : SC in each ST around. (4)
Fasten off, leaving a tail for stitching. Stitch beak to the face, one row below the placement of the eyes and centered in the middle of the face.
Legs and Feet: (Make 2)
Row 1: With Pink yarn, CH 12, turn. (12)
Row 2: SL ST in second CH from hook and in each ST across. (11) Don’t turn. *CH 4, turn. SL ST in second CH from hook and in the next 2 ST. ** Repeat from * to ** two more times. SL ST into the bottom stitch of the leg. Fasten off and weave in ends. Using pink yarn and a yarn needle, stitch the legs in place on the body.
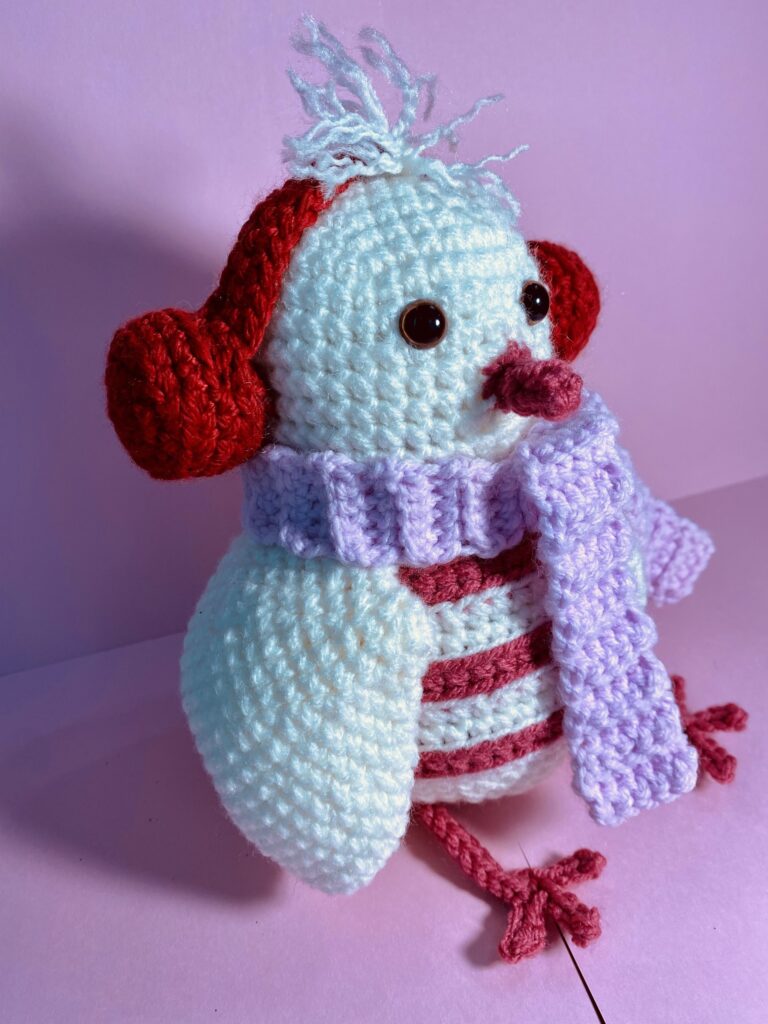
Scarf:
Row 1: With Pastel Pink yarn, CH 6, turn.
Rows 2- 60 (or until scarf measures 19 inches):
SC in BLO of each ST across. CH 1, turn.
Once scarf has reached 19 inches or desired length, fasten off and weave in ends. Tie scarf loosely around the neck of the bird.
Tail:
Rnd 1: With white yarn, make 6 SC in a magic loop. (6) Pull snugly to close the loop.
Place a stitch marker in the first ST of each row in each round.
Rnd 2: *SC in next ST, 2 SC in the next ST.** Repeat from * to ** around. (9)
Rnd 3: SC in each ST around. (9)
Rnd 4: *SC in next 2 ST, 2 SC in next ST.** Repeat from * to ** around. (12)
Rnd 5: *SC in next 3 ST, 2 SC in next ST.** Repeat from * to ** around. (15)
Rnd 6: *SC in next 4 ST, 2 SC in next ST.** Repeat from * to ** around. (18)
Rnd 7: *SC in next 5 ST, 2 SC in next ST.** Repeat from * to ** around. (21)
Rnd 8: *SC in the next 6 ST, 2 SC in the next ST.** Repeat from * to ** around. (24)
Rnd 9: *SC in the next 7 ST, 2 SC in the next ST.** Repeat from * to ** around. (27)
Rnd 10: *SC in the next 8 ST, 2 SC in the next ST.** Repeat from * to ** around. (30)
Fasten off, leaving a long tail for stitching the tail piece to the body. Stuff the tail with a small amount of fiberfill. Using a yarn needle, stitch the tail to the body of the bird. Weave in ends.
Hair Feathers:
Cut 5 lengths of white yarn 5 inches long each. Group them together in a bundle so that the edges match. Insert hook into the top of the head of the bird. Yarn over with the bundle of yarn strands and pull through. Knot the pieces securely, close to the head of the bird. Clip to desired length and unravel the yarn to create a tousled feather look.
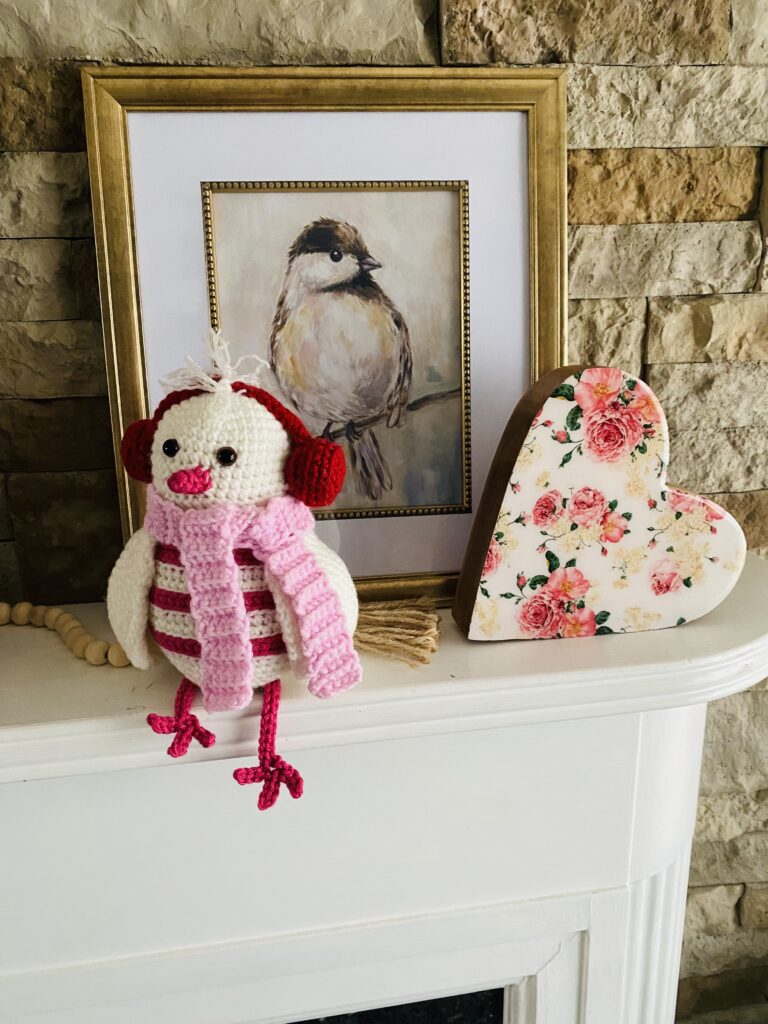
Way to go! You did it! Now give your cute little love bird to your Valentine or Display it somewhere where it will make you happy!
Briarberry
My name is Abby Holmgren and I love to create and share ideas through crochet, sewing, fashion, cooking, and visual arts. Briarberry Farmhouse is where I share inspiration.