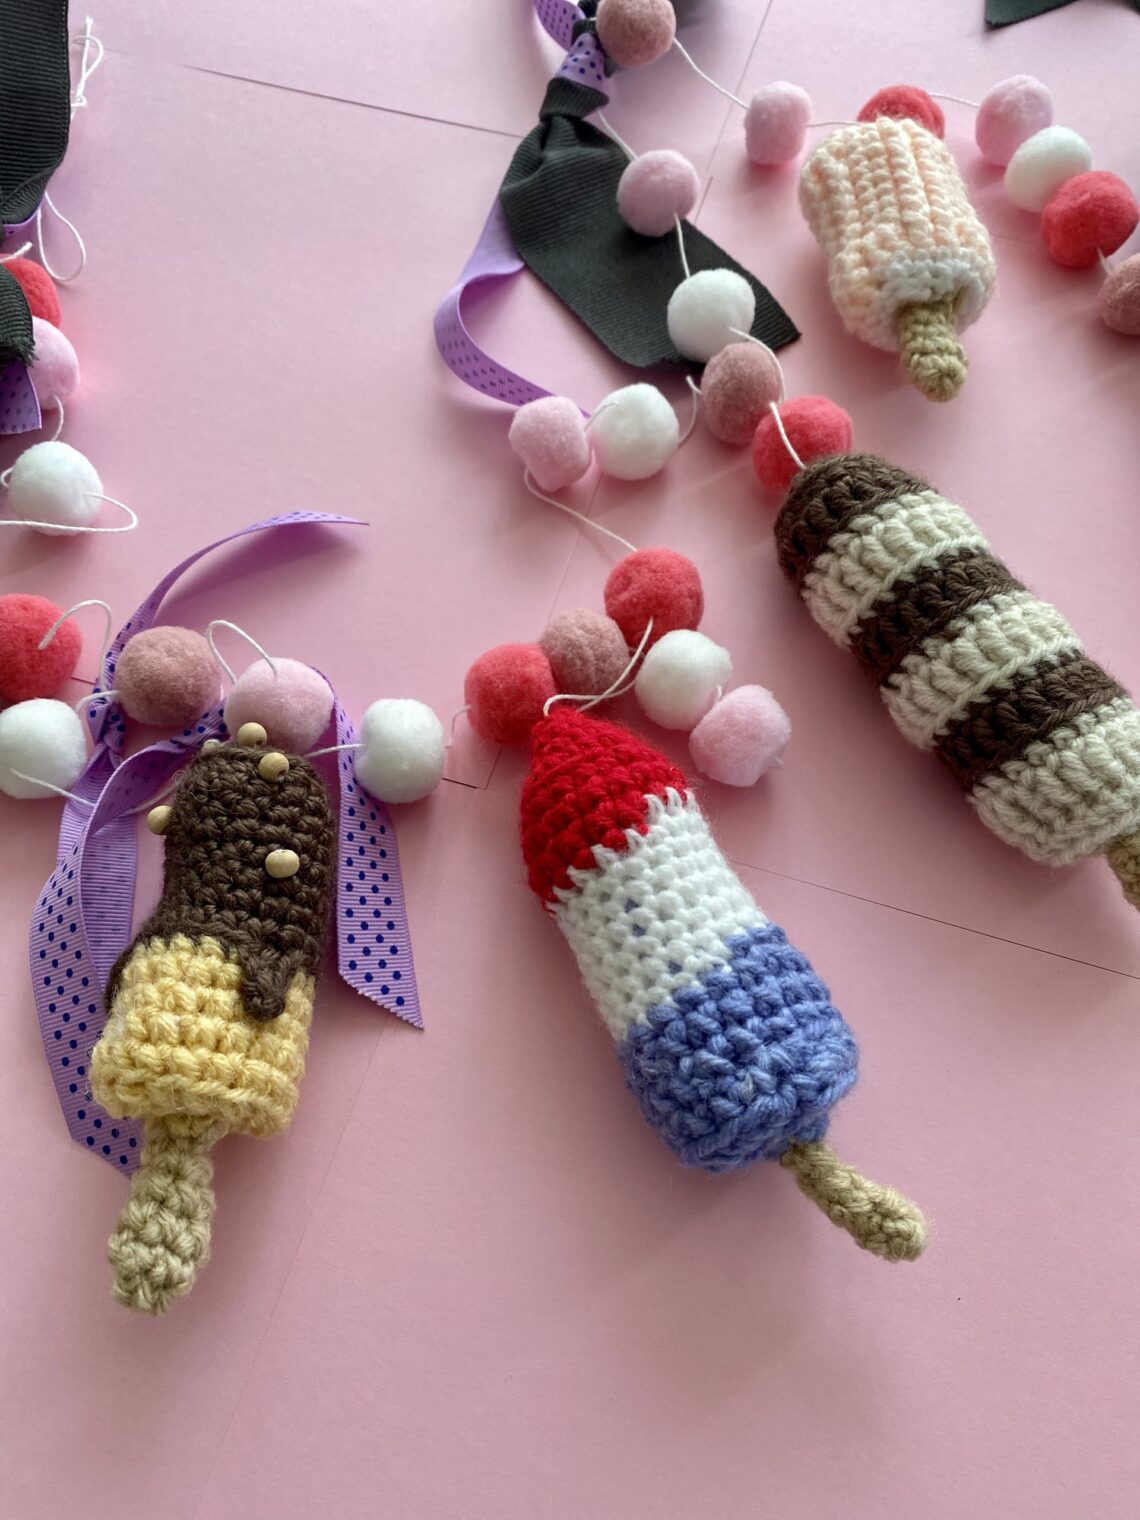
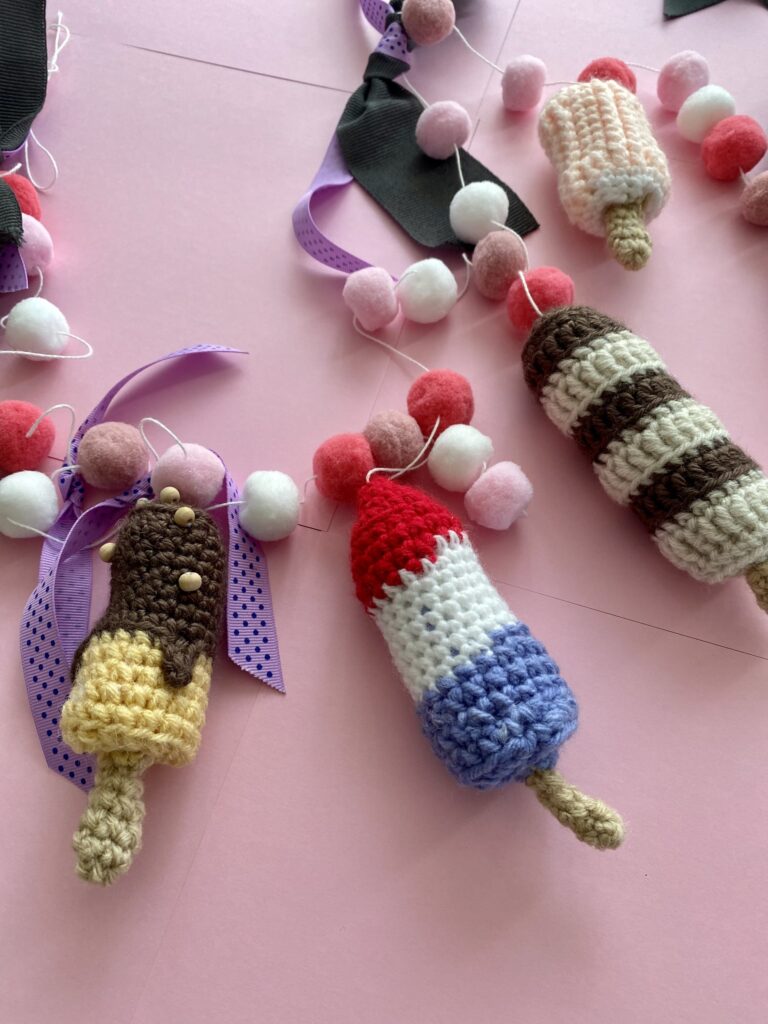
Popsicle Party Crochet Garland
Pattern Instructions:
Materials:
- Variety of yarns in colors of your choice
- US size 3.5 mm Crochet Hook
- Yarn needle
- Polyfill, or your stuffing of choice
- Wool Craft Balls
- Ribbon
Gauge:
Pattern used for Gauge: SC
Sizes:
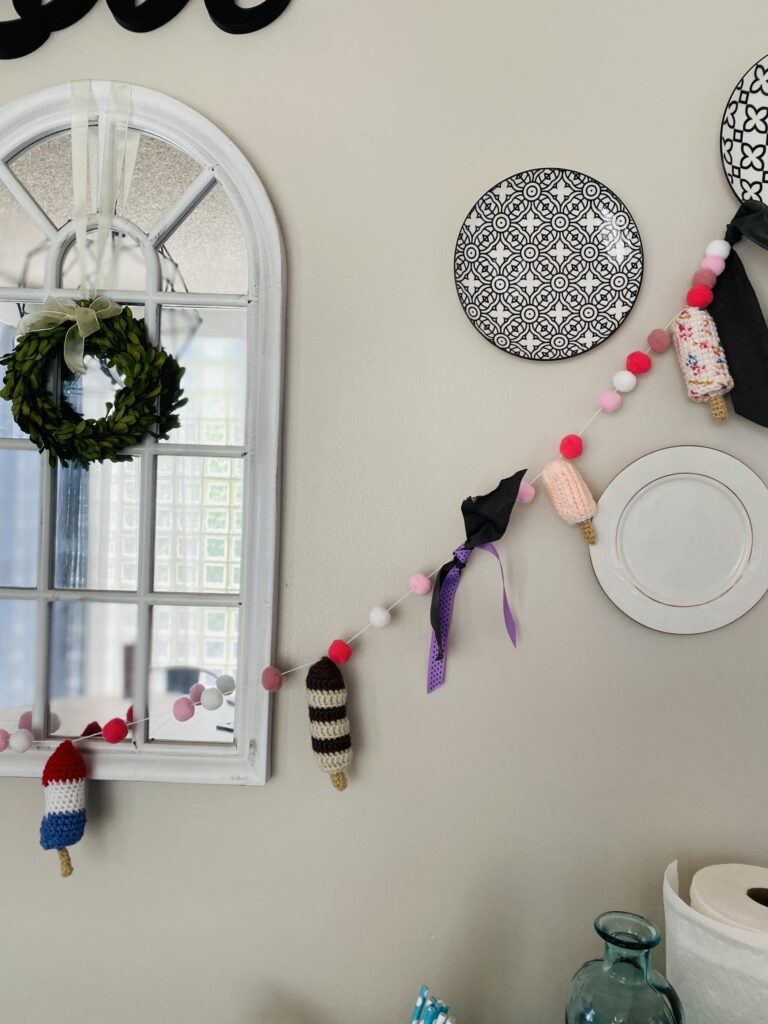
Finished Size is customizable to your liking, my completed garland measures 100 inches X 5 inches tall.
Abbreviations:
BLO-Back Loops Only
SC – Single Crochet
FSC – Foundation Single Crochet
HDC – Half-double Crochet
DC – Double Crochet
SLST – Slip Stitch
ST(S) – Stitch(es)
SK – Skip
Notes:
We’ve arrived at the part of the summer where the only thing I want to eat is Popsicles! If this same thing has happened to you, then it’s time to crochet this Popsicle garland. (In between eating Creamsicles and Rocket Pops of course.)
Special Stitches:
Front Post Double Crochet and Magic Loop: If you need a refresher or a quick tutorial for this stitch, Click here for my Helpful Tutorials page.
Cream Pop:
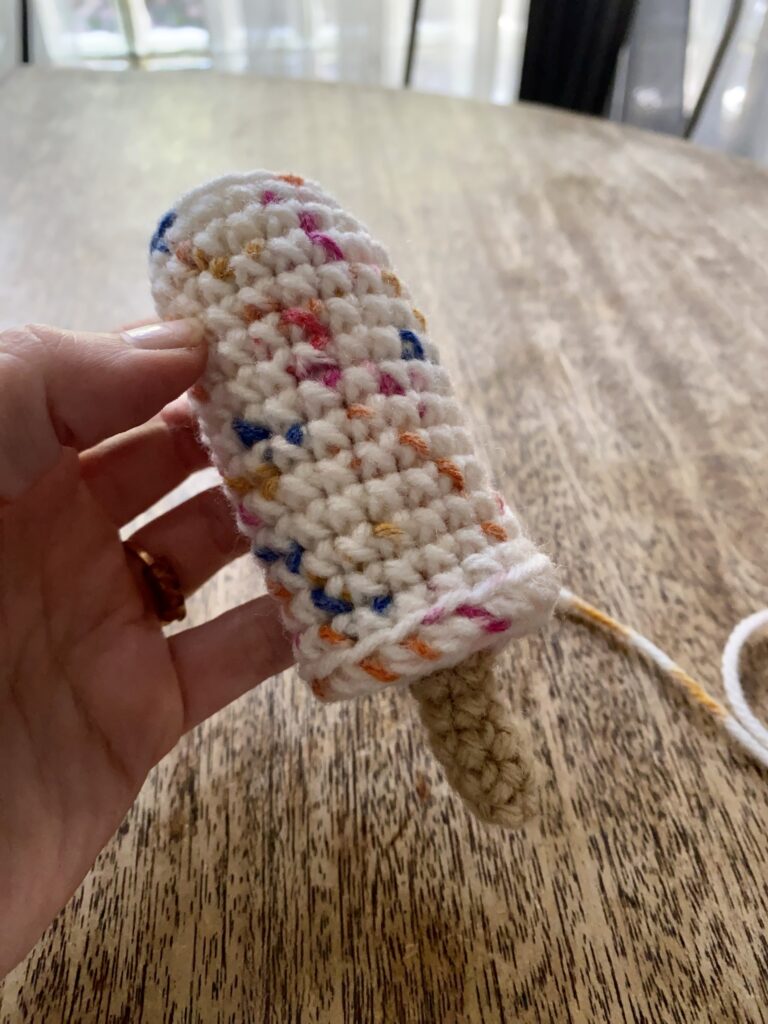
Rnd 1: With 3.5 mm crochet hook and your choice of yarn, I used Red Heart Super Saver in White Speckle, 6 SC in a magic loop. Pull snugly to close the loop. (6)
Rnd 2:2 SC in each ST around. (12)
Rnd 3: * SC in next ST, 2 SC in next ST.** Repeat from * to ** around. (5 more times.) (18)
Rnd 4: In BLO, SC in each ST around. (18)
Rnd 5-19: SC in each ST around. (18)
Fasten off and weave in end. Stuff firmly with Fiberfill.
Popsicle Stick and bottom of Pop:
Rnd 1: With light brown yarn, (I used Red Heart Super Saver in Buff for all of the Popsicle sticks.) 6 SC in a magic loop. Pull snugly to close loop. (6)
Rnd 2-5: SC in each ST around. Switch back to Popsicle yarn above at the last ST of the Round. (6)
Rnd 6: 2 SC in each ST around. (12)
Rnd 7: *SC in next ST, 2 SC in next ST. ** Repeat around. (5 more times.) (18)
Rnd 8: SC in each ST around. (18) Fasten off, leaving a long tail for Stitching bottom of the pop to the upper section of the Popsicle.
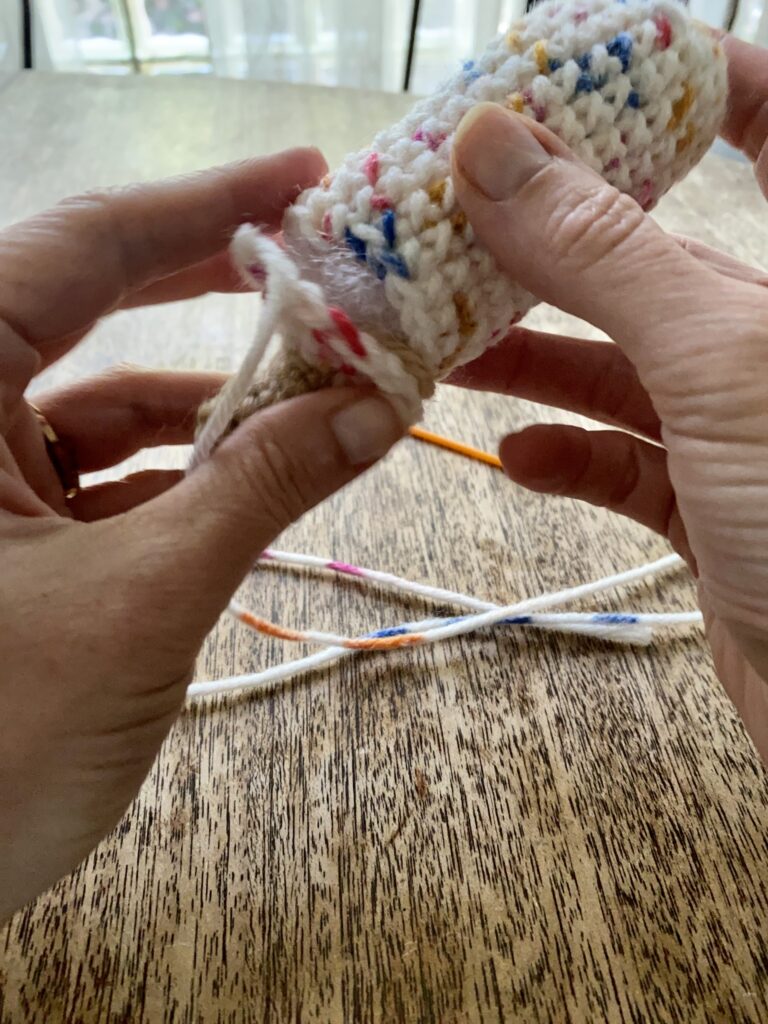
Using the long tail and a yarn needle, stitch the Popsicle together.
Rocket Pop:
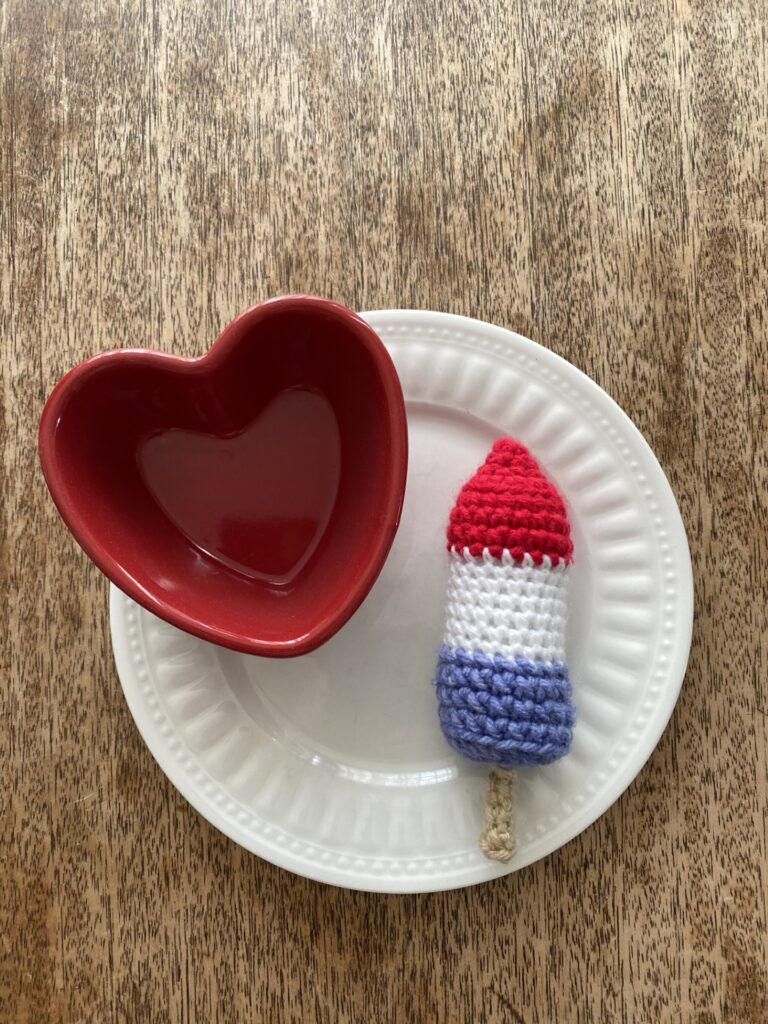
Rnd 1: With Red Yarn and size 3.5 crochet hook, 6 SC in a Magic Loop. Pull snugly to close. (6)
Rnd 2: SC in each ST around. (6)
Rnd 3: * SC in next ST, 2 SC in next ST.** Repeat from * to ** around. (3 more times.) (9)
Rnd 4: 2 SC in each ST around. (18)
Rnd 5: In BLO, SC in each St around. (18)
Rnd 6-7: SC in each ST around. At the last ST of round 7, color change to White yarn. (18)
Rnd 8-13: SC With White yarn, SC in each ST around. At the last stitch of Rnd 13, color change to Blue. (18)
Rnd 14-18: With Blue yarn, SC in each ST around.
At the end of Rnd 18, fasten off and weave in end.
Popsicle Stick and Bottom of the Pop:
Rnd 1: With light brown yarn, (I used Red Heart Super Saver in Buff for all of the Popsicle sticks.) 6 SC in a magic loop. Pull snugly to close loop. (6)
Rnd 2-5: SC in each ST around. Switch back to Popsicle yarn above at the last ST of the Round .(6)
Rnd 6: 2 SC in each ST around. (12)
Rnd 7: *SC in next ST, 2 SC in next ST. ** Repeat around. (5 more times.) (18)
Rnd 8: SC in each ST around. (18) Fasten off, leaving a long tail for Stitching bottom of the pop to the upper section of the Popsicle.
Using the long tail and a yarn needle, stitch the Popsicle together.
Swirl Pop:
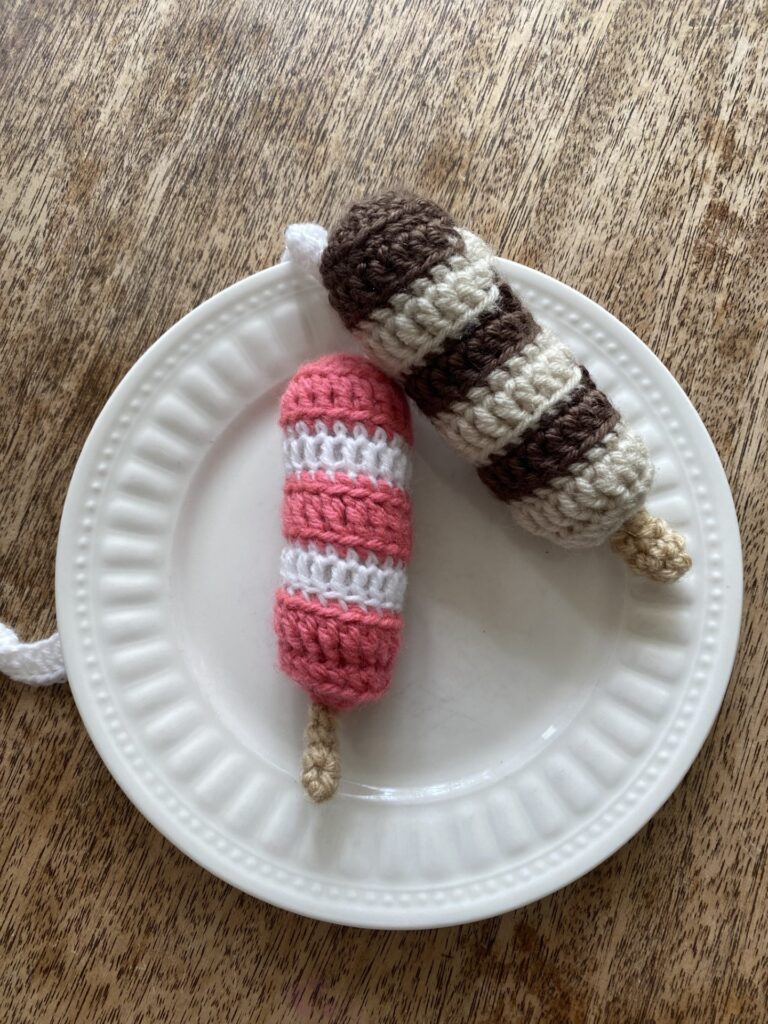
Rnd 1: With 3.5 mm crochet hook and Chocolate brown yarn,( I used Caron Simply Soft in Taupe.) 6 SC in a Magic loop. Pull snugly to close the loop. (6)
Rnd 2: 2 SC in each ST around. (12)
Rnd 3: * SC in next ST, 2 SC in next ST.** Repeat from * to ** around. (18)
Rnd 4: In BLO, SC in each ST around. (18)
Rnd 5: DC in each St around. Color change to White yarn at the last stitch of the round. (18)
Rnd 6: In BLO, SC in each ST around. (18)
Rnd 7: DC in each ST around, color change to Brown yarn at the last stitch of the round, (18)
Repeat rows 6 and 7 two more times. Fasten off and weave in end. Stuff with Fiberfill.
Popsicle stick and Bottom of Pop:
Rnd 1: With light brown yarn, (I used Red Heart Super Saver in Buff for all of the Popsicle sticks.) 6 SC in a magic loop. Pull snugly to close loop. (6)
Rnd 2-5: SC in each ST around. Switch back to Popsicle yarn above at the last ST of the Round .(6)
Rnd 6: 2 SC in each ST around. (12)
Rnd 7: *SC in next ST, 2 SC in next ST. ** Repeat around. (5 more times.) (18)
Rnd 8: SC in each ST around. (18) Fasten off, leaving a long tail for Stitching bottom of the pop to the upper section of the Popsicle.
Using the long tail and a yarn needle, stitch the Popsicle together.
Frozen Fruit Bar:
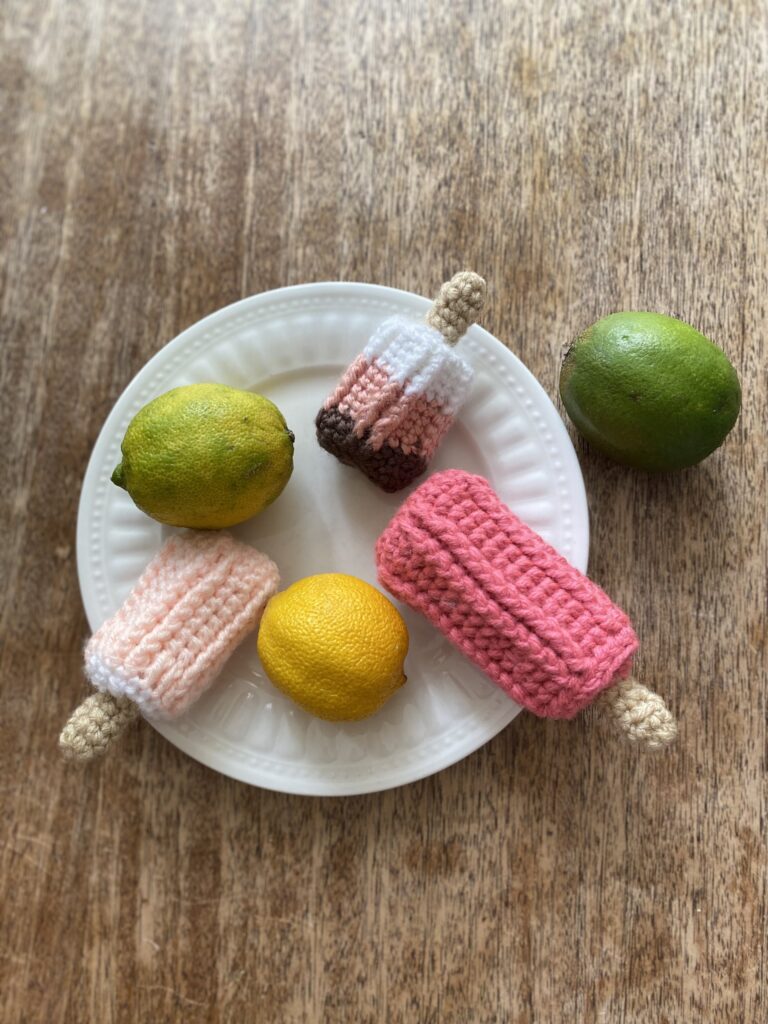
Rnd 1: With Big Stitch yarn in Watermelon and size 3.5 mm hook, CH 8, turn. (8)
Rnd 2:SC in the second chain from the hook and in the next 5 CH. 3 SC in the last CH of the row. Now we will continue to work around the other side of the foundation Chain. SC in the next 5 ST, 3 SC in the last ST. (18)
Rnd 3-4: SC in each ST around. (18)
Rnd 5: * SC in the next 2 ST, DC in the next 2 ST, SC in the next 2 ST, DC in the next 3 ST. ** Repeat from * to ** once more. (18)
Rnd 6-15: * SC in the next 2 ST, Front Post Double Crochet (FPDC) in the next 2 DC. SC in the next 2 ST, FPDC in next 3 DC. ** Repeat from * to ** once more. (18)
After completing row 15, Fasten off and weave in end. Stuff with Fiberfill.
Popsicle Stick and bottom of pop:
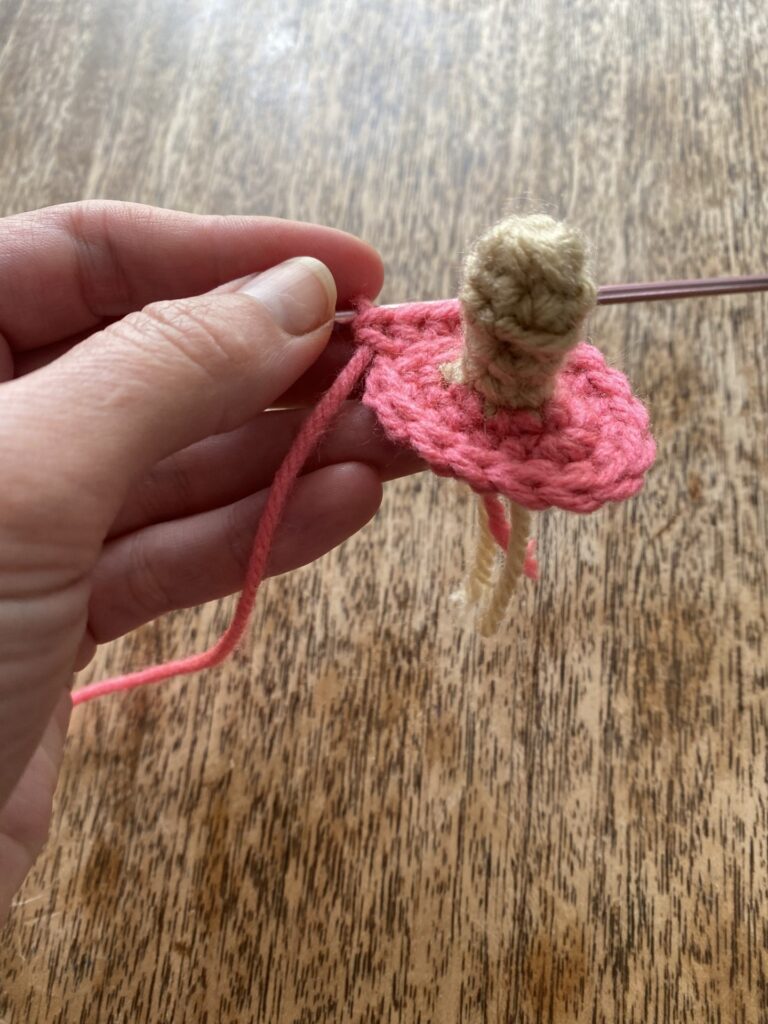
Rnd 1: With super saver yarn in Buff and size 3.5 hook, 6 SC in a magic loop. Pull free end snugly to close the loop. (6)
Rnd 2-5: Sc in each St around. (6)
At the last stitch of round 5, color change to Watermelon colored yarn.
Rnd 3: 2 SC in each ST around.
Rnd 4: * SC in next 5 ST, 3 SC in next ST. ** Reoeat from * to ** once more.
Rnd 5: SC in each ST around. (16) Fasten off, leaving a long tail for stitching the bottom of the popsicle to the upper section.
Using the long tail, stitch the bottom of the popsicle to the upper section. Weave in end.
Assembly:
Yay! You’ve completed your crochet popsicles and now it’s time to make them into a garland!
Beginning with white yarn, cut a long string 20 inches longer than your desired garland length to allow for loops for hanging it. Mine measures 100 inches completed so I cut my yarn string 120 inches.
Begin stringing the craft balls on the string, placing 5 craft balls between each Popsicle. Space each popsicle about 10-12 inches between the others with 5 wool balls in between. After you have strung all of the popsicles and wool balls on the string, space them apart as desired. Finish by tying a few pieces of contrast colored ribbon on the garland at 3 or 4 places to add visual interest.
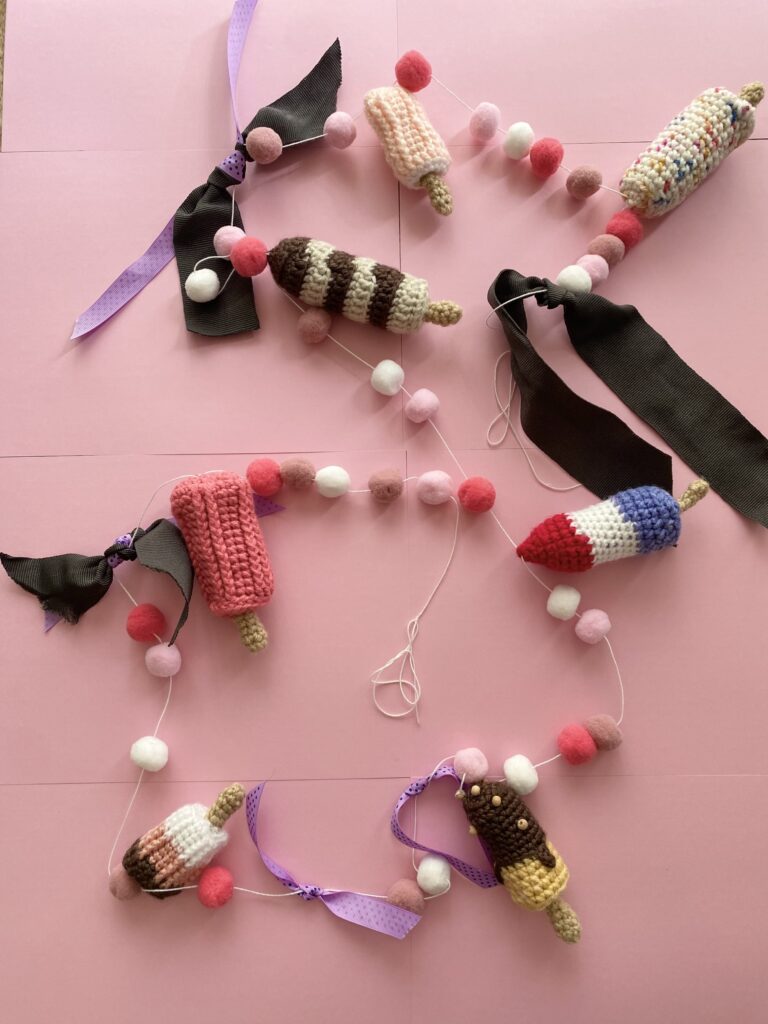
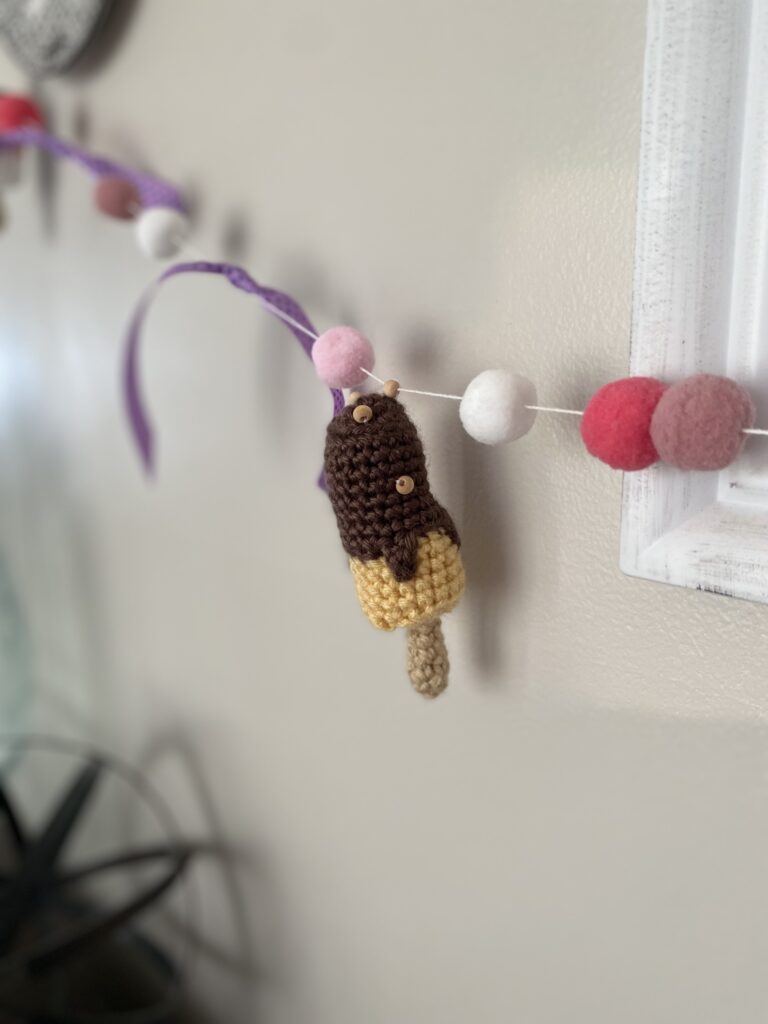
You did it! Way to go! Now hang up your Popsicle garland for everyone to see. And after all of that work, you know what you deserve? That’s right….a Popsicle!
Copyright
This pattern and its images are copyright protected and the sole property of Abby Holmgren. Please do not redistribute, transfer, or sell the pattern, or alter it to claim as your own. You may sell any products you create from this pattern. Please credit the designer by linking online listings to Briarberryfarmhouse.com or tagging @abbyroad1 #PopsicleParty.
If you would prefer a Printable download for this pattern click the download button.

