Swiftie Bracelets
Let’s face it. You’re going to the movie. You either weren’t able (like me) to spring for the tickets to the tour and so you missed it live, or you DID see it and you can’t wait to relive the fun. Either way, you’re probably going to need a few friendship bracelets.
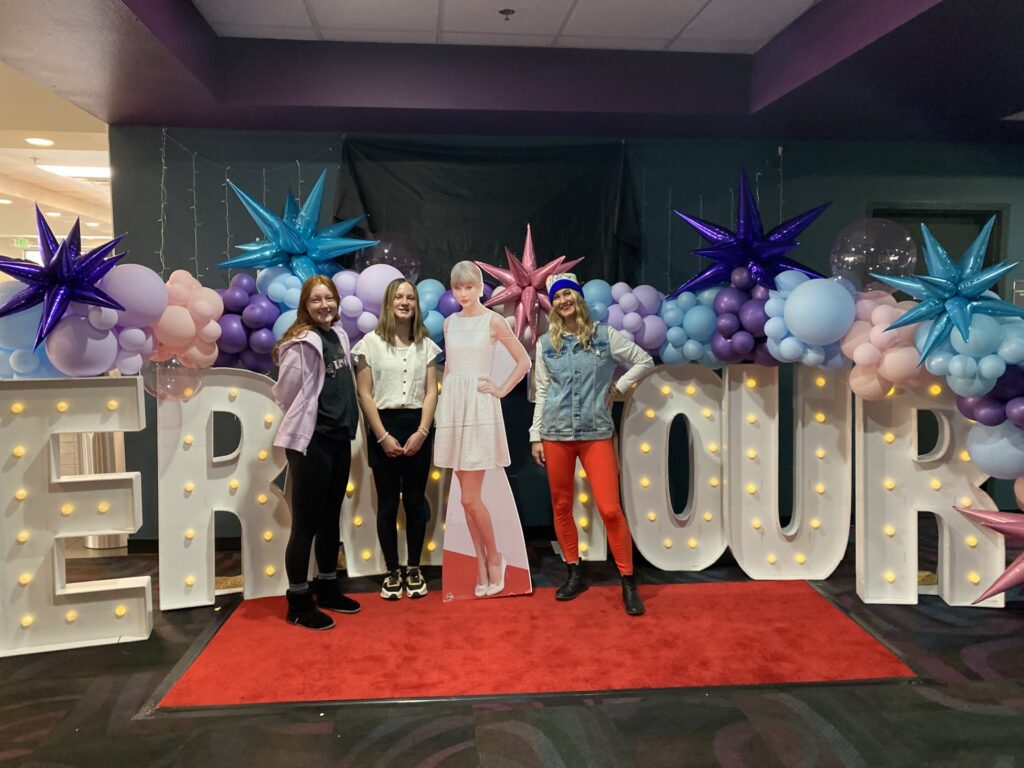
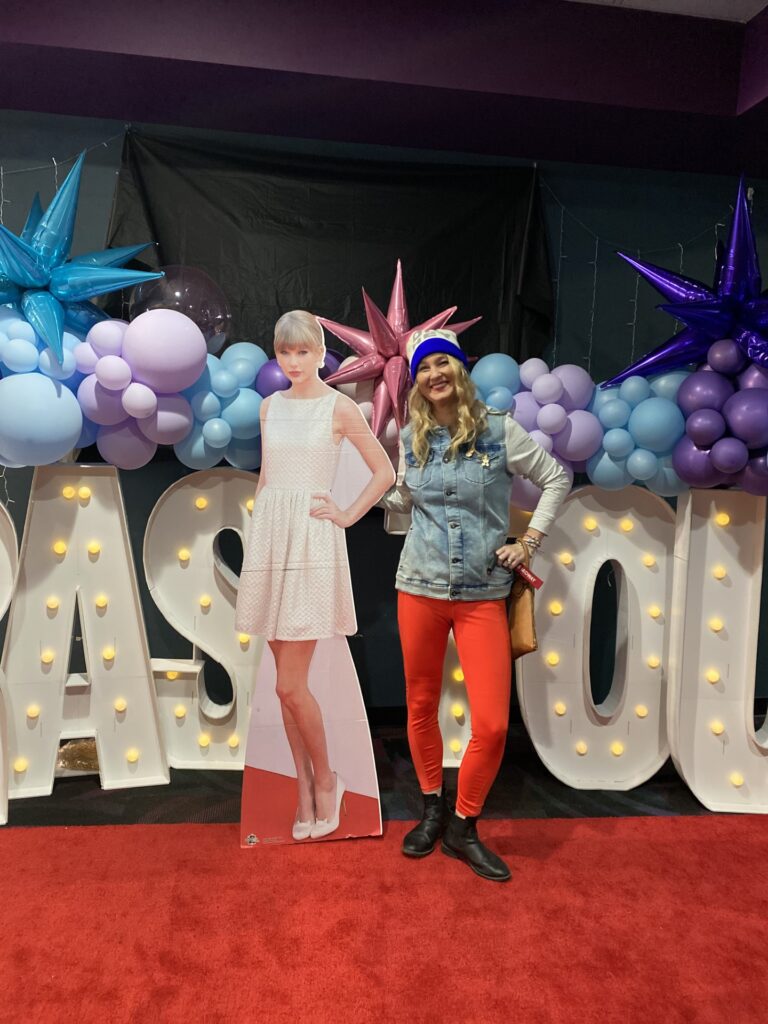
I took my daughters to the Eras Tour movie for our Witches Night Out and we had such a blast and made some fun memories. We loved the positive energy of the other (mostly tweens and teens) people in the crowd, the way everyone danced from their seats with a few very excited fans rushing to the front to dance with friends. We loved the music and how Taylor Swift somehow managed to play everyone’s favorite songs, and we really loved the friendship bracelet making and trading.
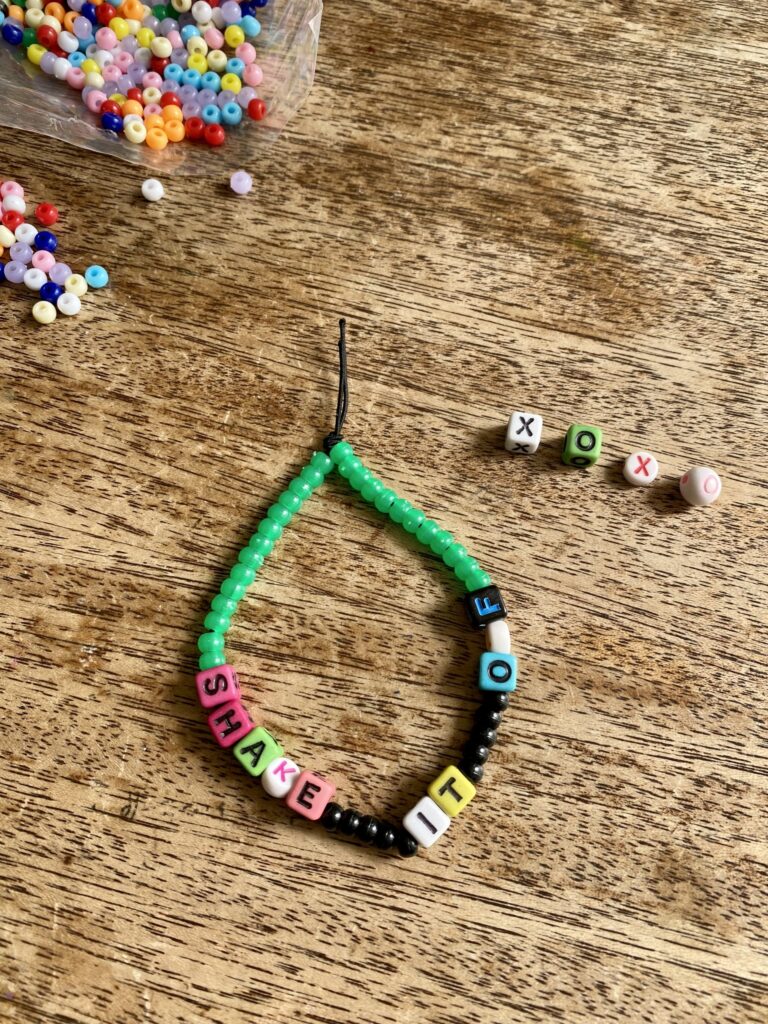
These easy to make bracelets made for a fun afternoon preparing for the show and having some time with my daughters to talk and laugh together while listening to music. I found myself texting some of my besties, asking them what their favorite Swiftie song was so that I could make them some bracelets too. We found out that even Dad’s are Swifties, when the Dad at our house picked “Shake it off” as his favorite song and has been wearing his bracelet ever since.
Supplies
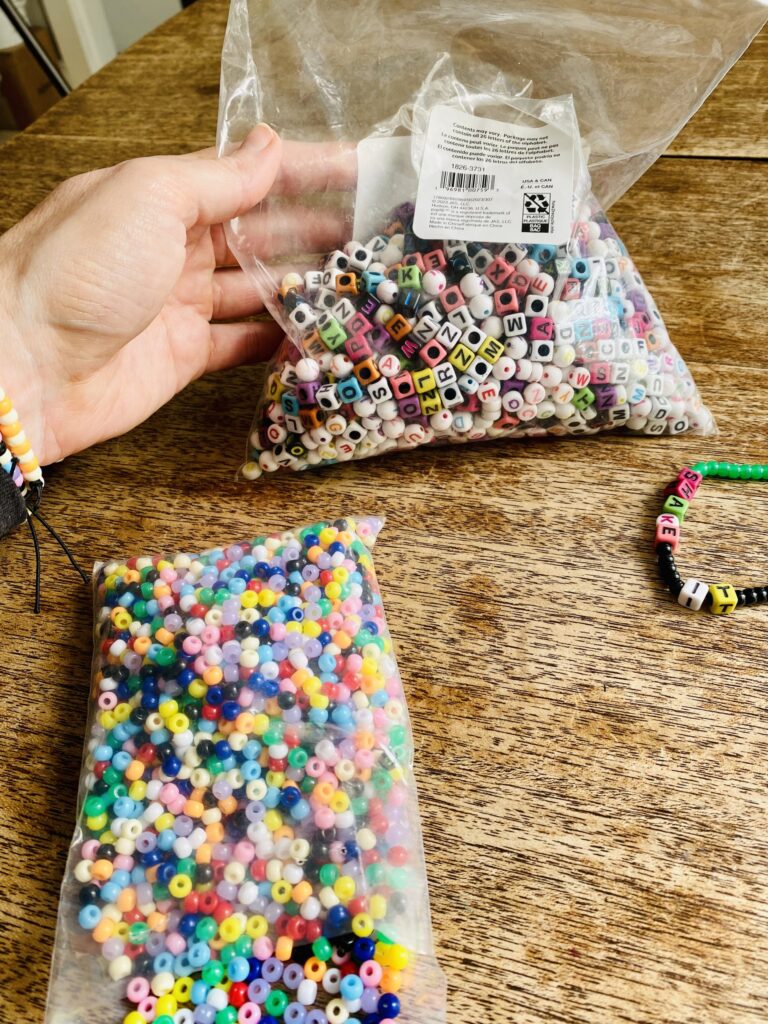
Alphabet Beads: I wanted a big variety with lots of beads for a good price. If you’re looking for a good mix of beads for a great price, try these. We’ve made about 20 bracelets with this bag with a lot of beads left over.
Pony beads: For lots of colors and a big bag of beads, try these.
Elastic or stretch cord: We made tons of bracelets with this package of assorted elastic cord.
Making the Bracelets
Making the friendship bracelets is easy and a lot of fun!
- Start by measuring your wrist and adding 3 inches to allow for making a knot.
- Cut a length of elastic cord the length of your wrist plus 3 inches.
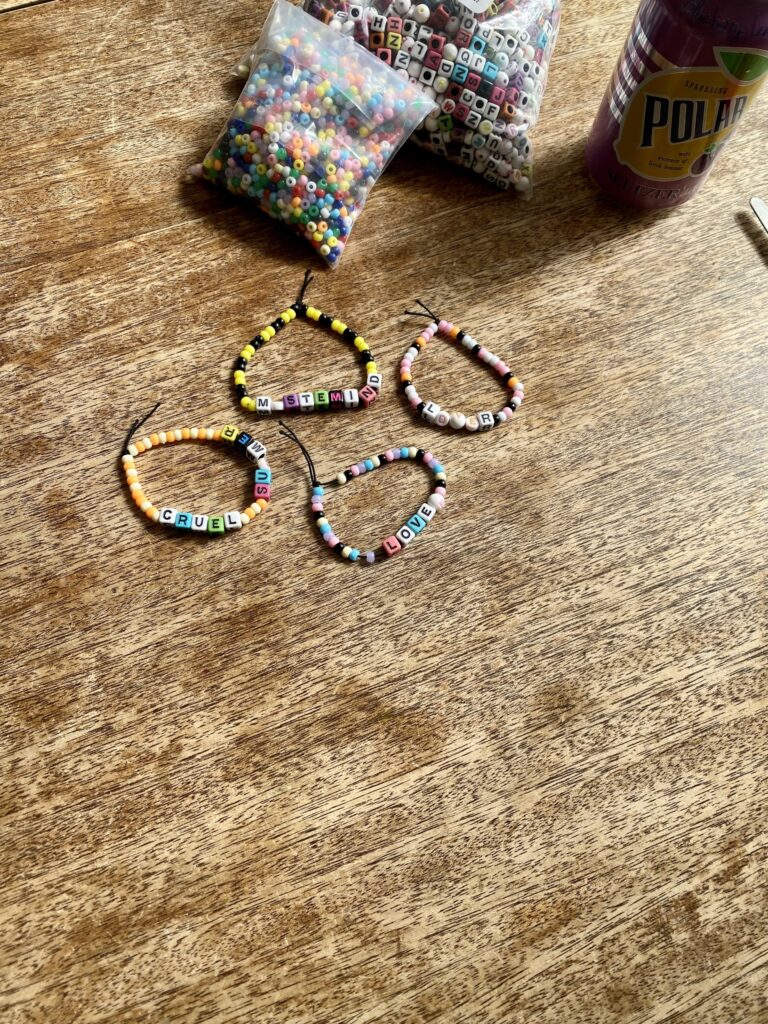
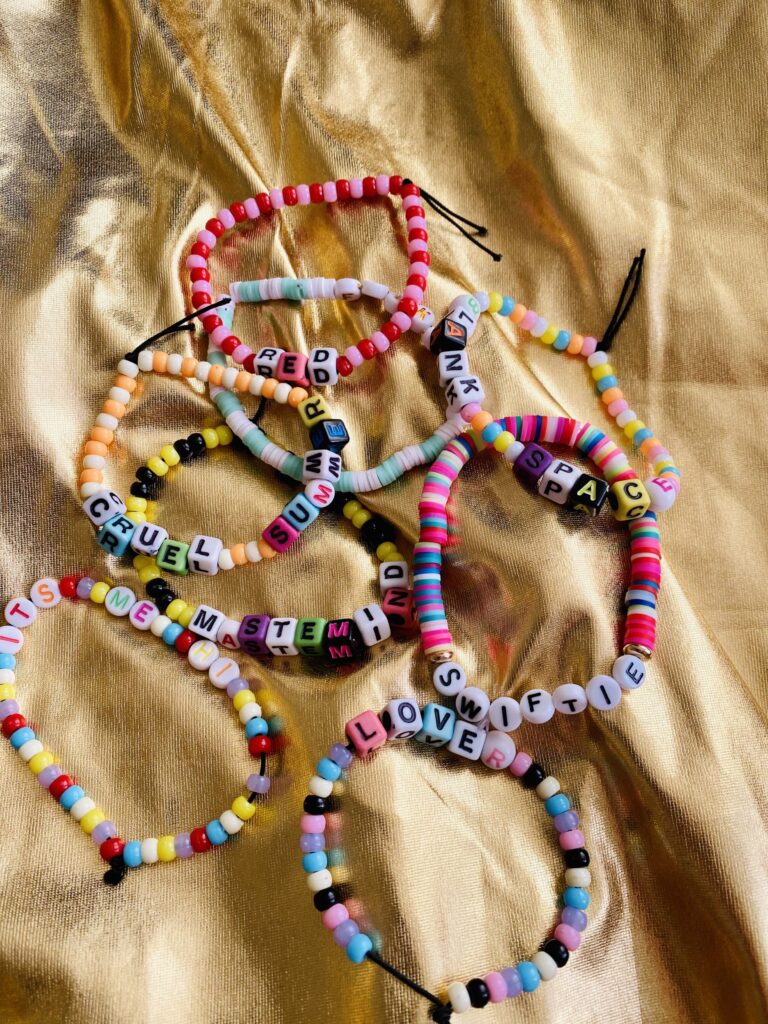
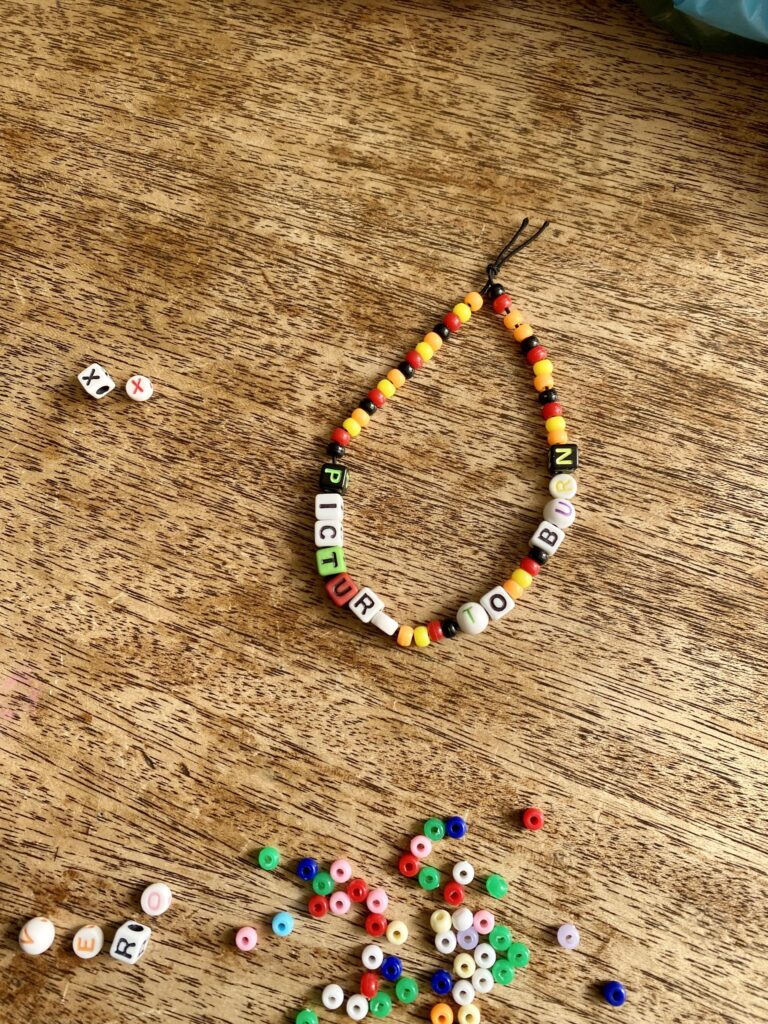
- Layout the alphabet beads in a line with the words you’d like to spell. For example All too Well, Lover, August, etc.
- Lay out the colored beads in the colors you’d like on both sides of the words. Put colored beads between words.
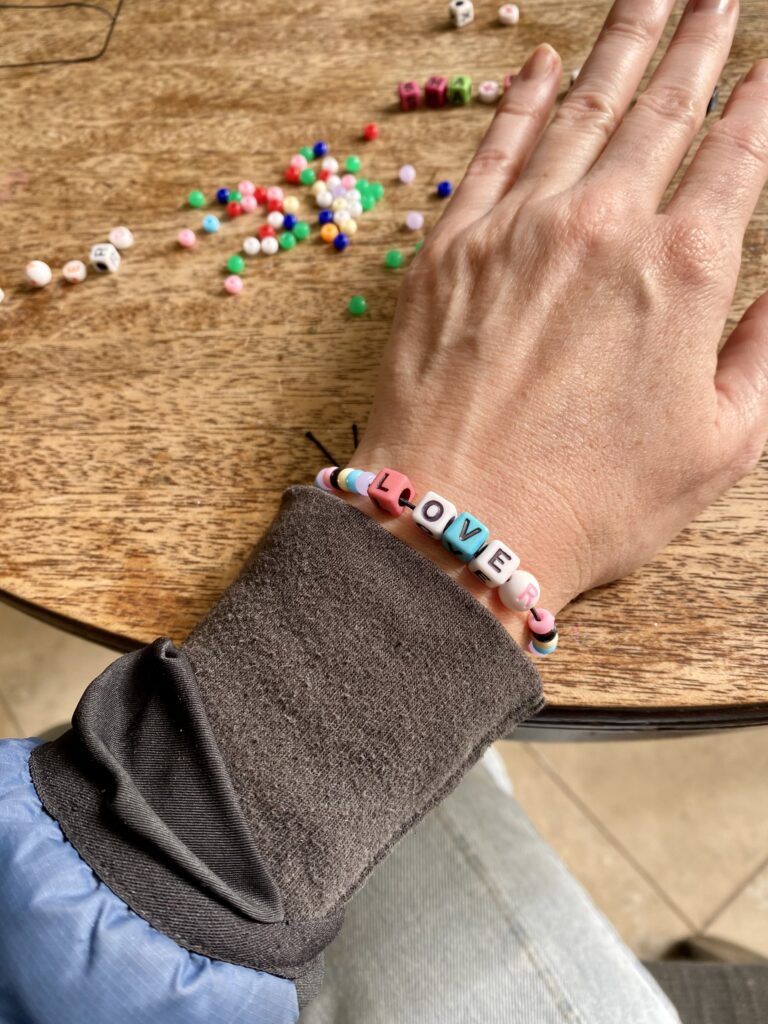
- Once you’ve set up the words and colored beads the way you’d like them to end up on your bracelet, begin threading them onto the elastic cord.
- Add enough beads to leave about one inch on each end.
- Knot the ends of the elastic cord together securely.
- Repeat to make a bracelet for all of your favorite songs and a be sure to make some for trading at the show.
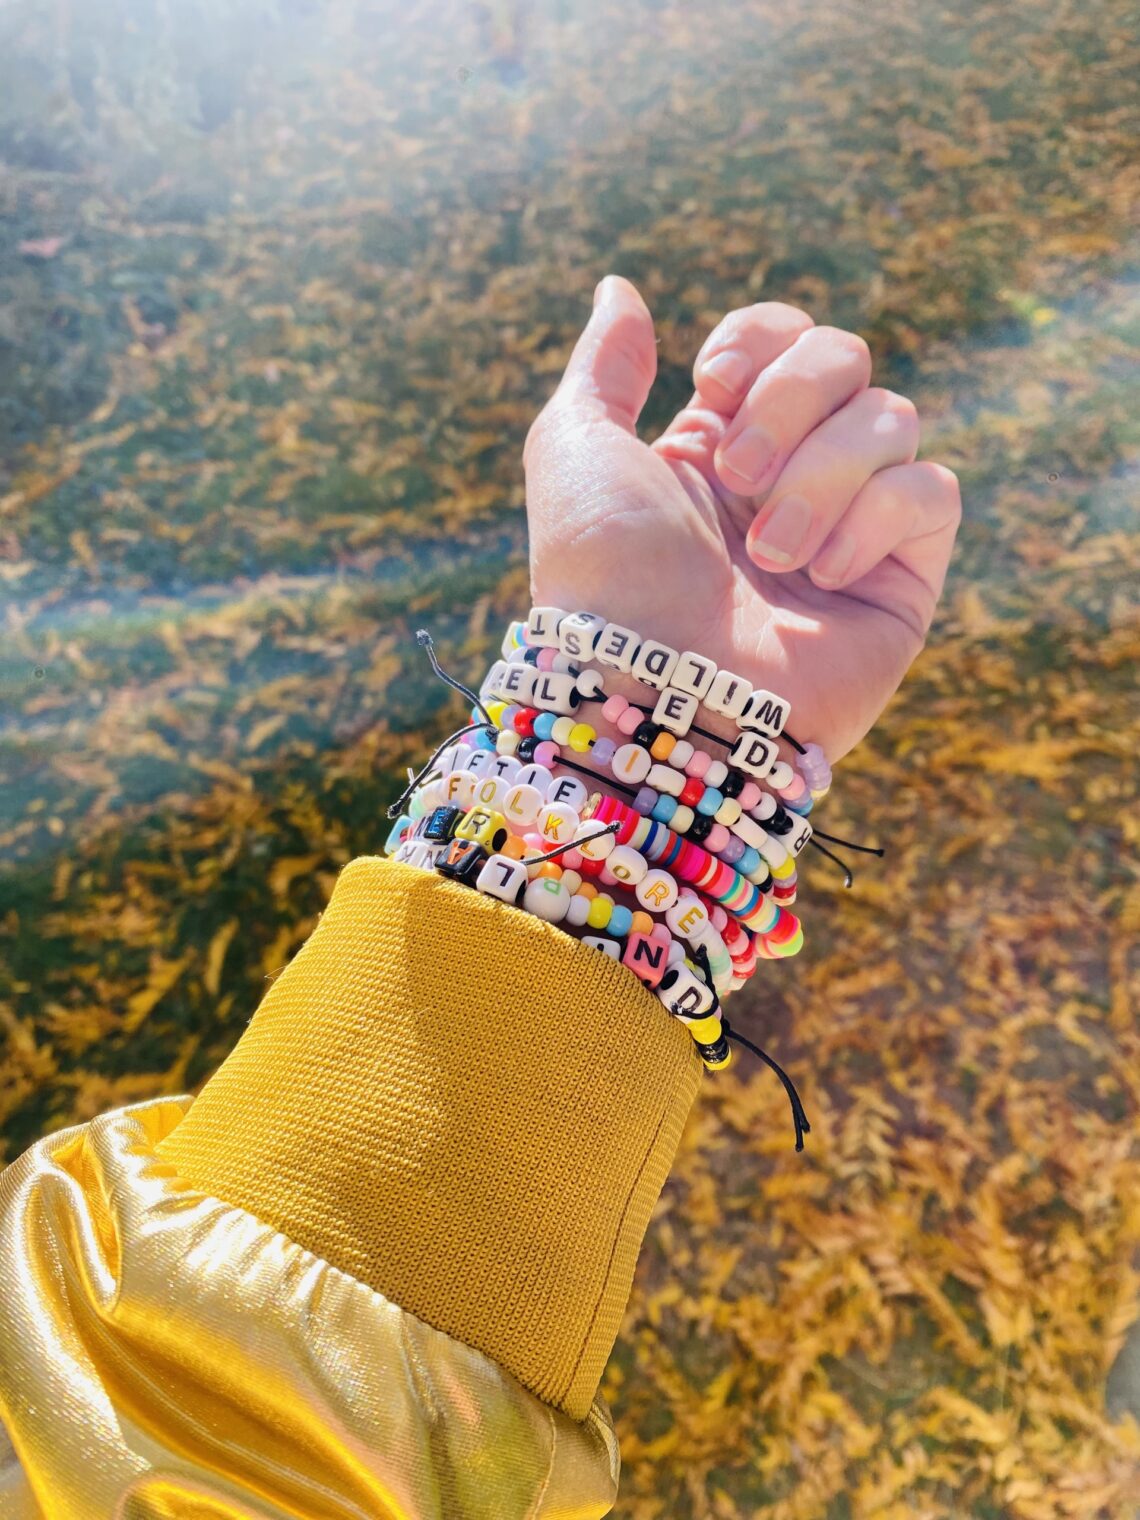
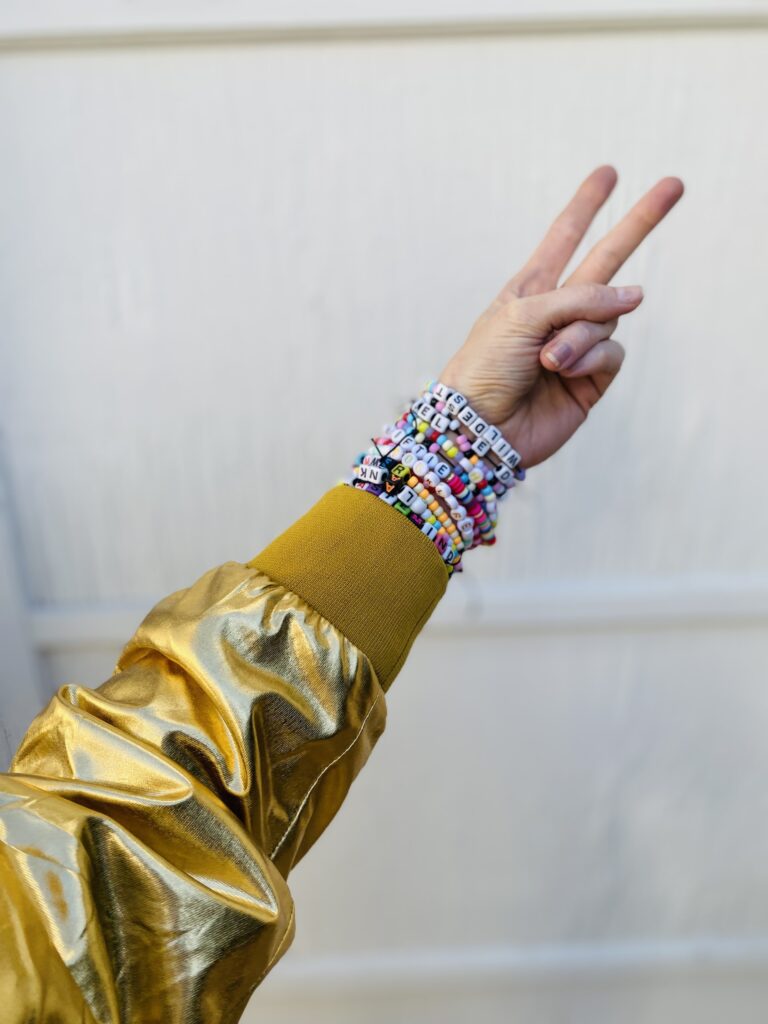
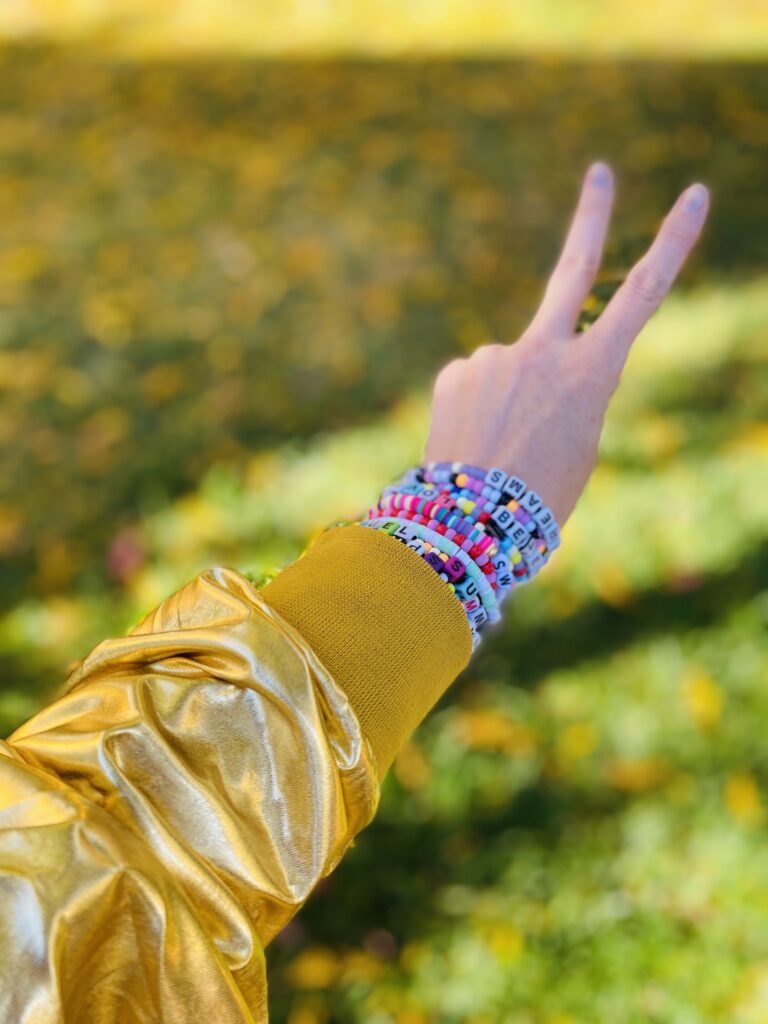
Throw on your best Swiftie attire, some red lipstick and your bracelets and get to the show! You’re a Swiftie now.

Briarberry
My name is Abby Holmgren and I love to create and share ideas through crochet, sewing, fashion, cooking, and visual arts. Briarberry Farmhouse is where I share inspiration.