Waffle Stitch Pillows
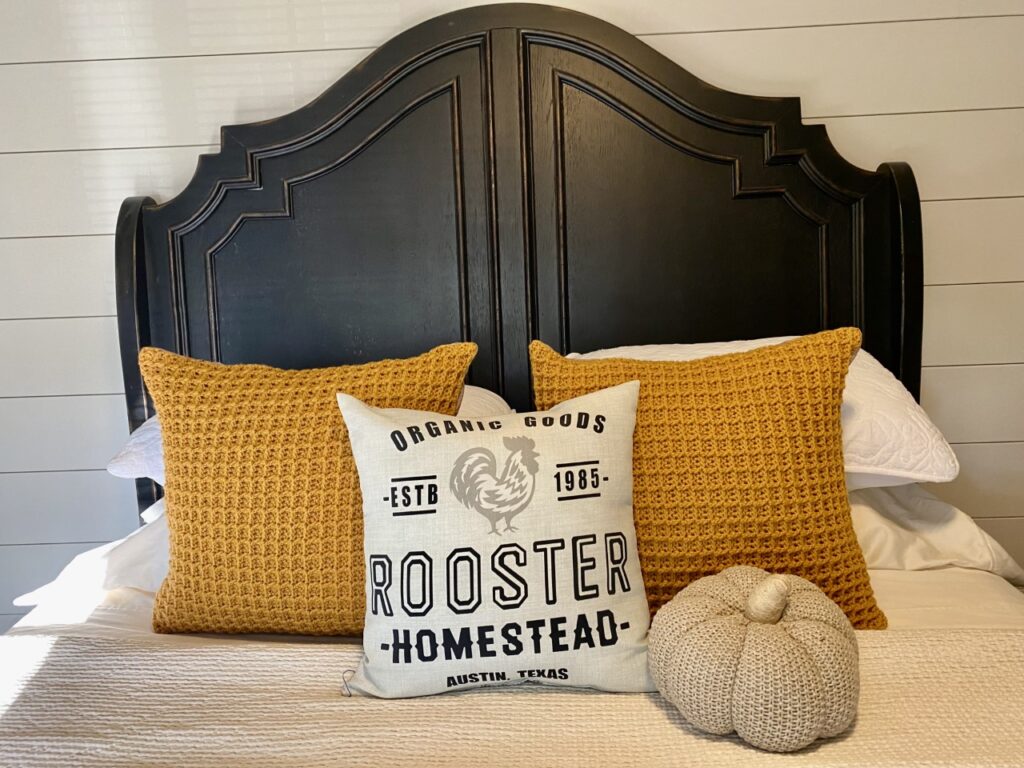
As soon as the bustling excitement of Halloween is over, I find myself tidying my home and reaching for all of the details that add coziness and warmth. Cooler temperatures have crept in and my way of welcoming each season in its time is to create soft and comfortable spaces.
Waffle stitch for crochet is one of my favorite stitches. It’s not too difficult to learn and once you have it, you’ll love it’s repetition and soothing texture. These pillows work up more quickly than they seem because we will only be crocheting the front panel and then using our sewing skills to make a zippered back. A sewing machine and basic sewing skills are recommended for this project but it can be hand stitched as well.
Materials
- 2 skeins Big Twist Yarn in Mustard, (Or any color of a worsted weight yarn. )
- Size H8 5.00 mm crochet hook.
- 20-22 inch invisible zipper in Golden Tan.
- 1 yard of cotton muslin.
- 20 inch pillow form or Fiberfil.
Gauge:
15 Stitches X 11 Rows.
Pattern used for gauge: Double crochet
Size:
Size: 20″ X20″ pillow.
Abbreviations:
CH – Single Crochet
FPDC– Front Post Double Crochet
DC – Double Crochet
Notes:
This Cozy throw pillow uses the waffle stitch to create texture and decorative interest. The pattern combines crocheting and sewing in pillow construction with the addition of a zipper for ease of washing. Let’s get started.
Special Stitches:
Front Post Double Crochet:
Step 1: Yarn over
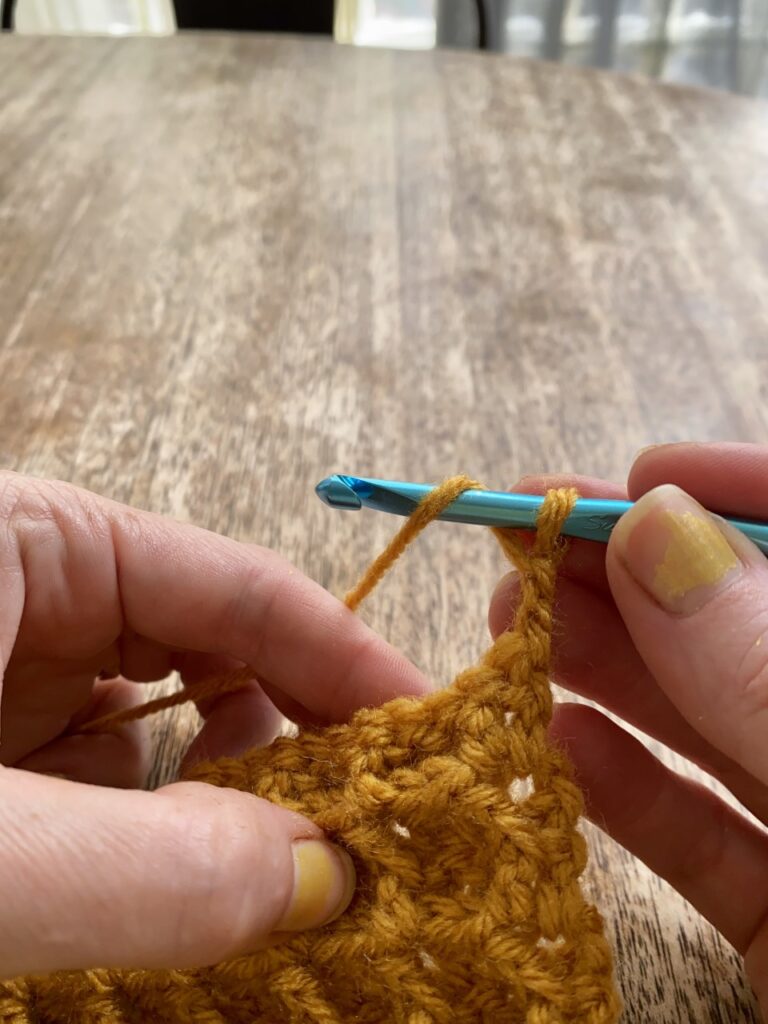
Step 2: Insert hook around the back of the front post of the next Stitch.
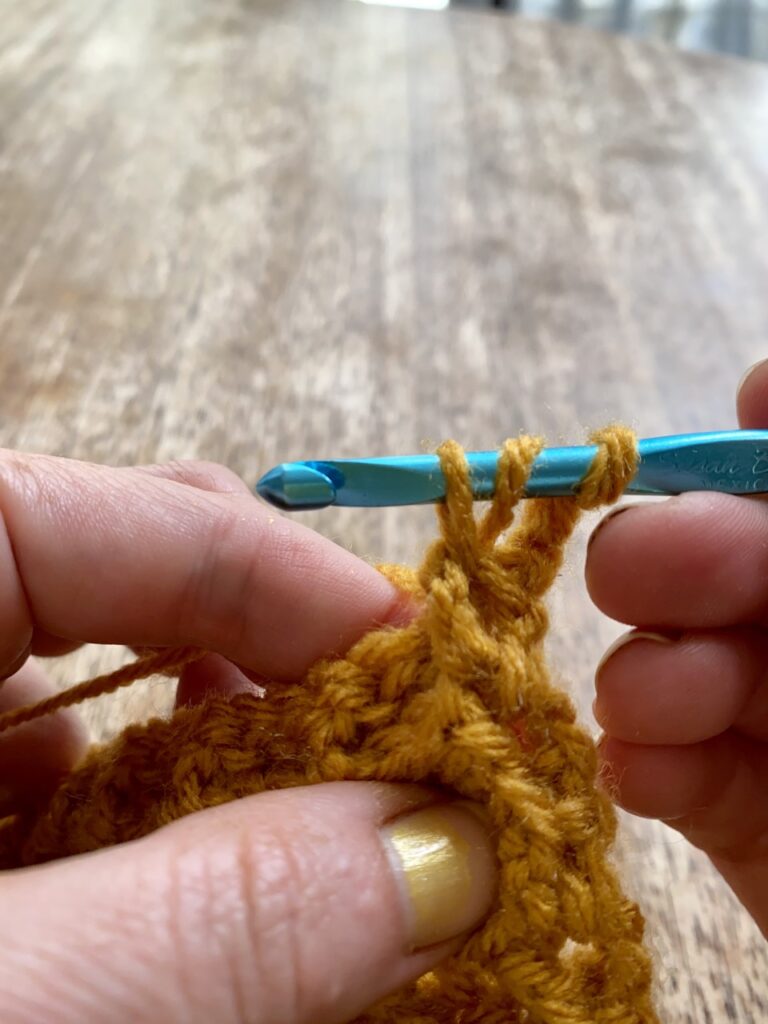
Step 3: Yarn over and pull up a loop.
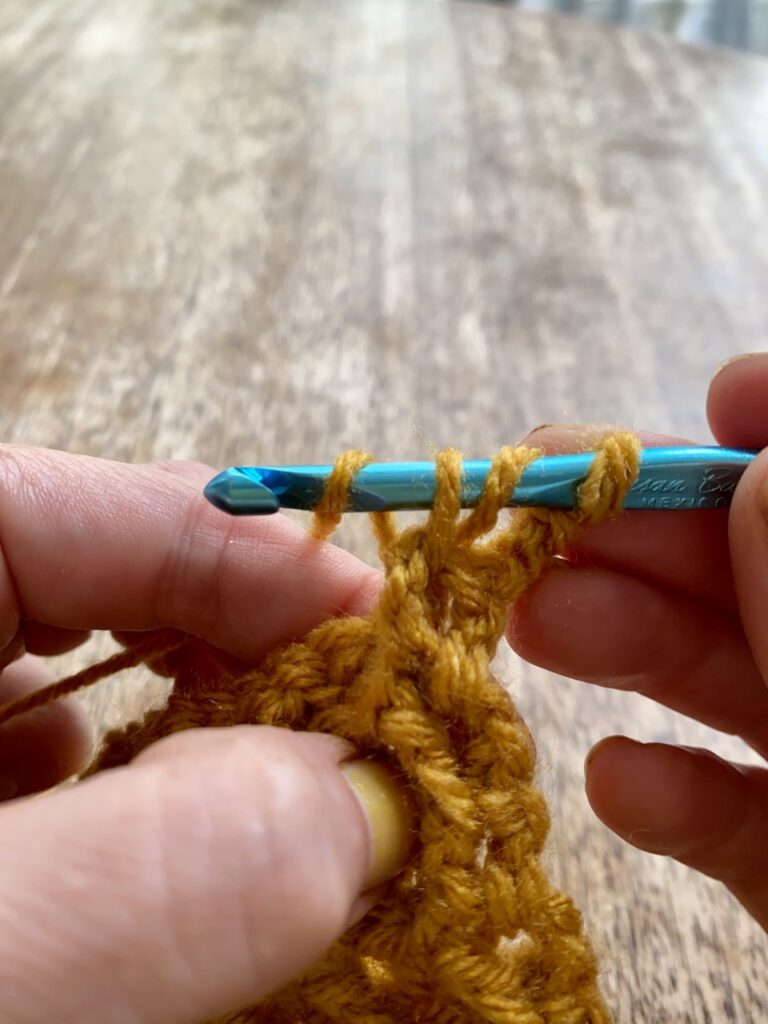
Step 4: Yarn over and pull through two loops on the hook.
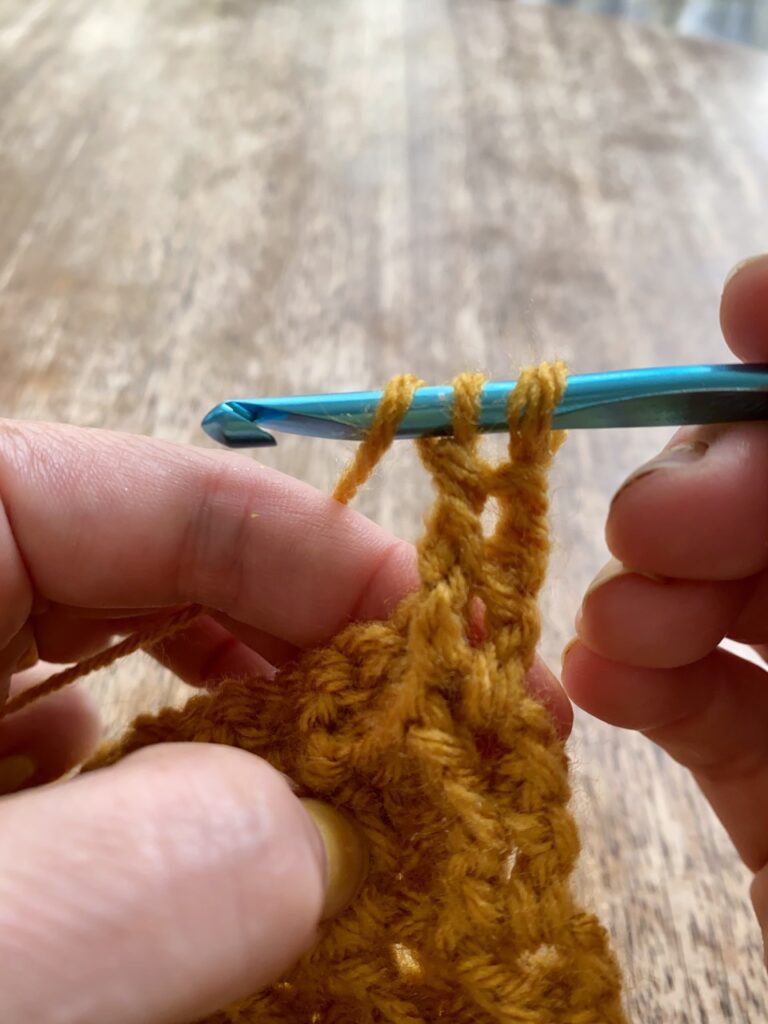
Step 5: Yarn over and pull through the two remaining loops on the hook.
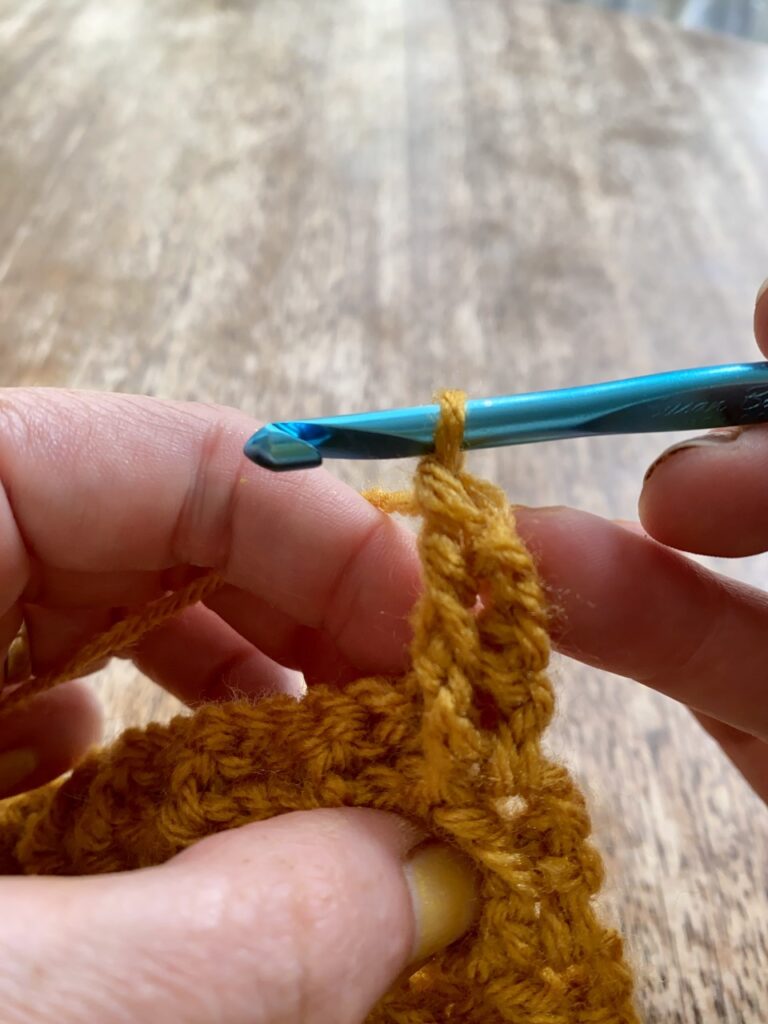
Step 6: Front Post Double Crochet complete
Pattern Instructions
Front Panel:
Rnd 1: CH 68.
Rnd 2:DC in the 4th chain from the hook. (Skipped stitches count as 1 DC.) DC in each remaining CH across. CH 2, turn. (65 DC)
Rnd 3 :* FPDC in next ST. DC in next 2 ST,** Repeat from * to ** across. CH2 , turn. (65 DC.)
Rnd 4: DC in next ST, * FPDC in next 2 ST,** repeat from * to ** across. CH 2, turn.
Rnd 5: * FPDC in next ST, DC in next 2 ST**, repeat from * to ** across.
Continue alternating rows 4 and 5 to the length needed for the pillow. (My finished pillow is 19.5 X 19.5 inches.) After you have reached the desired length, fasten off and weave in ends.
Pillow Assembly
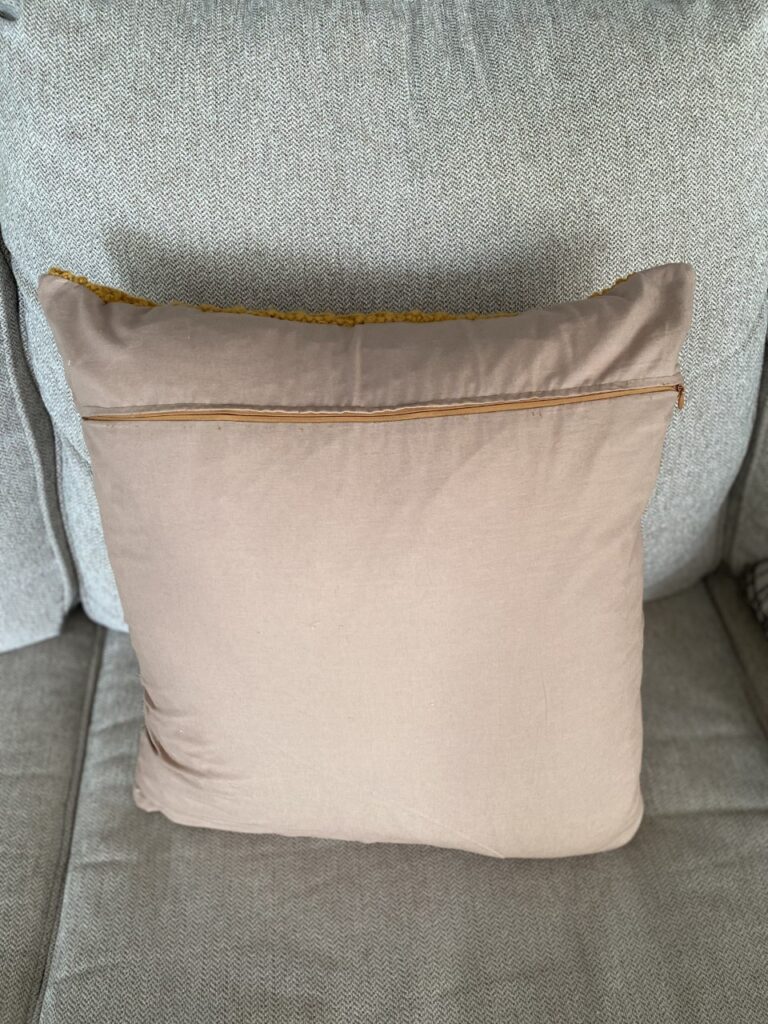
For my pillow I used a 20X20 inch pillow form. The waffle stitch panel will be the front of the pillow and the back will be a cotton muslin backing with an invisible zipper for ease of washability, Shown here. If you’ve sewn a pillow before, this will be similar with the addition of the crocheted waffle panel at the front.
After completing your 20X 20 inch waffle stitch panel. Cut a 20X20 in fabric square. This square will go behind the waffle panel to give it stability, and is not the back of the pillow.
Next, Cut another square 21.5″ X 20 inches. Length is longer because we will be adding the zipper to this panel.
Now, ensuring that you are cutting the length rather the width, measure 4 inches from the top of the square and cut across. Now you should have a 4″X 20″ piece and a 17.5″X 20″ piece.
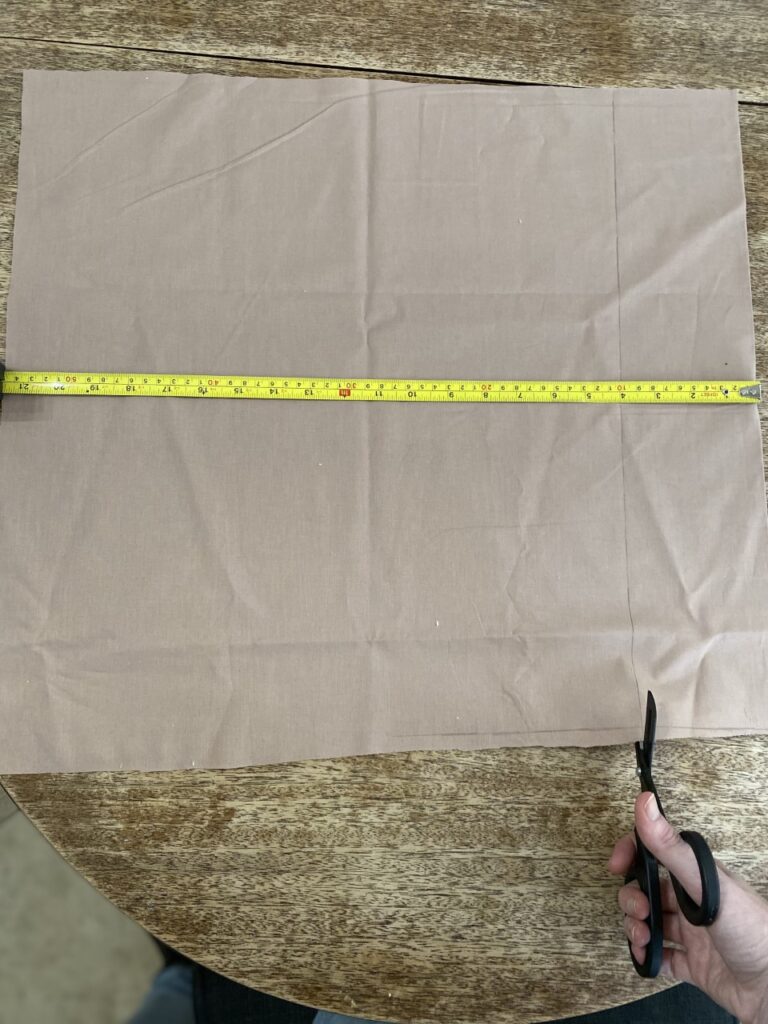
With right sides together, place 4 inch piece over 17.5 inch piece with edges aligned and baste across the cut seam using sewing machine or hand stitch.
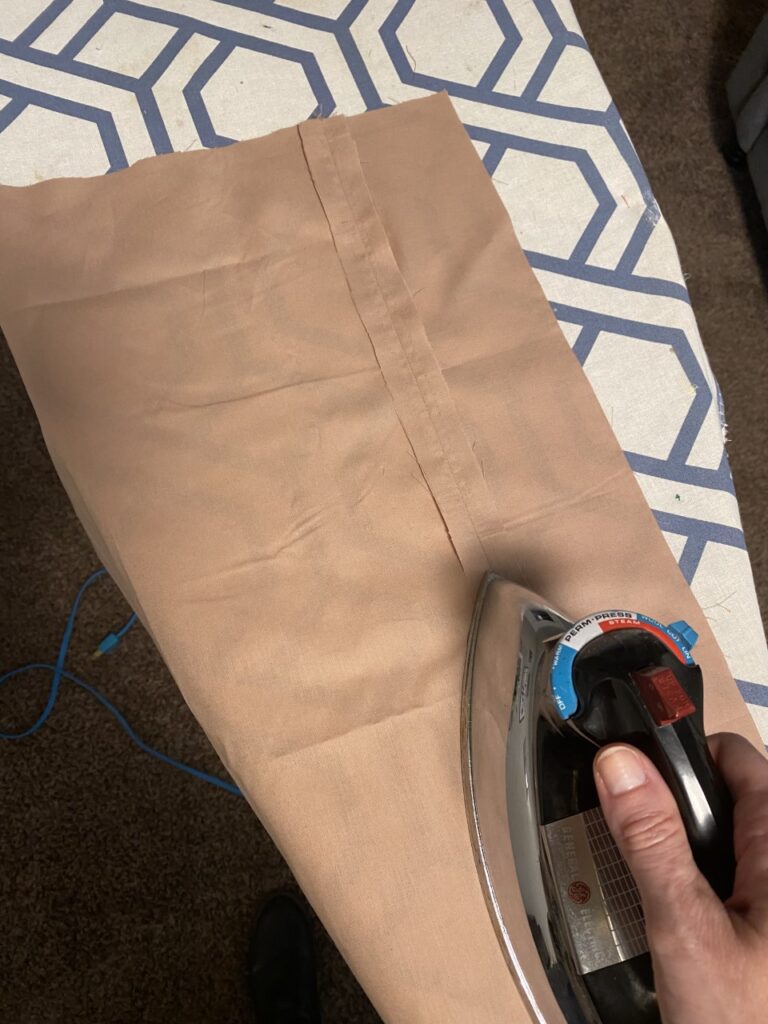
Open seam ends and press flat to prepare for zipper placement. See Photo below.
Zipper:
From here you can follow the instructions printed on
your zipper package or continue with these
Instructions.
1: fit sewing machine, if using, with a zipper foot.
2: Open zipper and iron zipper coils flat from the wrong side using a synthetic setting on the iron. You should be able to see two rows of stitching once ironed.
3: Pin the right side of the zipper to the right side of the basted edge of seam allowance with the coil of the zipper along the stitched seam line. Stitch right side of zipper to seam allowance.
4: Close zipper and pin free side of the zipper tape to the other side seam allowance. Stitch in place .
5: Unpick basted seam and press.
Clip long end of zipper if needed and sew carefully across the zipper teeth to secure the end of the zipper.
Now we’re ready to stitch the pillow seams.
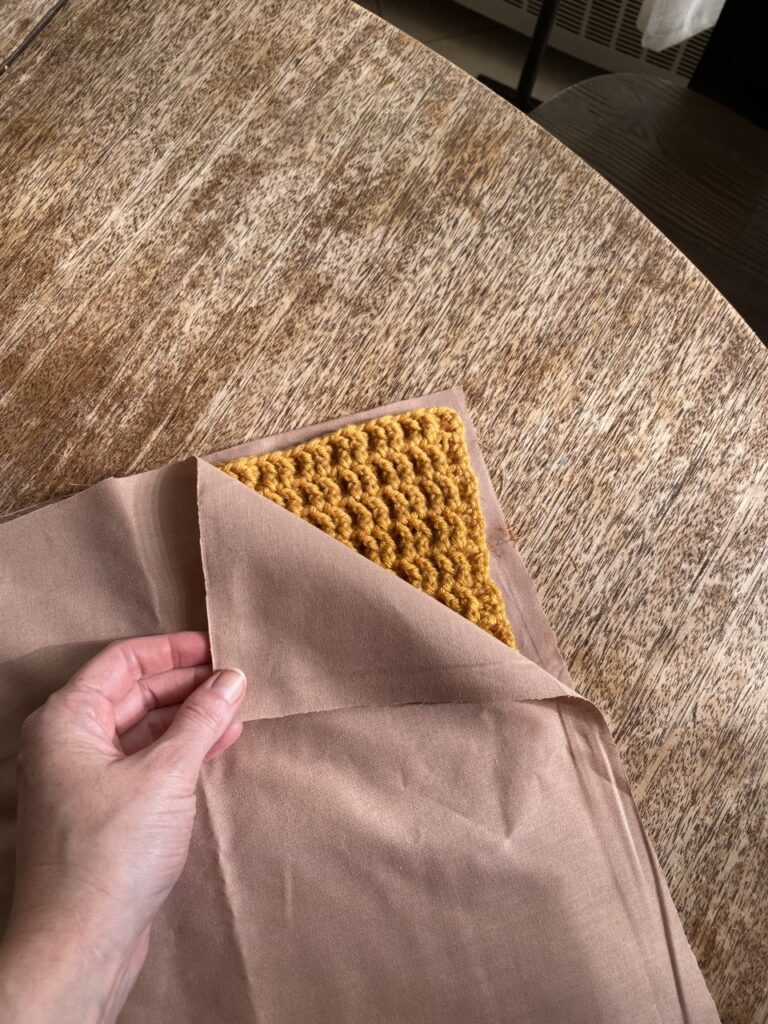
Place Zipper panel right side up, then lay the crocheted waffle panel waffle side down on top of the zipper panel. Now place the other muslin panel over the top of the backside of the waffle panel. Align edges and pin seams together. (Because waffle panel has a tendency to shrink down, you may have to gently stretch to fit the other panels. The important thing is to sandwich the edges of the waffle panel between the fabric panels while sewing. ) Before sewing all 4 edges, unzip the zipper to be able to turn right side out.

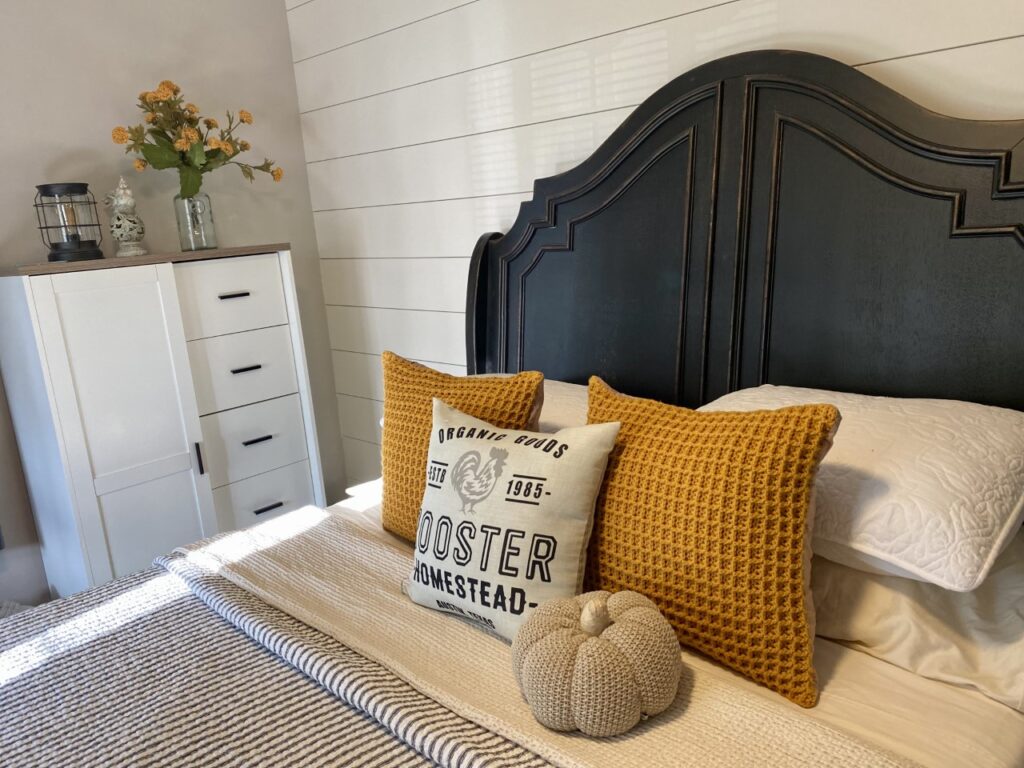
After all seams have been stitched. Turn right side out and stuff with pillow form or fiber fill.
If you would prefer a printable download of this pattern, click the download button.
Copyright
This pattern and its images are copyright protected and the sole property of Abby Holmgren.
Please do not redistribute, transfer, or sell the pattern, or alter it to claim as your own. You may sell any products you create from this pattern. Please credit the designer by linking online listings Briarberryfarmhouse.com .


