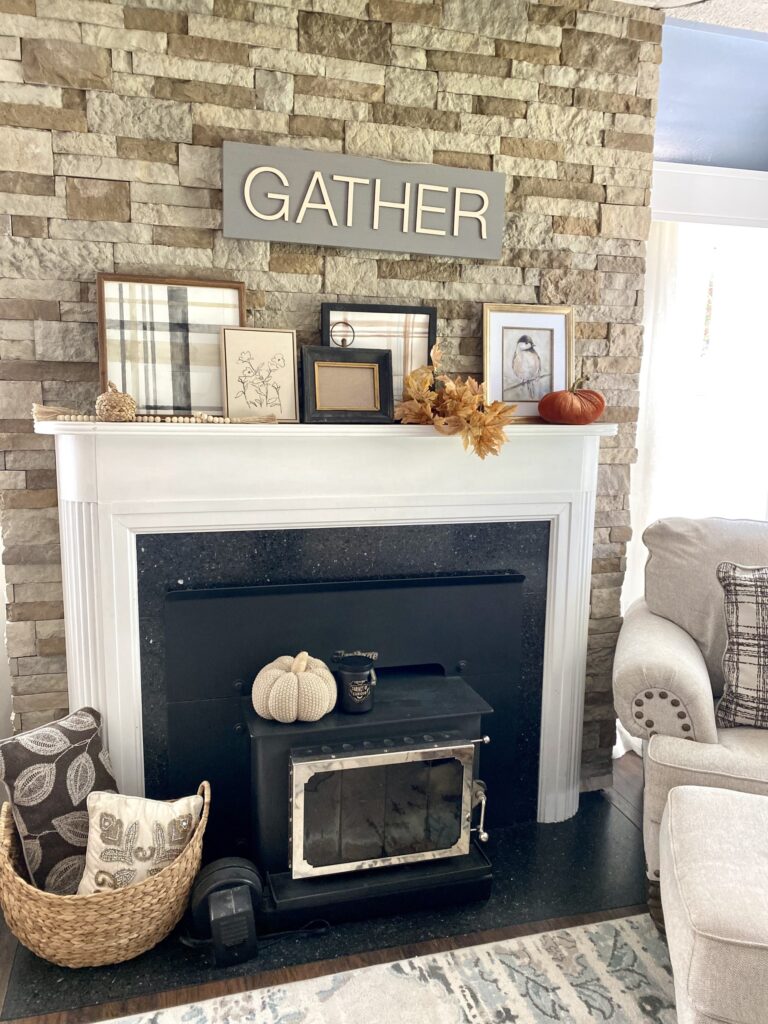
Mad for Plaid
Comfy and soft with stripes and checks nodding to colors found in nature. In a search for how to add a cozy element to my home this fall, plaid prints, with their calming colors and understated beauty, have held my attention. Maybe it’s the way that a light flannel layer is just right to warm up when evenings and mornings are starting to give hints about cooler temperatures ahead, or maybe it’s the variation of color palettes that complement autumn so well. It is timeless and seasonably versatile, but this Autumn, I am Mad for Plaid.
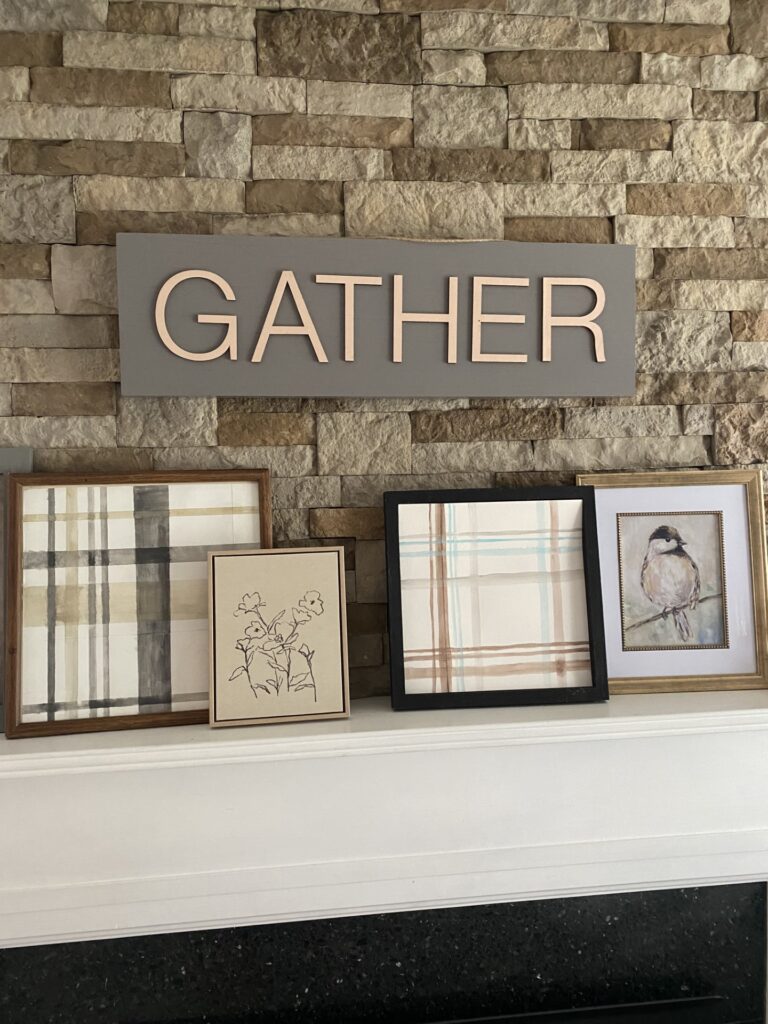
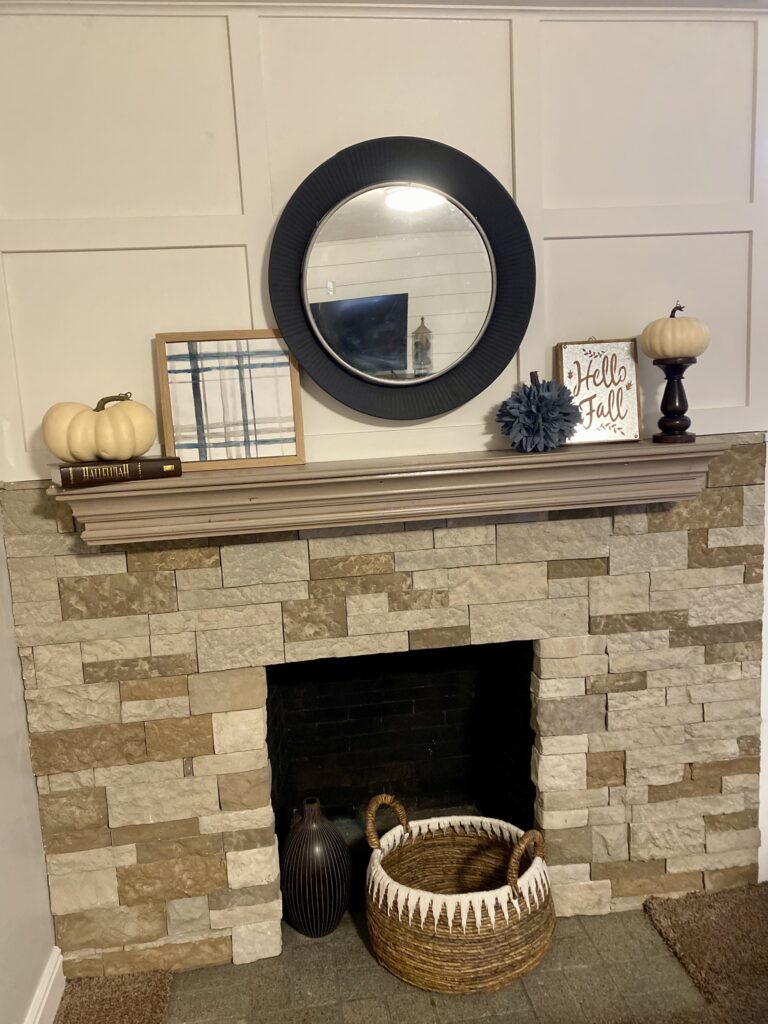
Try it with colors of your choice. Plaid in pallettes that coordinate with your home will be lovely.
Let’s Watercolor
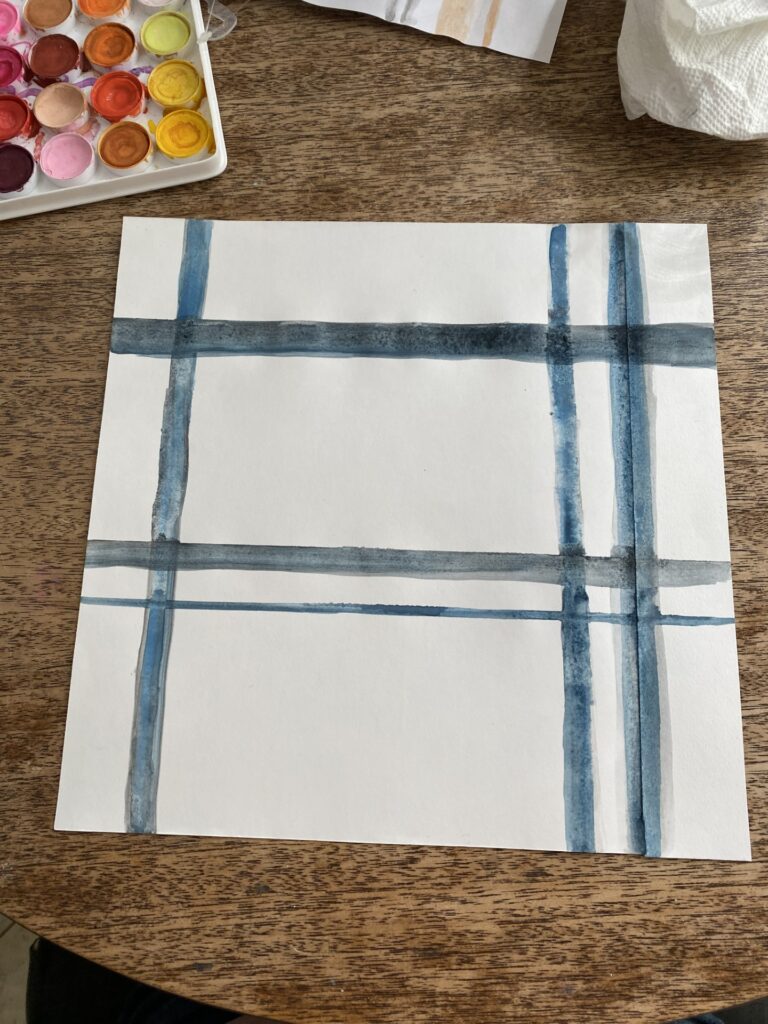
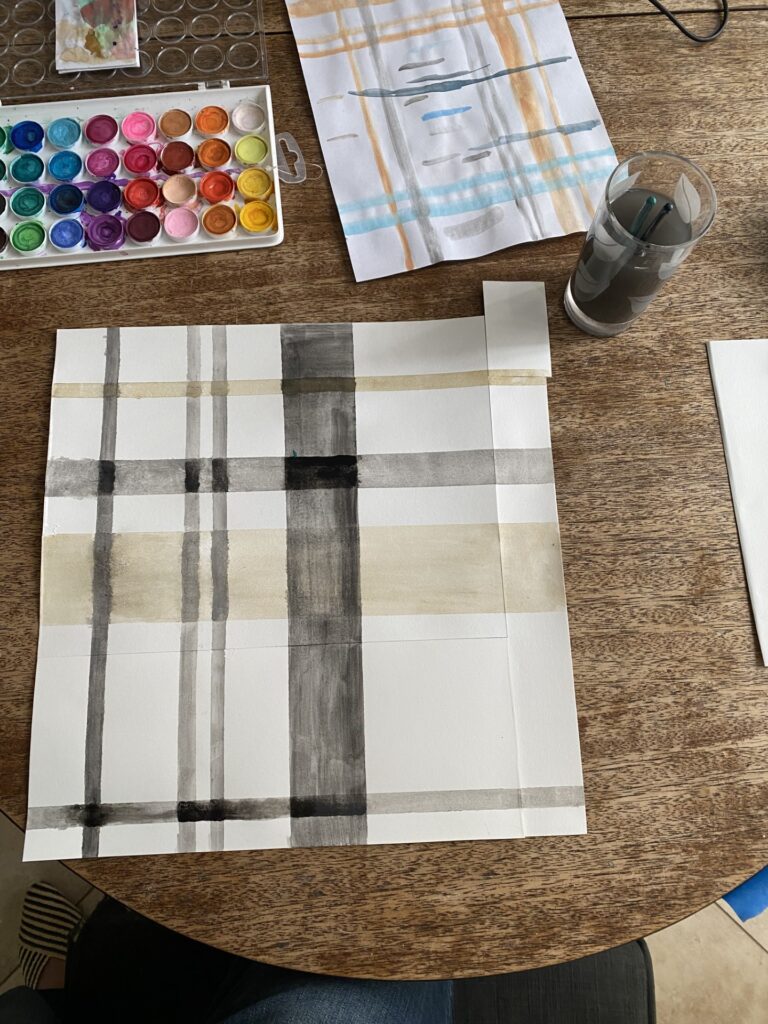
Would you like to try a watercolor painting project simple enough even a beginning artist will be successful completing? In my browsing for Plaid inspiration, I came across several art pieces depicting Plaid and thought, “I may be able to paint something like that myself.” I’ll show you how and I promise you can do it too.
Materials:
Watercolor paper
Watercolor pallette
Various sizes of paint brushes
Frames (I thrifted mine from the thrift store)
Painters masking tape, if desired.
- To begin, cut your watercolor paper to the desired size that will fit in your frames.
- Use a practice paper to practice different sizes of brushes and to try out the colors and patterns you’d like. You might find that using painters tape will help you to make straighter, more definite lines, I liked a variety of more definite lines and some free hand ones. I also found that I had better success when I started with the darker colors first.
- Once you have practiced a plaid pattern that you like with your chosen colors, it’s time to go to the watercolor paper.
- With your darkest color, paint the lines going in both directions. Allow to dry.
- After the darkest color has dried, paint the lines of the next darker color and allow to dry.
- Continue painting until all of the desired colors from darkest to lightest have been painted.
- Now, allow your painting to dry completely.
- Place in frame and hang it up for decoration. You did it!
Briarberry
My name is Abby Holmgren and I love to create and share ideas through crochet, sewing, fashion, cooking, and visual arts. Briarberry Farmhouse is where I share inspiration.