The Day the Crayons Became Crochet Toys!
A favorite story can help create the best memories. I have loved reading to my kids over the years. During times of excitement, sadness, anxiety, joy and everything in between, it seems that reading a good book always adds an extra bit of coziness and fun.
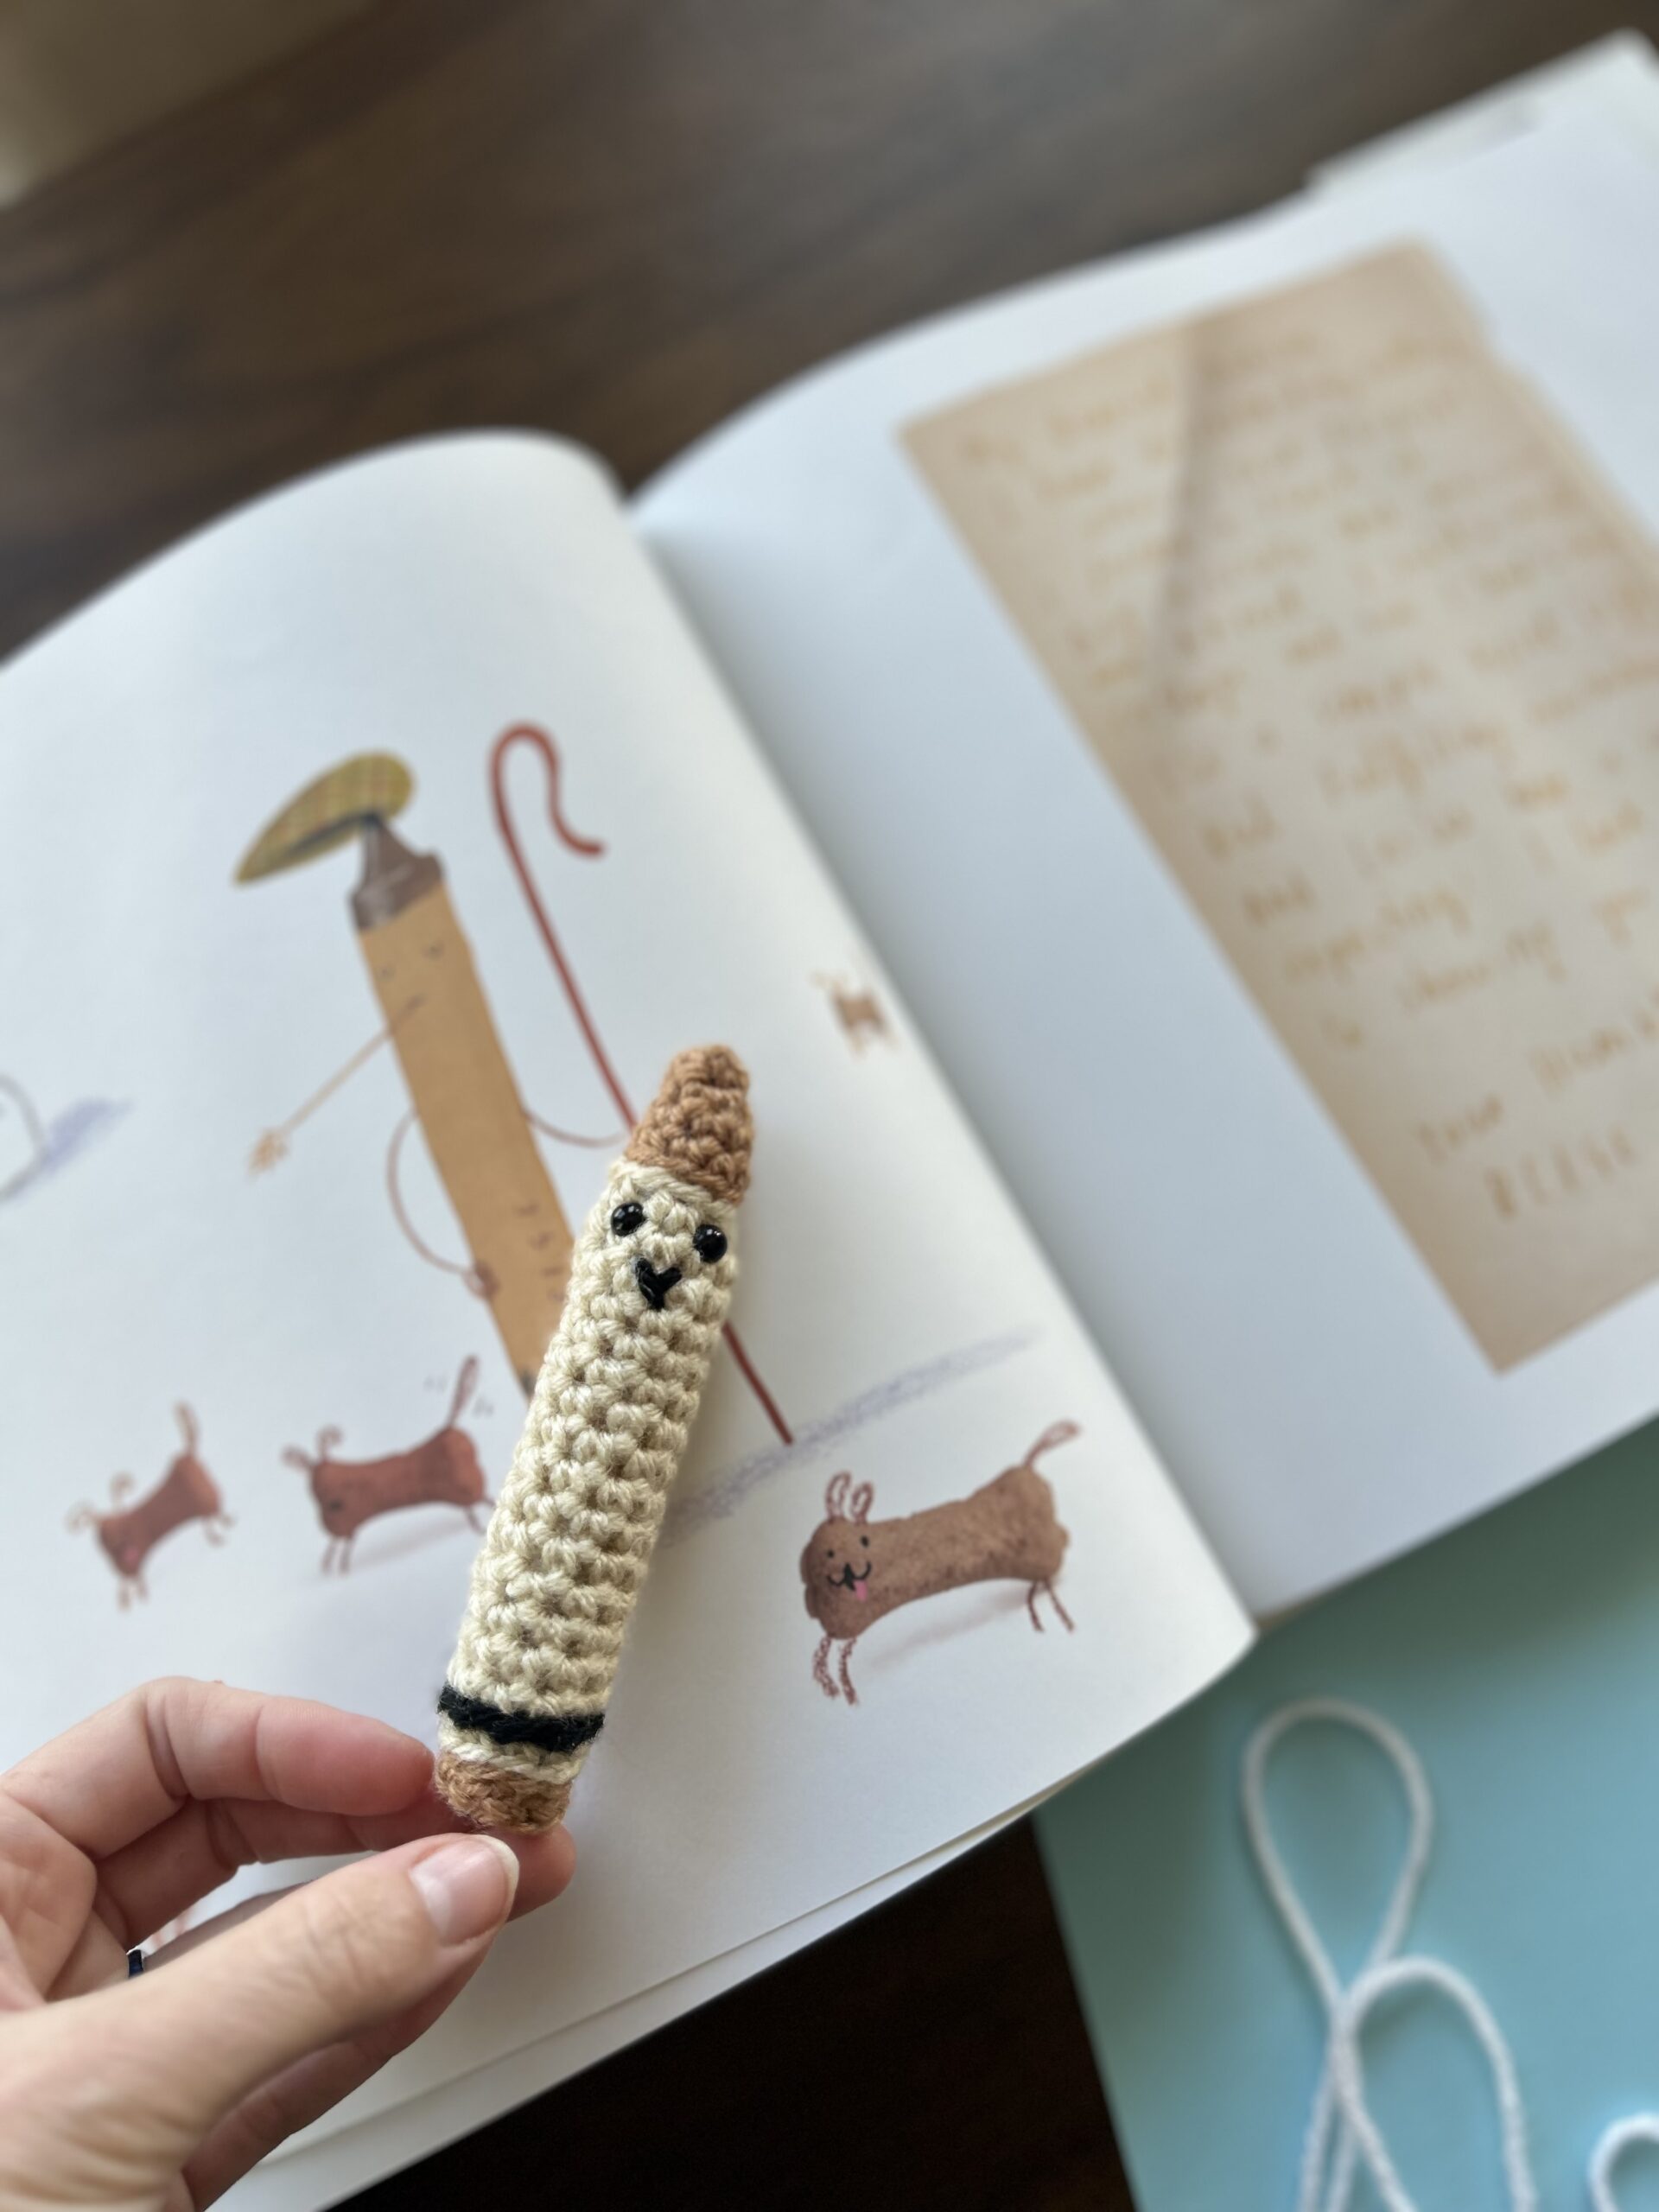
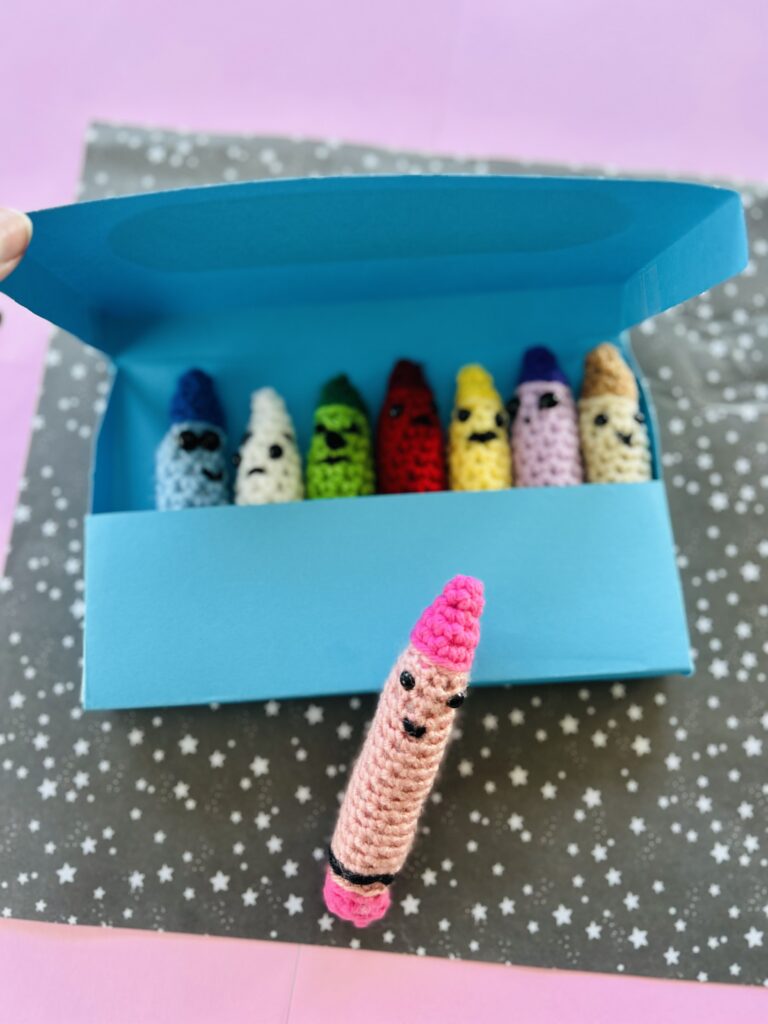
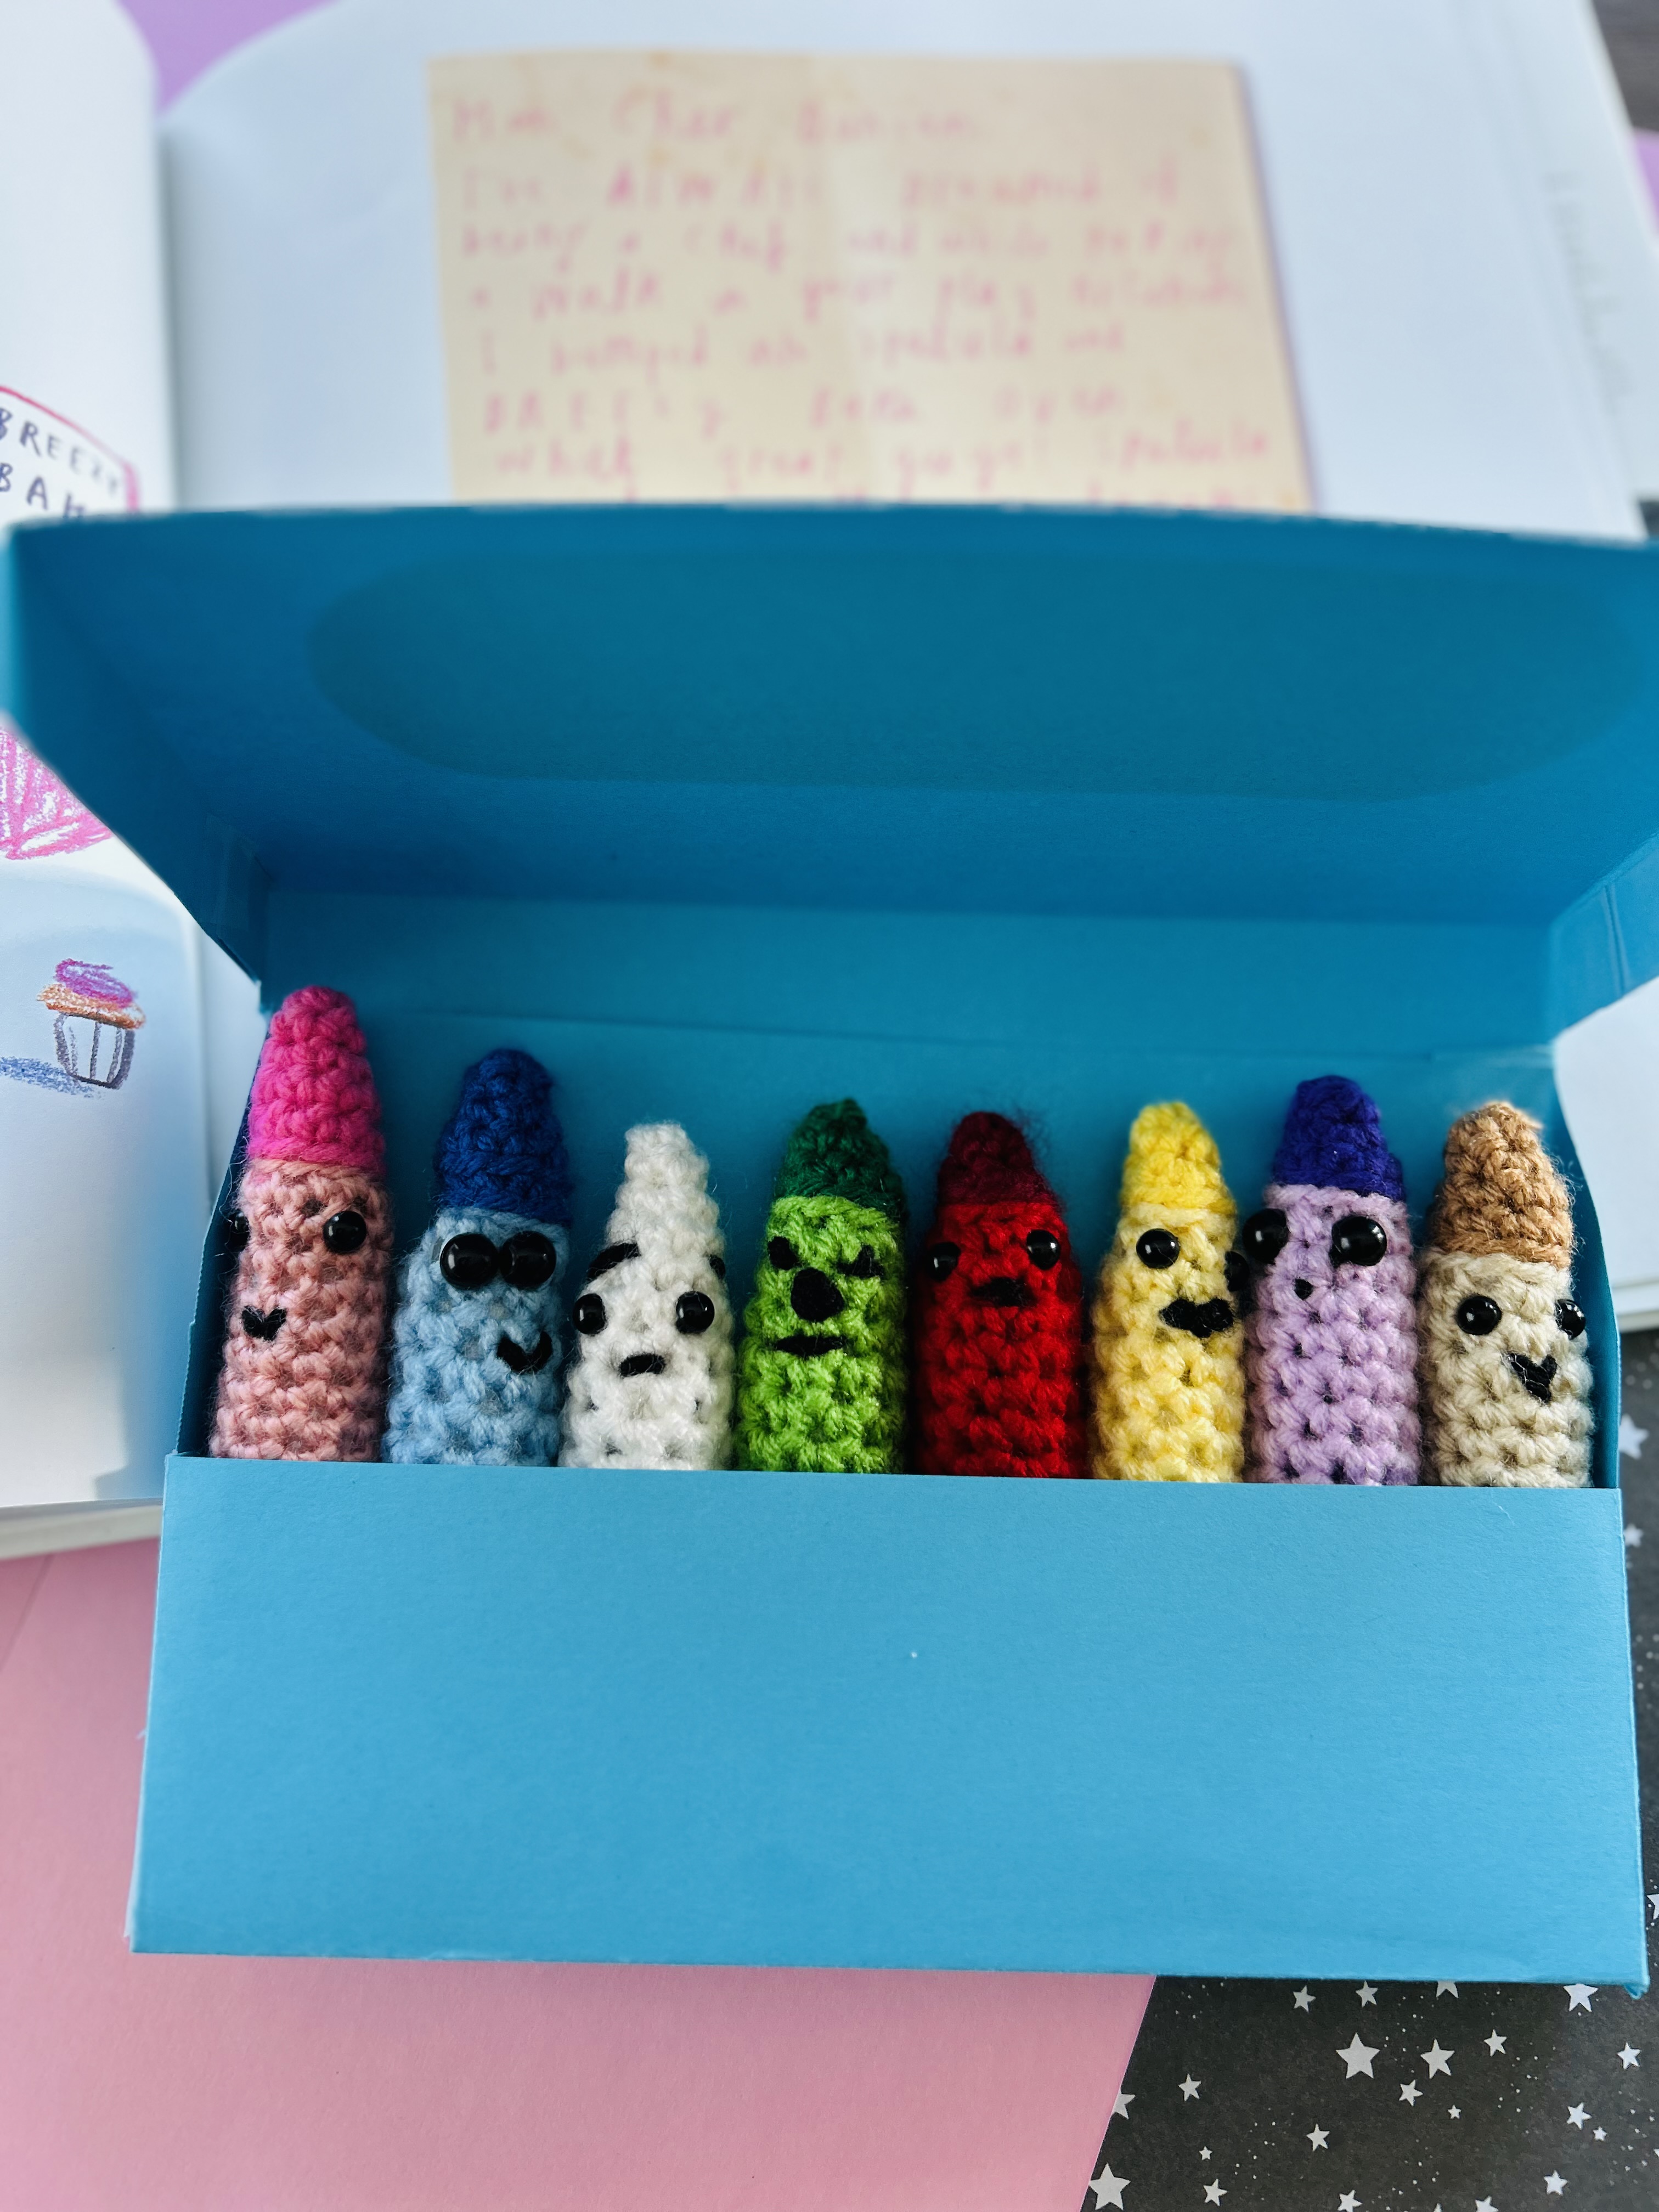
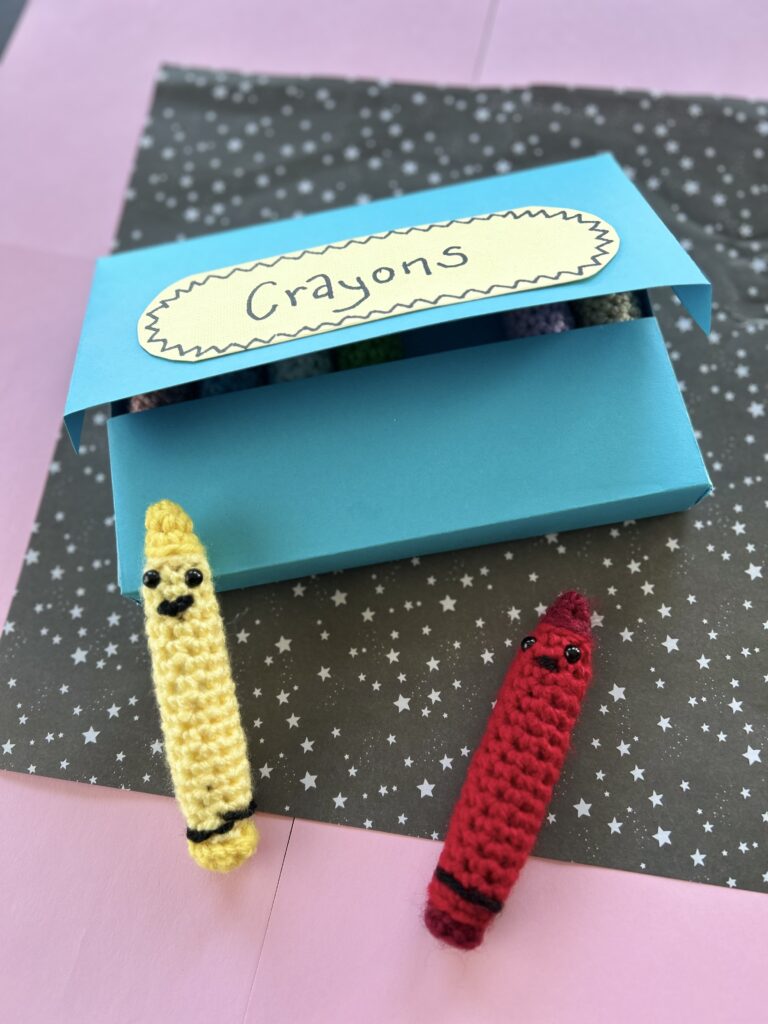
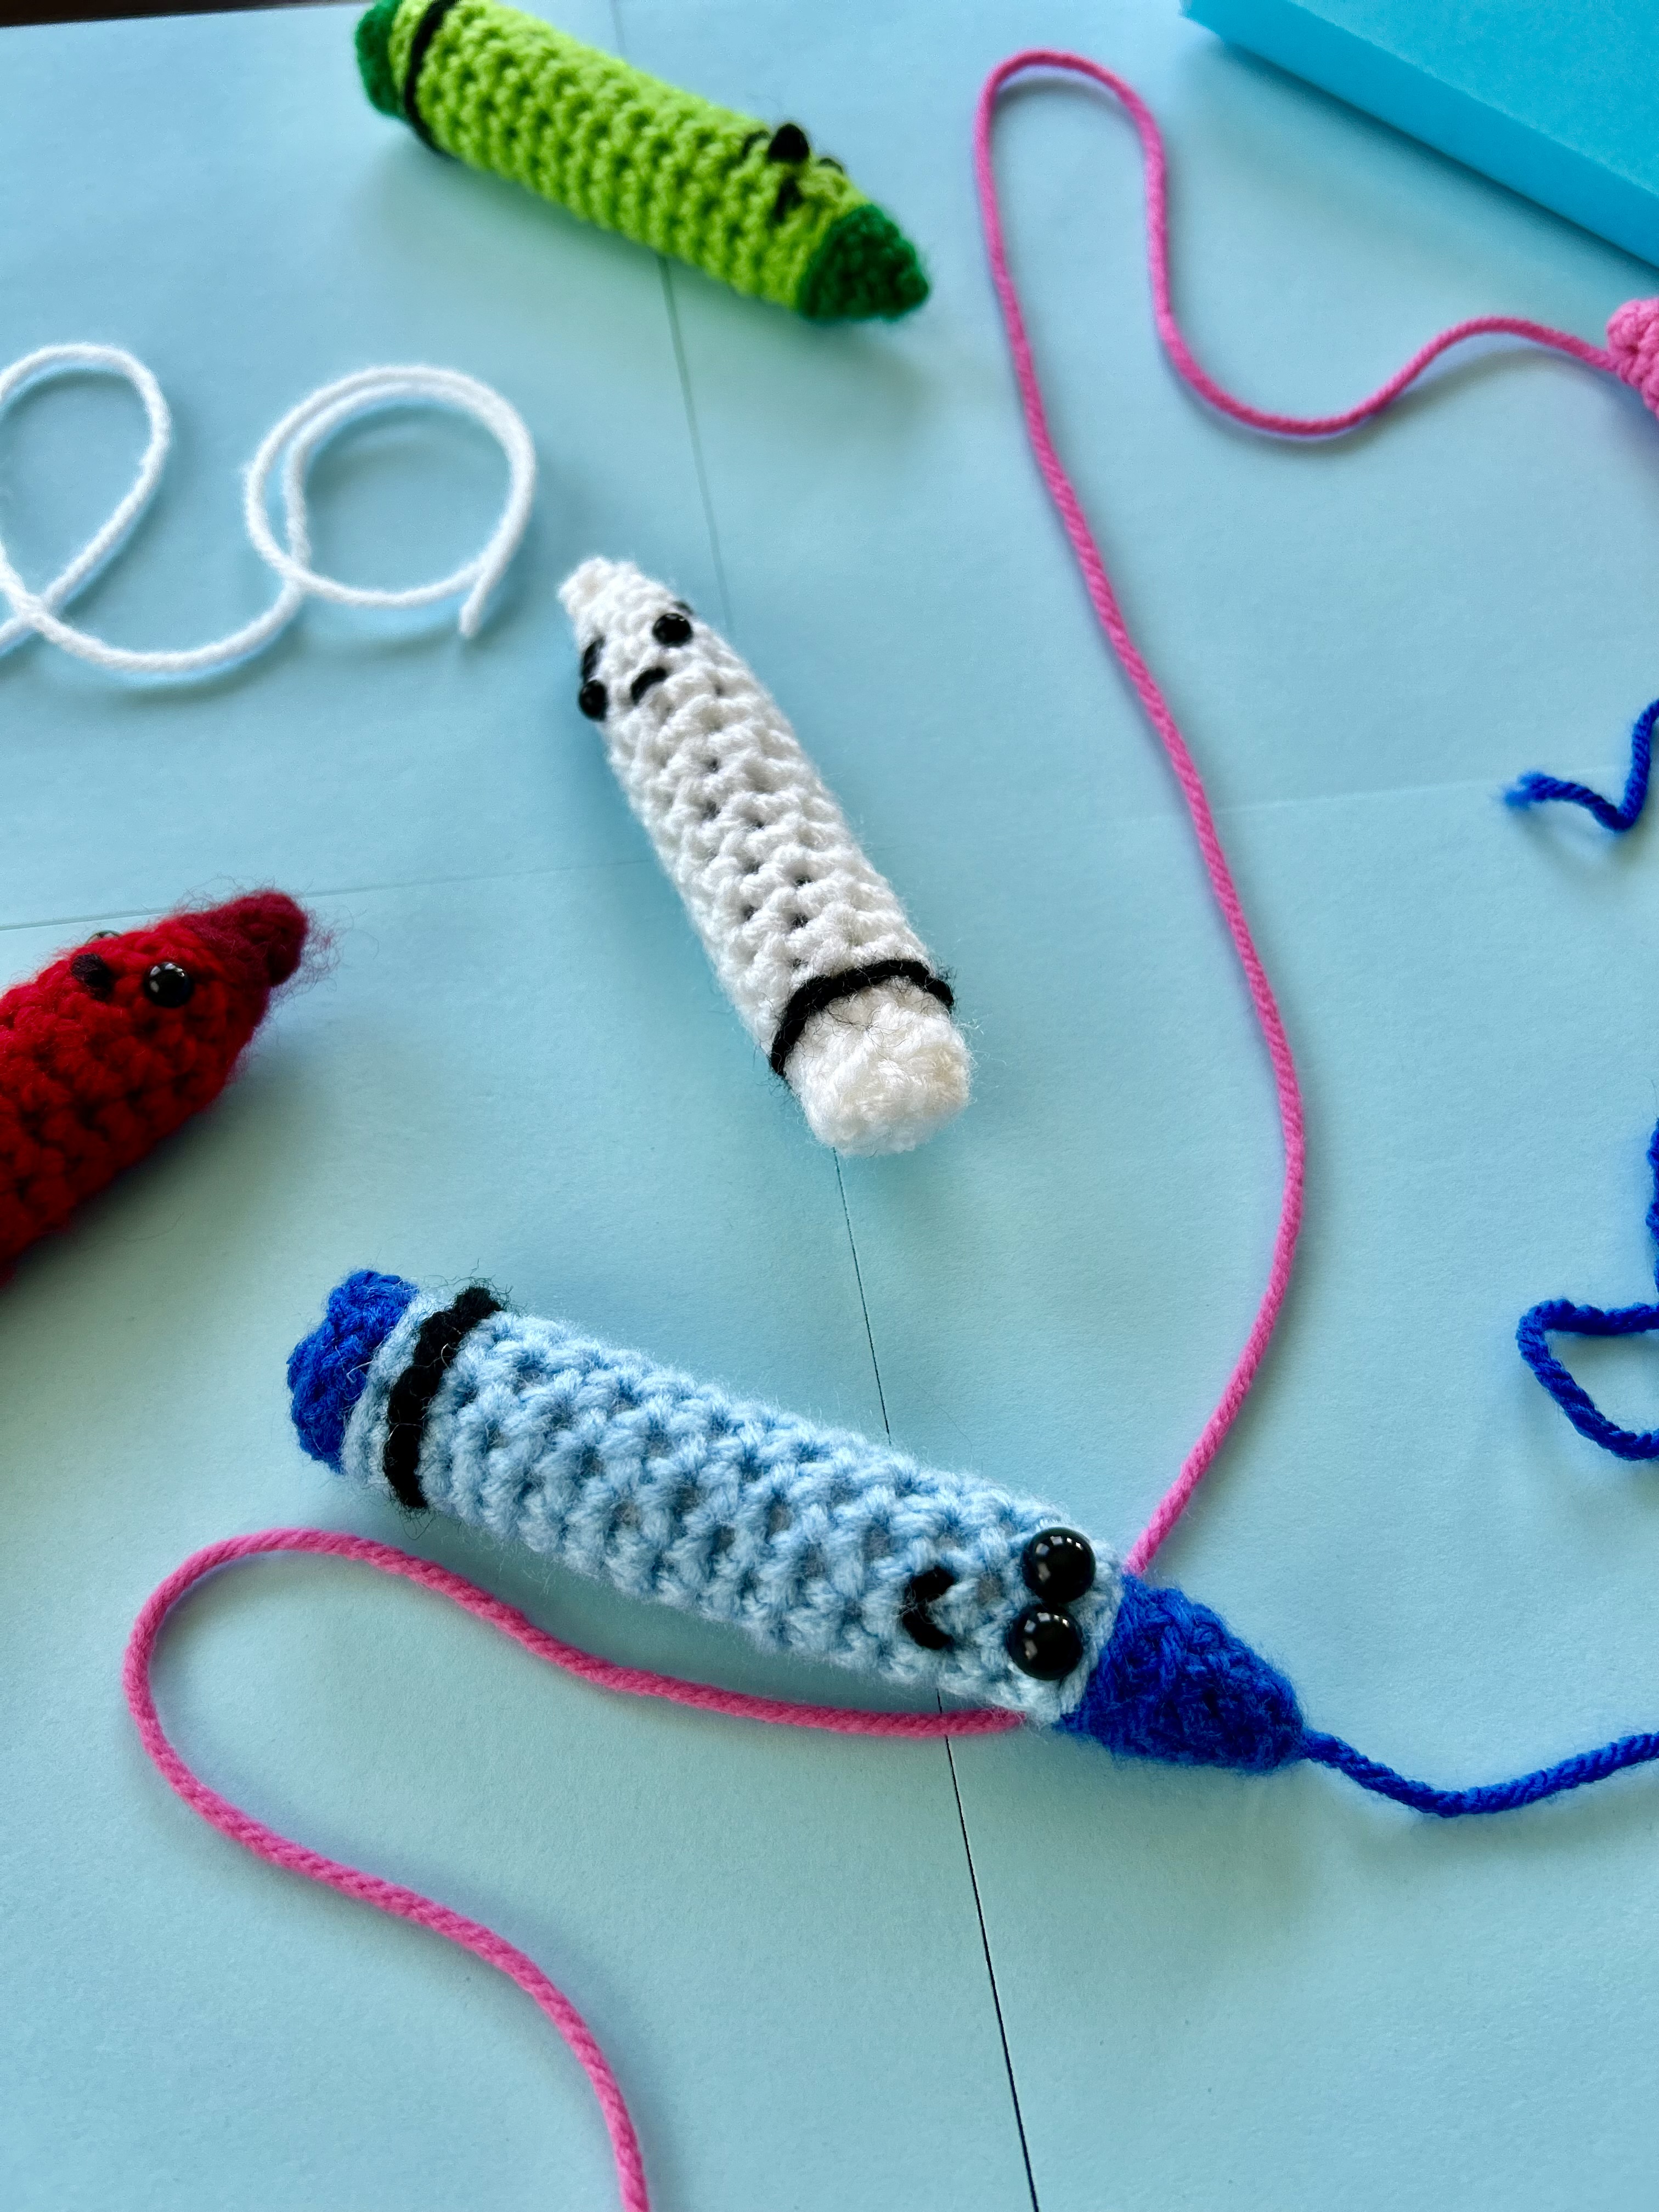
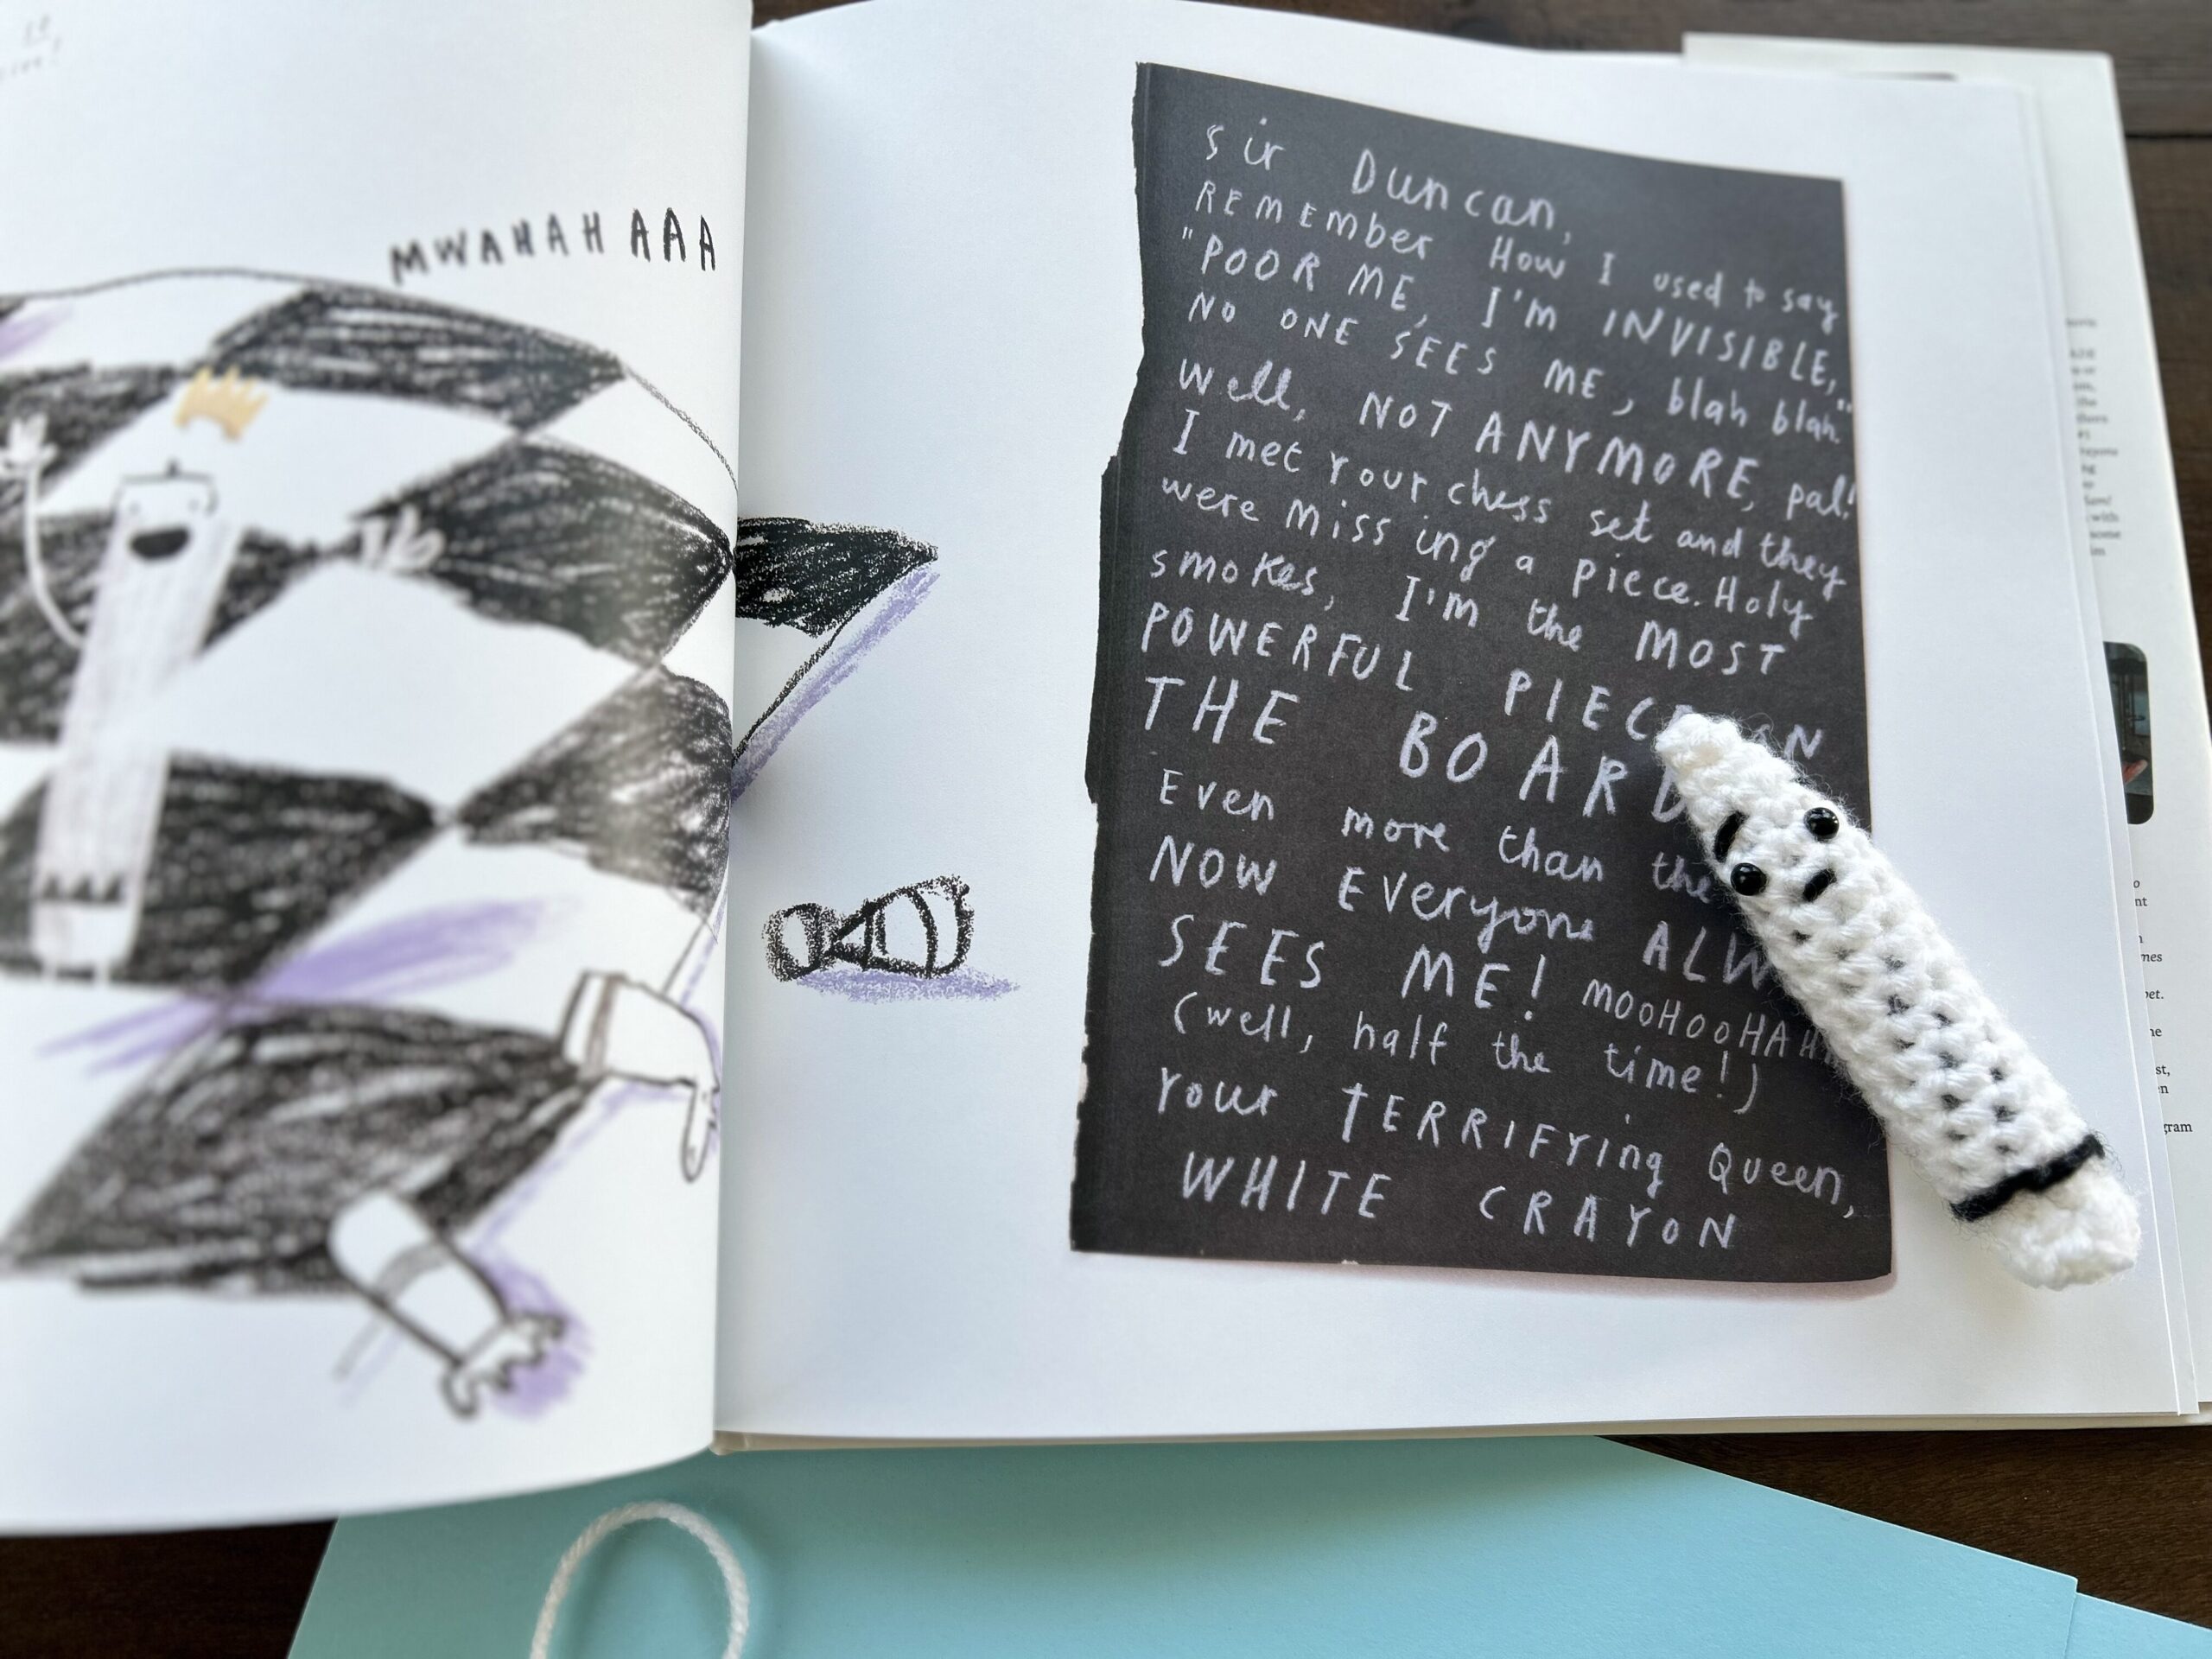
Are you or your kids a lover of the Crayons and all of their adventures? I love this book series written by Drew Daywalt and Illustrated by Oliver Jeffers. They are full of the antics and laughs that the Crayons are always up to. I felt inspired by the creativity in the books and wanted to crochet my own crayons to accompany one of the books for a baby shower. I thought it might be something you might enjoy too. So, here is the pattern for the Day the Crayons Became Crochet Toys! It’s a simple pattern with each crayon being made from the same pattern, but as you can see, just like with the crayons in the book, the color variations and facial details give them their personality and make each one unique. They are so fun to make and give. Perfect for a teacher gift, a birthday party, baby shower or for everyday bedtime stories to help your toddler with color recognition and reading. I hope you’ll enjoy making them.
If you prefer a printable download of this pattern, please visit my Etsy site here. The small fee helps support my work, however the same pattern is found here below for free. Thank you!
Materials:
- Yarn in various colors of your choice
- Size E4 Crochet Hook
- Yarn needle
- Fiberfill
- Amigurumi Safety Eyes (Optional to substitute for black yarn)
- Black yarn for embroidery
Gauge:
2″X2″ square = 6 Stitches by 7 Rows
Pattern used for gauge: Single Crochet
Size:
Completed size for finished Crayon is 4.5 inches tall x 1 inch wide.
Abbreviations:
BLO- Back Loop Only
CH – Chain Stitch
SC- Single Crochet
FSC – Foundation Single Crochet
HDC – Half-double Crochet
DC – Double Crochet
SLST – Slip Stitch
ST(S) – Stitch(es)
SK – Skip
Pattern Instructions:
Crayon Body
Rnd 1: With color A, make 4 SC in a Magic Loop. Pull the free end snugly to close the loop. (4) If you are new to Magic Loop or would like a quick refresher, visit my Helpful Tutorials page here.
Rnd 2: 2 SC in each ST around. (8)
Rnd 3: SC in each ST around.(8) Color change to color B (if using 2 colors) on the last pull through of the last stitch of the round. Don’t fasten off color A.
Rnd 4:With color B, SLST in the BLO of each ST around.(8)
Rnd 5-7: SC in each ST around. (8)
Place Amigurumi safety eyes if using. If you’re doing embroidered eyes you can wait until the end of this section to complete the embroidery.
Rnd 8-21: SC in each ST around. (8)
Color Change back to color A at the last pull through of the last stitch of the round.
Rnd 22: With Color A, SLST in BLO of each ST around. (8) Fasten off, leaving a long tail for stitching.
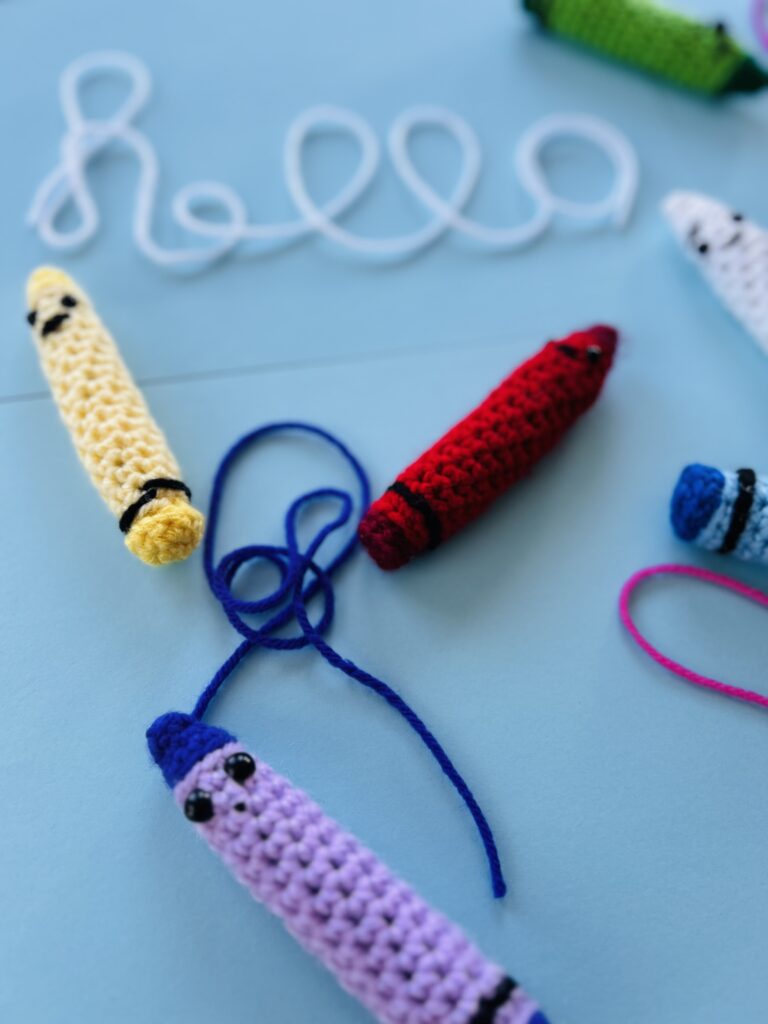
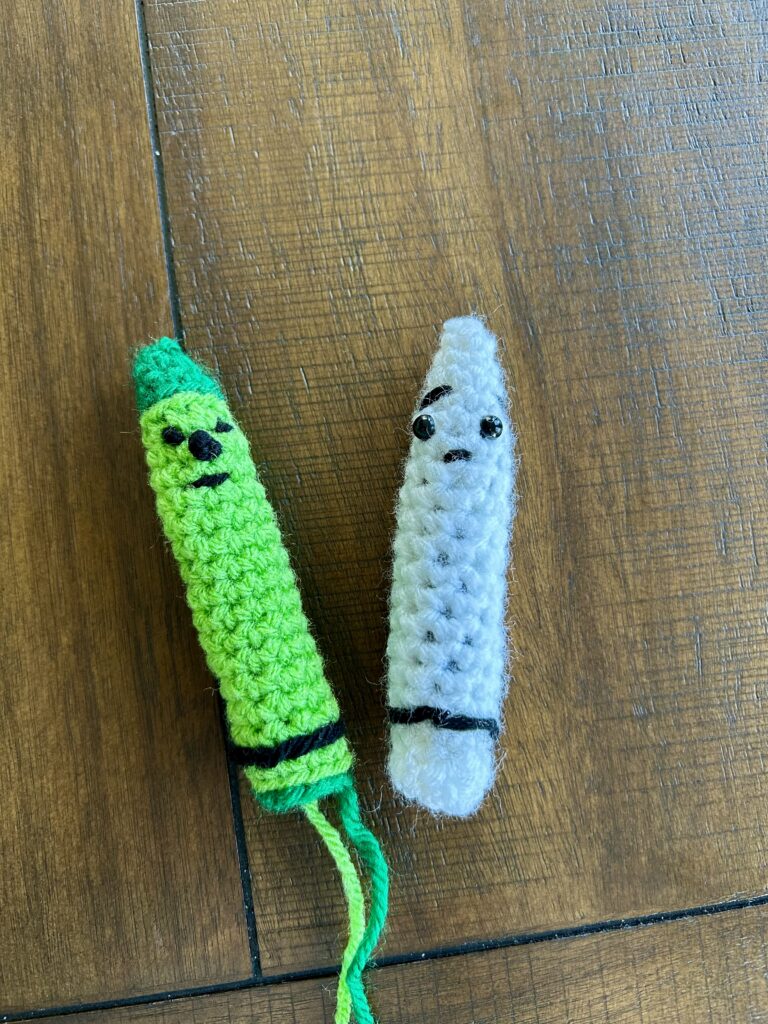
Using black yarn, embroider the face and lower border line. You can be creative with this part. The features you add will give each crayon it’s unique personality. The funnier, the better.
After embroidery is complete, stuff the Crayon body firmly with fiberfill.
Crayon Bottom Piece:
Rnd 1: With color A, make 4 SC in a Magic Loop. Pull the free end snugly to close the loop. (4)
Rnd 2: 2 SC in each ST around. (8) Fasten off, leaving a tail for Stitching.
Using the tail for stitching, stitch the bottom piece to the bottom of the crayon. Fasten off and weave in ends.

Way to go! You Did it! Now you can repeat the pattern with other color variations to make all of your favorite crayons.
If you’d like, you can make a crayon box from construction paper like I did.
Copyright
This pattern and its images are copyright protected and the sole property of Briarberryfarmhouse.com
Please do not redistribute, transfer, or sell the pattern, or alter it to claim as your own. You may sell any products you create from this pattern. Please credit the designer by linking online listings to Briarberryfarmhouse.com.
Looking for More Ideas?
Why not give one of these a try:
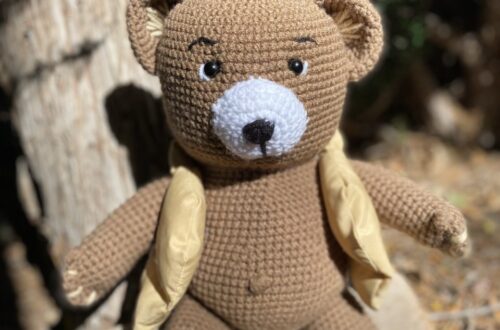
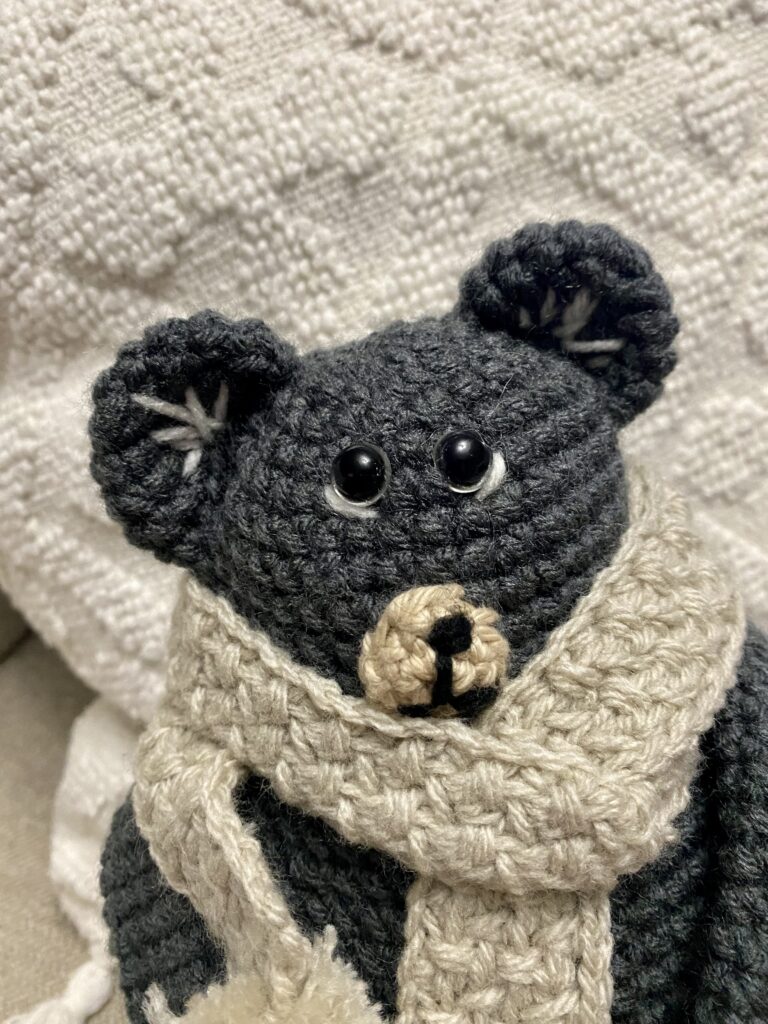
Mother’s Day is on it’s way, Celebrate your journey as a Mother or make this Sweet Mama Bear for a Baby Shower gift to stand watch over the nursery: Pattern Here.
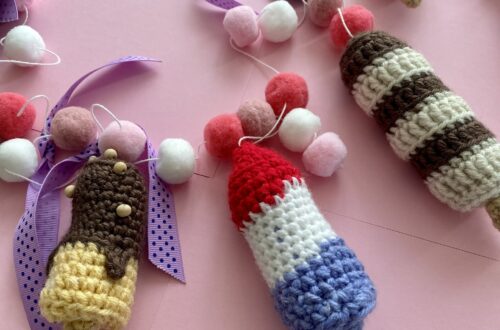
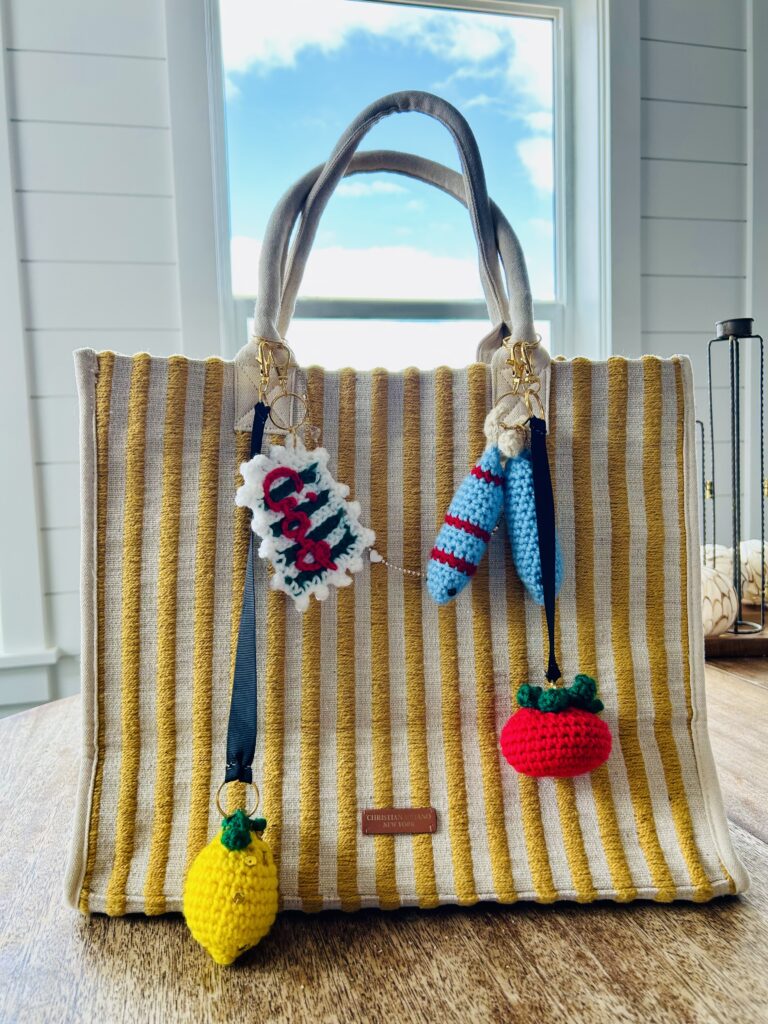
Or How about Amalfi Coast Bag Charms: Get your bag ready for summer adventures by adding a few Amalfi inspired charms. So easy and fun to make! Pattern Here.
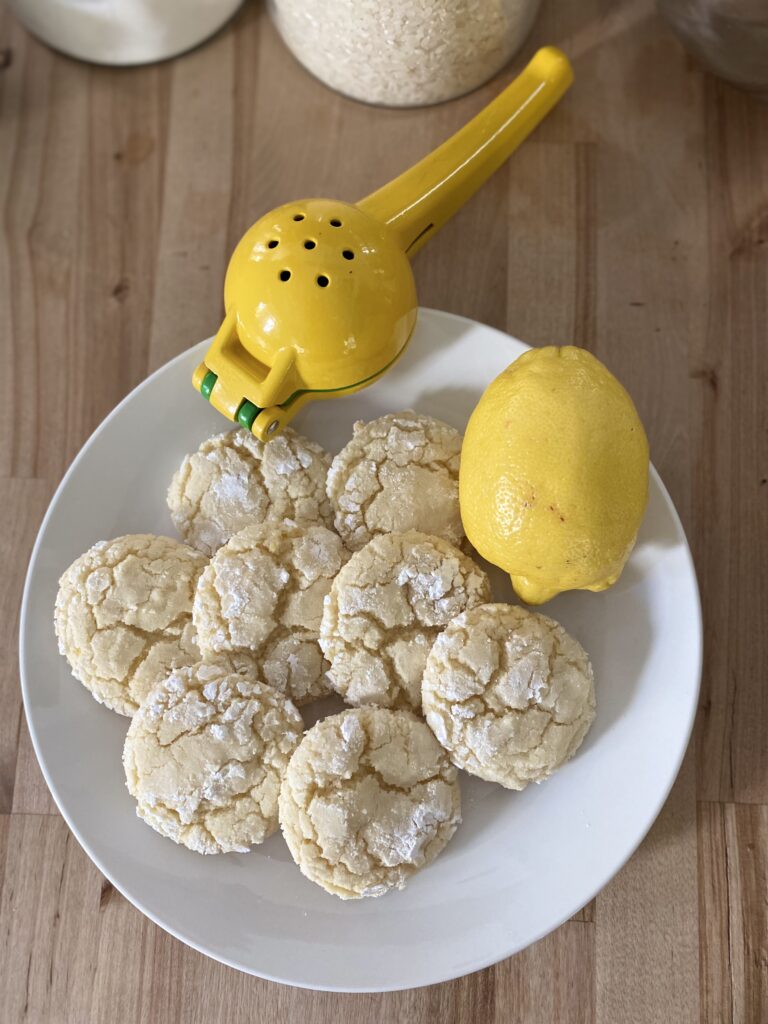
What about Lemon Crinkle Cookies: These are sure to brighten up any day with their sweet candy crunch exterior paired with the perfect bright tartness inside. Delicious and pretty to give. Recipe Here.
Briarberry
My name is Abby Holmgren and I love to create and share ideas through crochet, sewing, fashion, cooking, and visual arts. Briarberry Farmhouse is where I share inspiration.