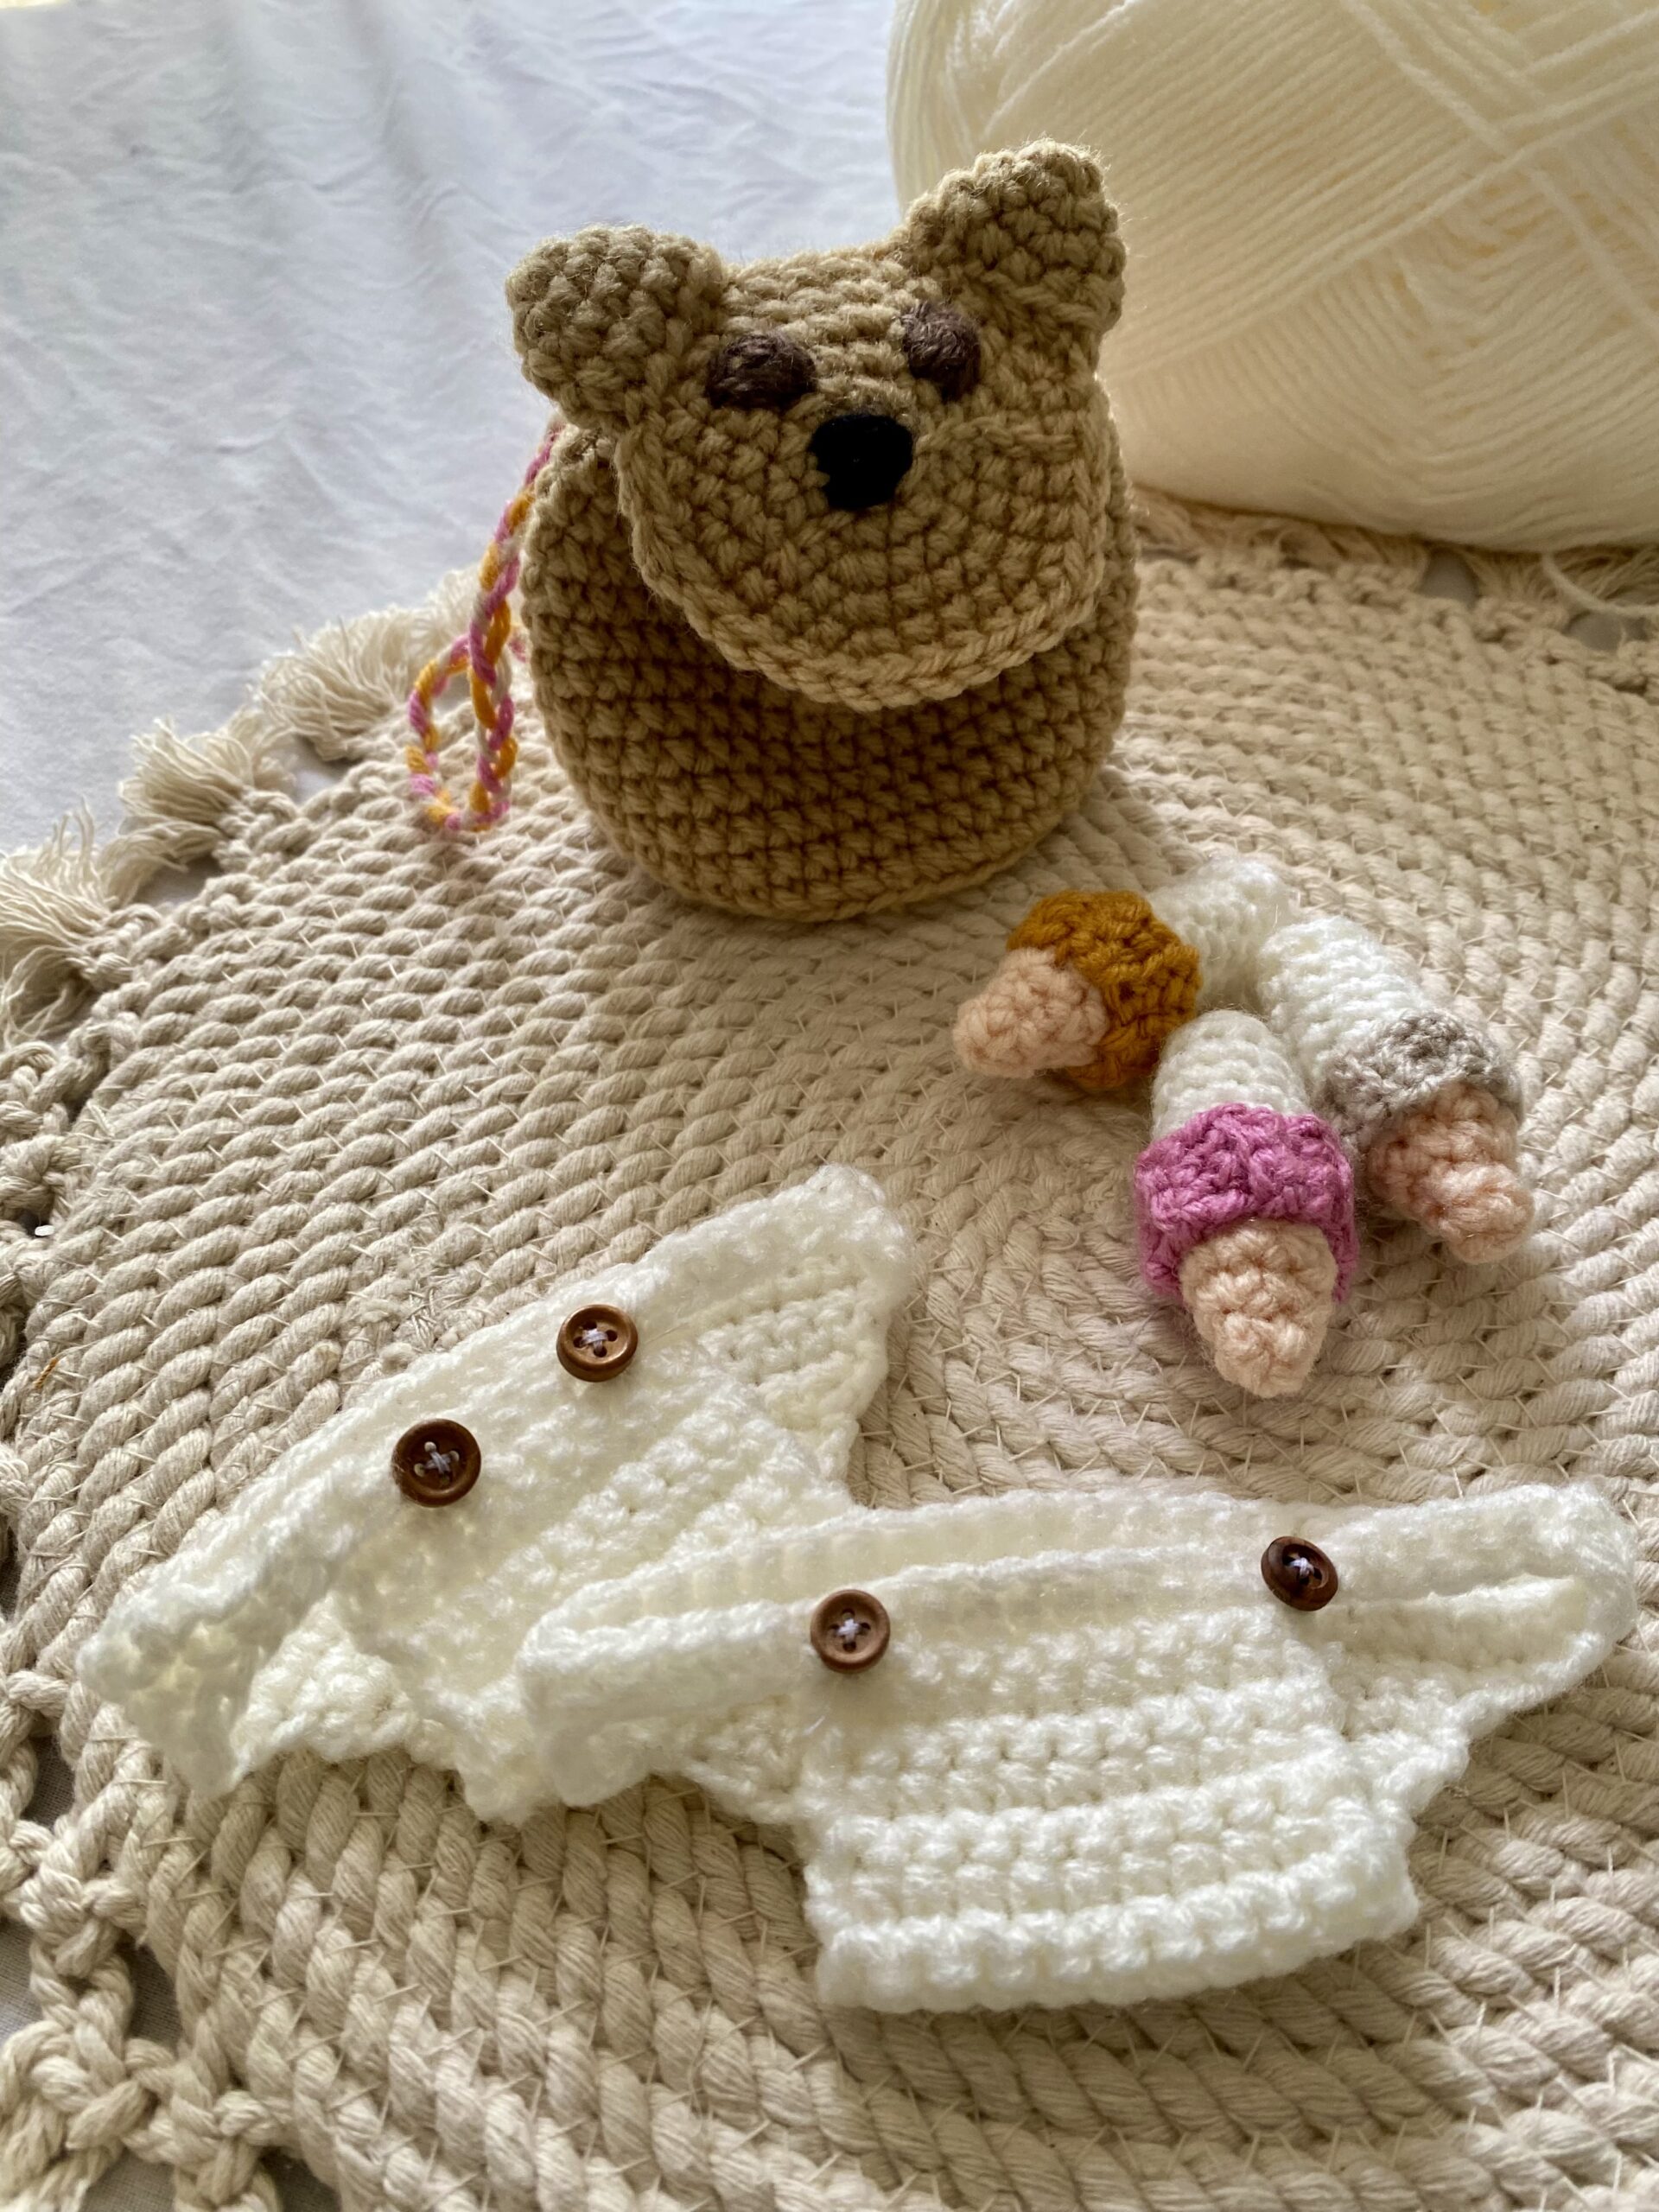
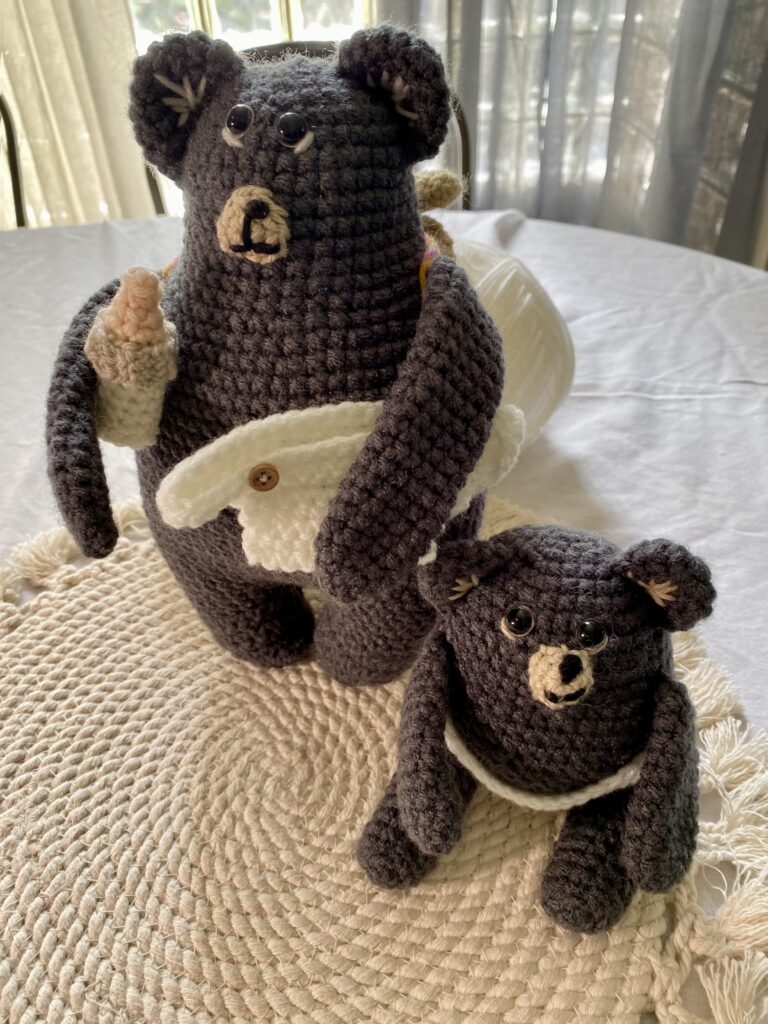
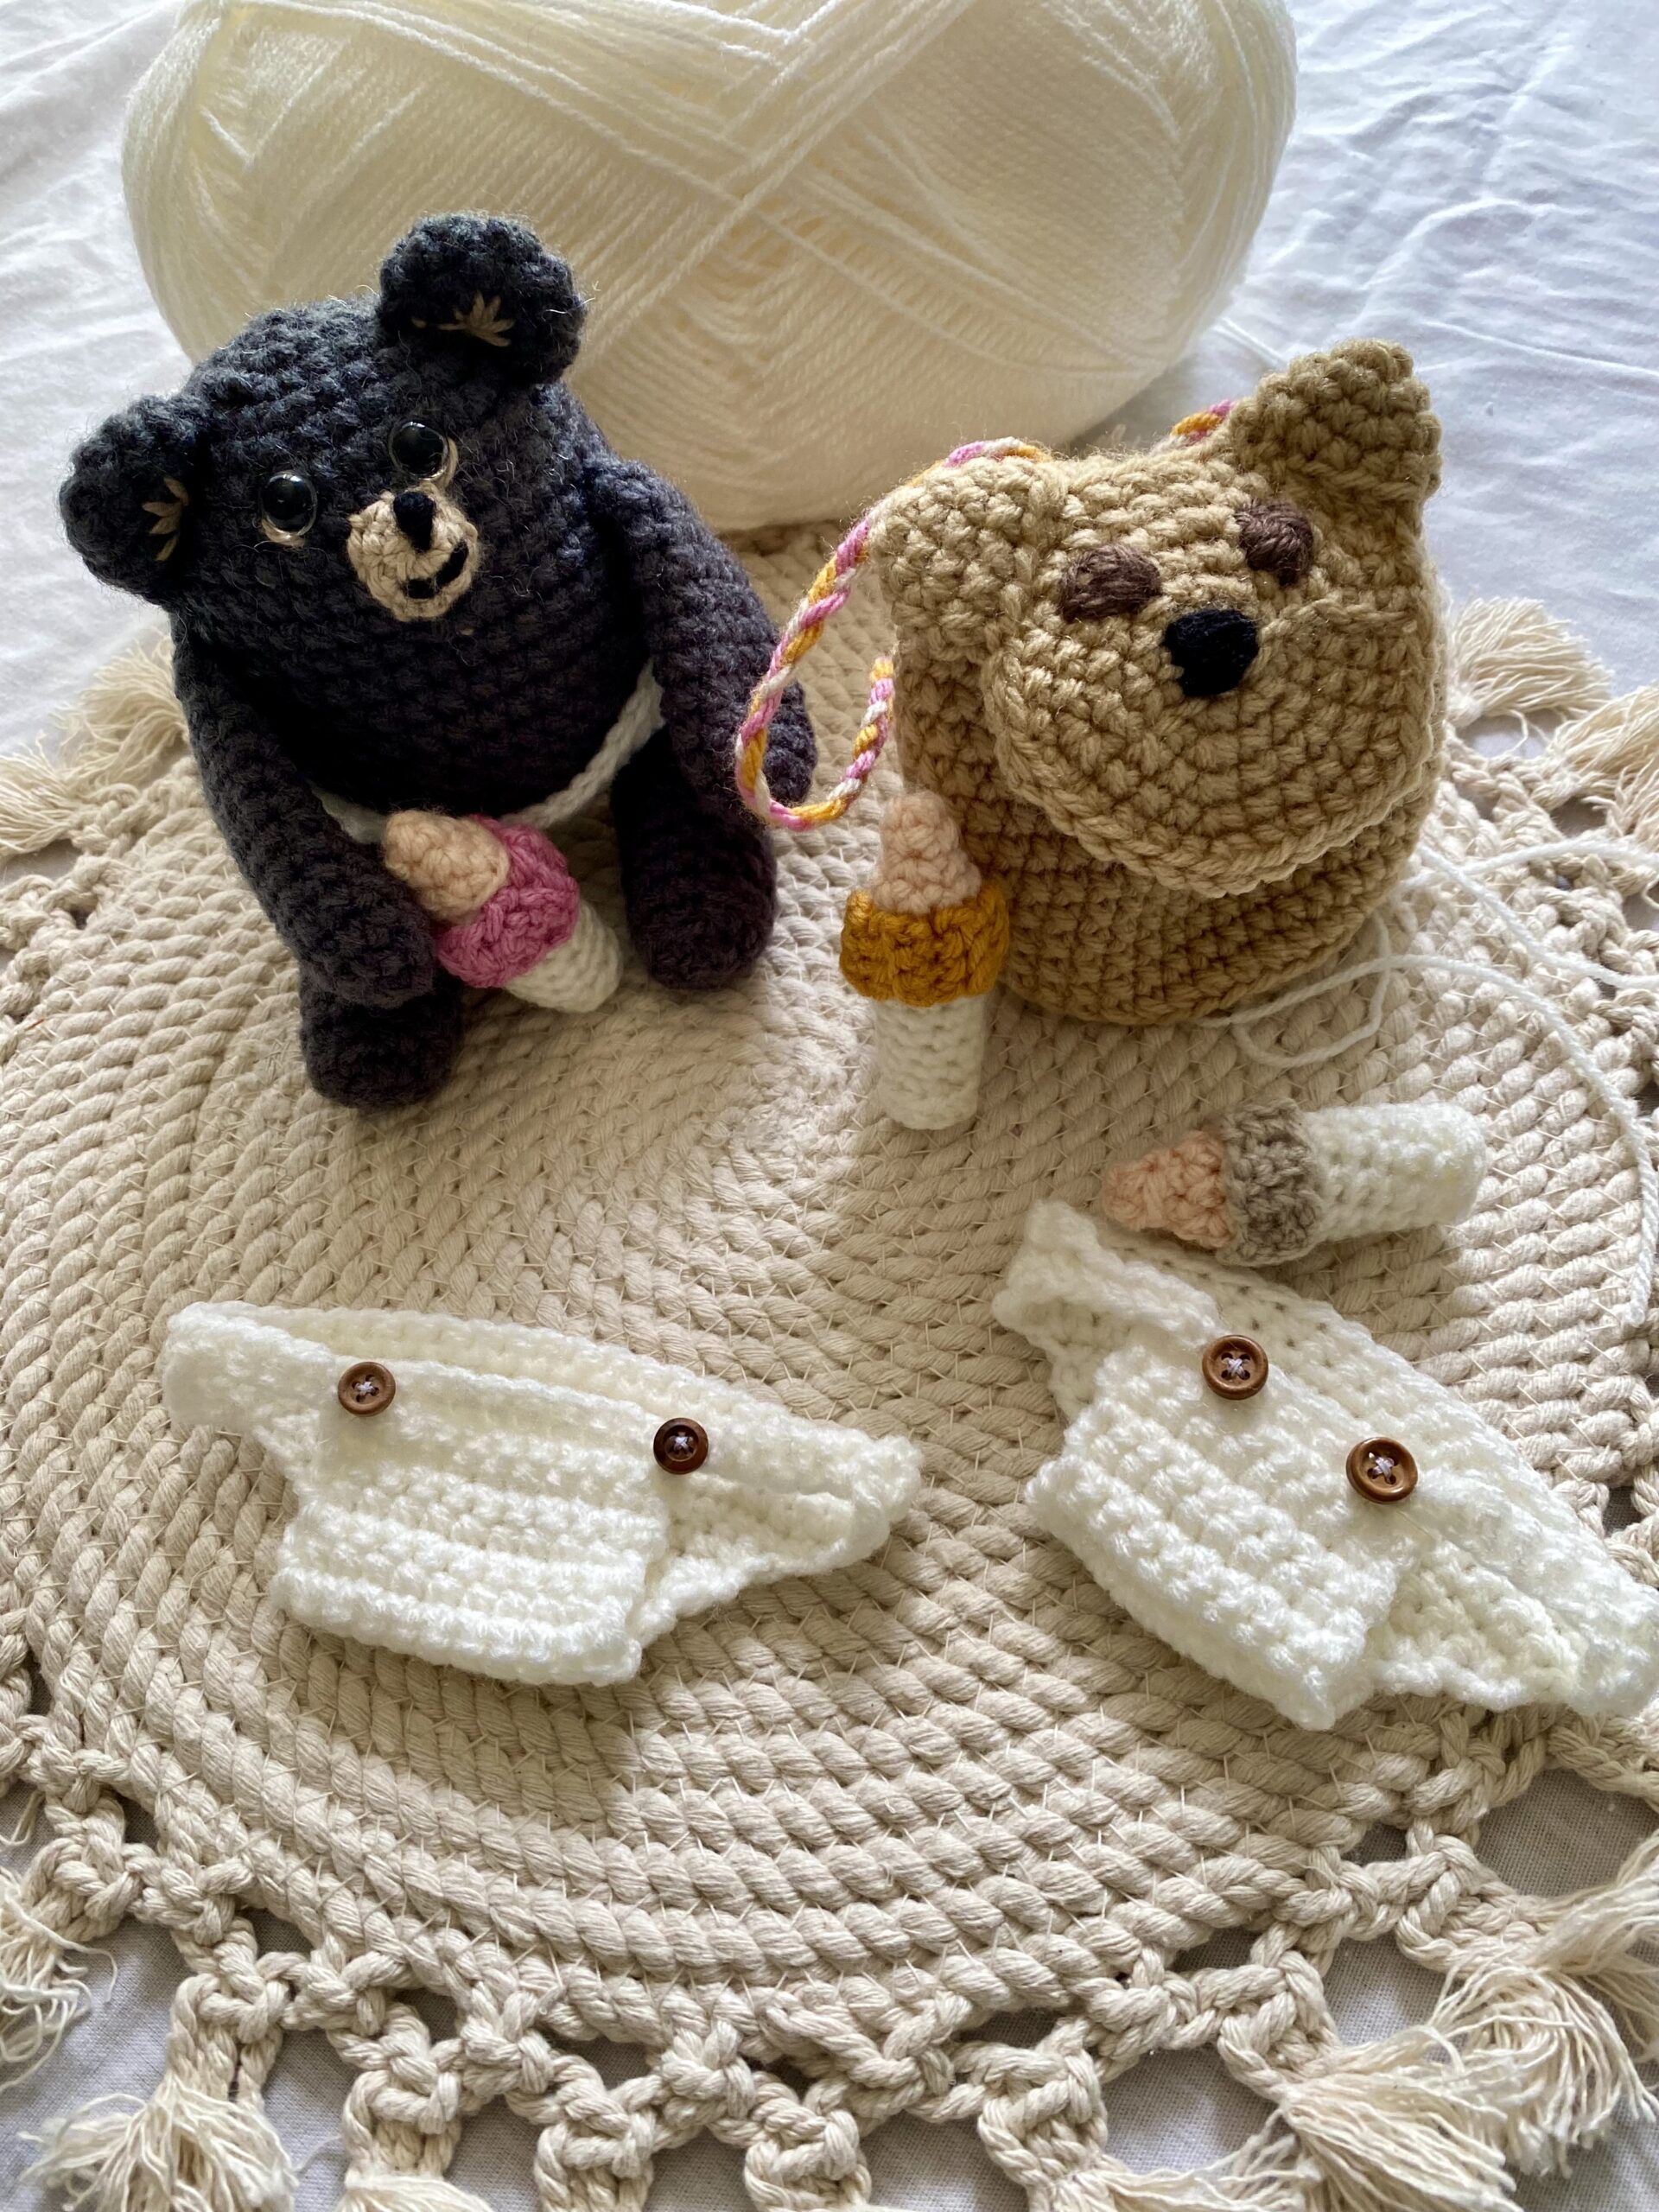
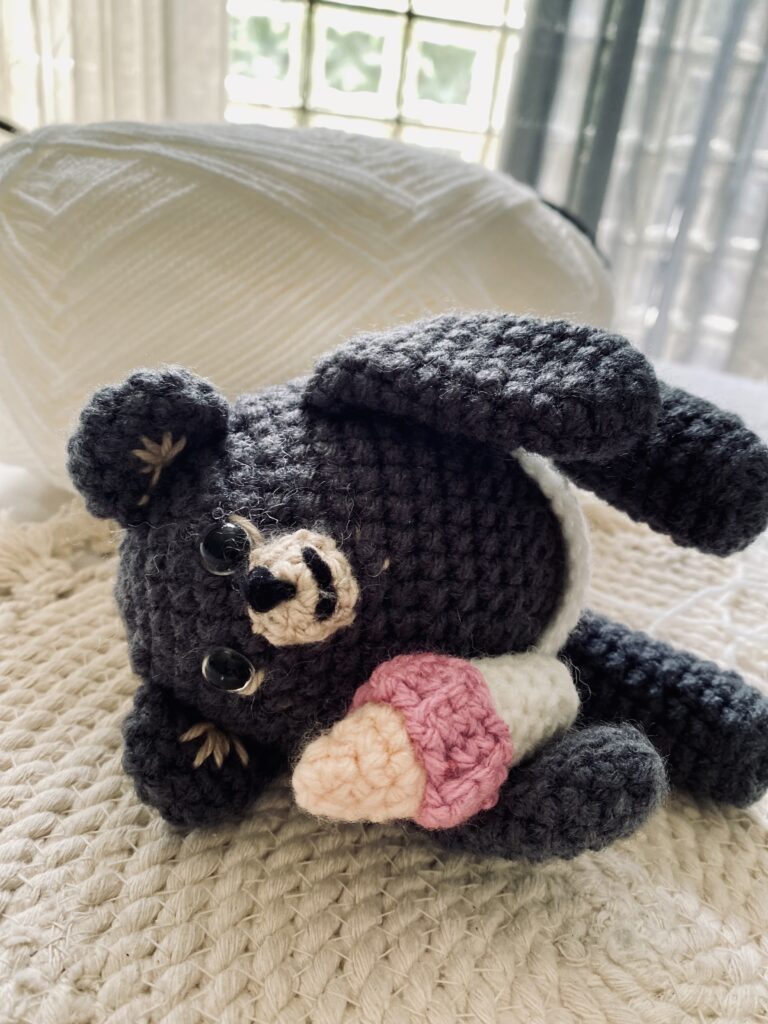
Summer Camp: Bundle of Baby Bear Accessories!

One of the best parts about these cute little bears is that once you make the babies, you’ll probably want to spoil them with a few little surprises and accessories. Here are a few patterns to start with. If you’ll be making these patterns for little ones, you may want to substitute Velcro for the buttons to be safe from the possibility of choking.
Materials:
size E4 (3.5 mm) Crochet hook
Bernat Baby sport yarn in off white
small buttons (You may want to consider velcro instead of the small buttons if you are concerned about the buttons being a choking hazard for your child. Or if you’d like, you can make the Pull on diaper pattern instead.)
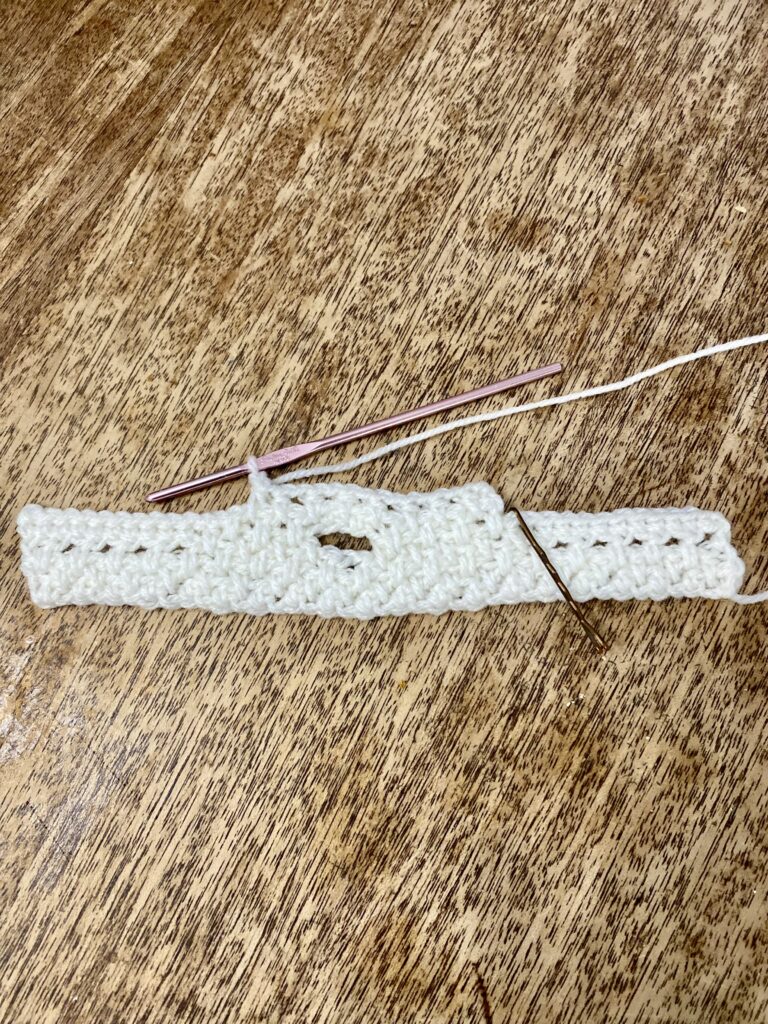
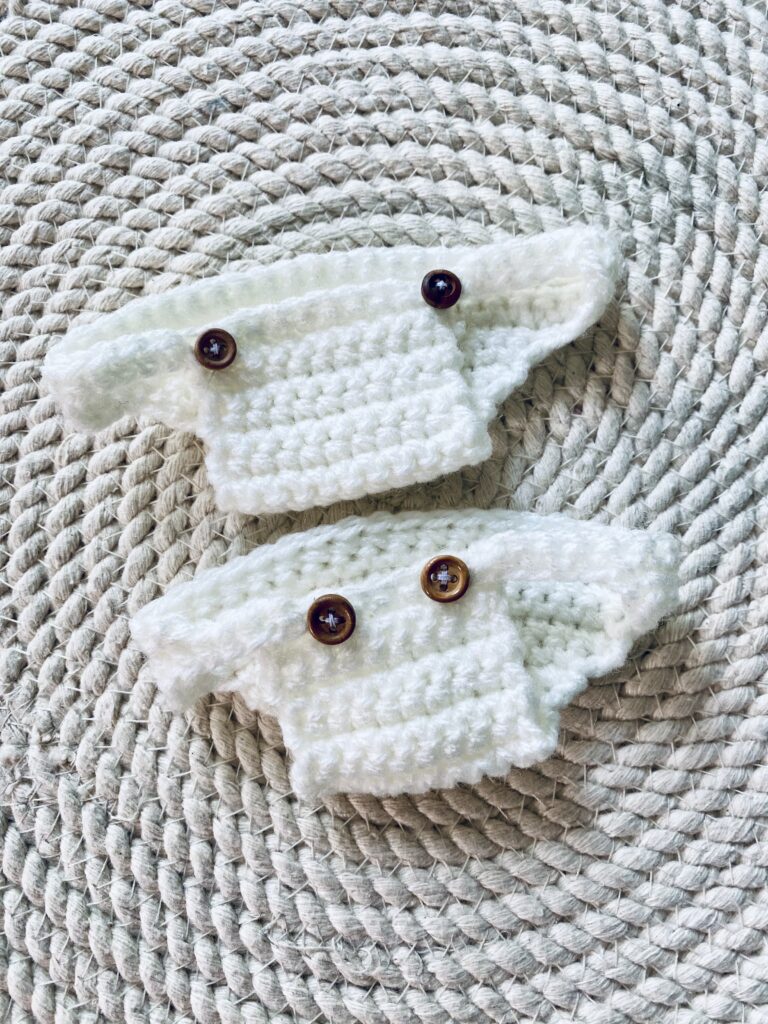
Button up Diaper:
Row 1: CH 10, turn. (10)
Row 2: SC in the second CH from the hook and in each ST across. CH 1, turn. (9)
Row 3- 11: SC in each ST across. CH 1, turn. (9)
Row 12: 2 SC in first ST. SC in the next 7 ST. 2 SC in the last ST. CH 1, turn . (11)
Row 13: 2 SC in first St. SC in the next 9 ST. 2 SC in the last St. CH 1, turn. (13)
Row 14: 2 SC in the first ST. SC in the next 3 ST. CH 5. Skip the next 5 ST. (This will leave a hole for the bears tail.) SC in the next 3 ST. 2 SC in the last ST. CH 1, turn. (15)
Row 15: 2 SC in the first ST. SC in the next 15 ST, including the CH 5 section. 2 SC in the last ST. CH 3, turn. (17 SC, 3 CH.)
Row 16: 2 SC in second CH from the hook. SC in the next 18 ST. CH 3, turn. (20 SC, 3 CH)
Row 17: 2 SC in the second CH from the hook. SC in the next 21 ST. 2 SC in the last ST. CH 6 turn. (25 SC, 6 CH)
Row 18: SC in second CH from the hook and in each ST across. CH 6, turn. (30 SC, 6 CH)
Row 19: SC in the second CH from the hook and in the next 29 ST. Fasten off and weave in end.
Attach buttons to the front corners of the diaper.
Pull on Diaper:
Rnd 1: 6 SC in a magic loop. Pull free end snuggly to close the loop. (6)
Rnd 2: 2 SC in each ST around. (12)
Rnd 3: *SC in the next ST, 2 SC in the next ST.** Repeat from * to ** around. (18)
Rnd 4: *SC in the next 2 SC, 2 SC in the next ST.** Repeat from * to ** around. (24)
Rnd 5: CH 5, SK next 5 ST. SC in the next ST. SC in each Remaining ST around. (5CH, 19 SC)
Rnd 6: SC in the next 5 CH Stitches. SC in the next 4 ST. CH 12, SK next 3 ST. SC in next ST and in the next 4 ST. CH 12, SK next 3 ST. SC in the last 4 ST of the round. (19 SC, 24 CH)
Rnd 7-10: SC in each ST around. (42)
Fasten off and weave in end.
Bottle:
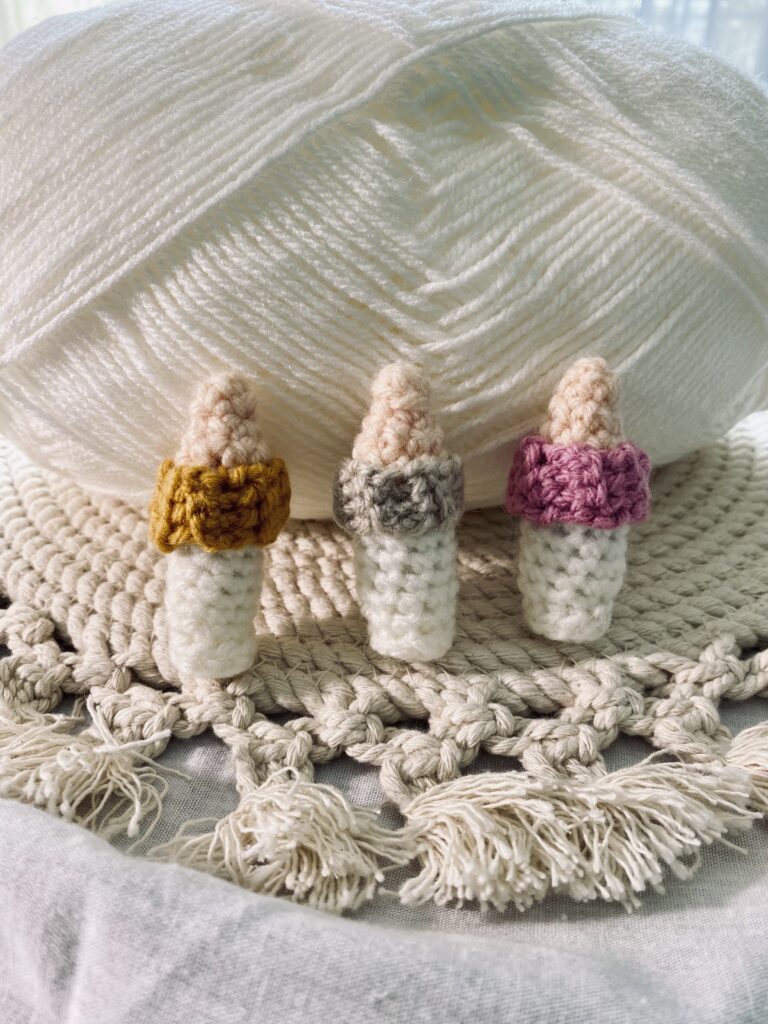
Materials:
Peach colored yarn, mine is Big Twist Value yarn in Pale Peach
Bernat Baby Sport yarn in off white
Yarn in color of your choice for the ring of the bottle.
Size E4 (3.5 mm) crochet hook
Rnd 1: With Peach colored yarn, 4 SC in a magic loop. Pull free end snugly to close the loop. (6)
Rnd 2: SC in each ST around. (4)
Rnd 3: 2 SC in each ST around. (8)
Rnd 4: SC in each ST around. (8) Color change to off white yarn.
Rnd 5-12: SC in each ST around . (8) Fasten off, leaving a tail for stitching. Using a small amount of Fiberfill, stuff the bottle firmly.
Bottom of bottle:
Rnd 1: 4 SC in a magic loop. Pull the free end snugly to close the loop. (4)
Rnd 2: 2 SC in each ST around. (8) Fasten off and weave in end.
Using a yarn needle, stitch the bottom of the bottle in place. Weave in ends.
Ring of the Bottle:
Row 1: CH 4, turn. (4)
Row 2: SC in BLO of the second ST from the hook and in each ST across. CH 1, turn.
Row 3-13: SC in each ST across. CH 1, turn.
Fasten off, leaving a tail for stitching. Using a yarn needle, stitch the starting row to the last row to form a ring. Fit the ring around the bottle near the top and stitch in place. Weave in ends.
Diaper Bag:
Materials:
Red heart Super Saver yarn in Buff
Size E4 (3.5 mm) crochet hook
Dark brown yarn for embroidery
Black yarn for embroidery
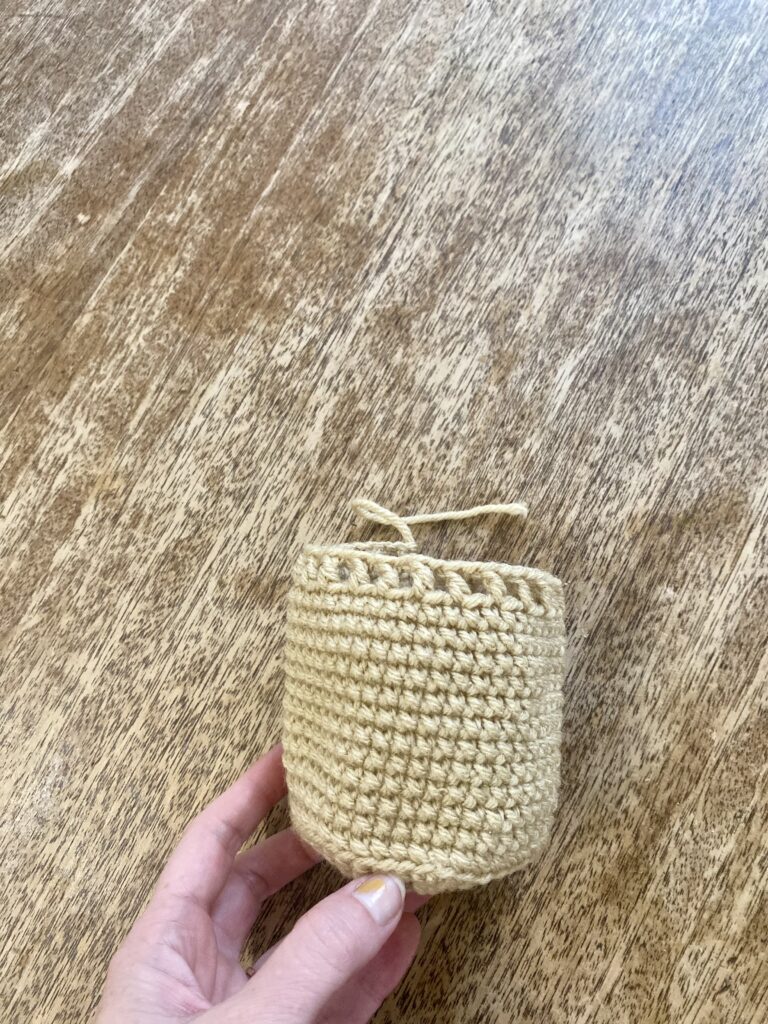
Body of the Bag:
Rnd 1: 6 SC in a magic loop. Pull free end to close the loop snugly. (6)
Rnd 2: 2 SC in each ST around. (12)
Rnd 3: *SC in the next ST, 2 SC in the Next ST. ** Repeat from * to ** around. (18)
Rnd 4: *SC in the next 2 ST, 2 SC in the next ST.** Repeat from * to ** around. (24)
Rnd 5: *SC in the next 3 ST, 2 SC in the next ST.** Repeat from * to ** around. (30)
Rnd 6:*SC in the next 4 ST, 2 SC in the next ST.** Repeat from * to ** around. (36)
Rnd 7: *SC in the next 5 ST, 2 SC in the next ST. ** Repeat from * to ** around. (42)
Rnd 8: In BLO, SC in each ST around. (42)
Rnd 9-20: SC in each ST around. (42)
Rnd 21: Ch 3, SK next ST. *DC in the next ST, CH 1. SK next ST.** Repeat from * to ** around. SC in the last ST of the round. Fasten off. (21 DC, 25 CH, 1 SC.) Weave in end.
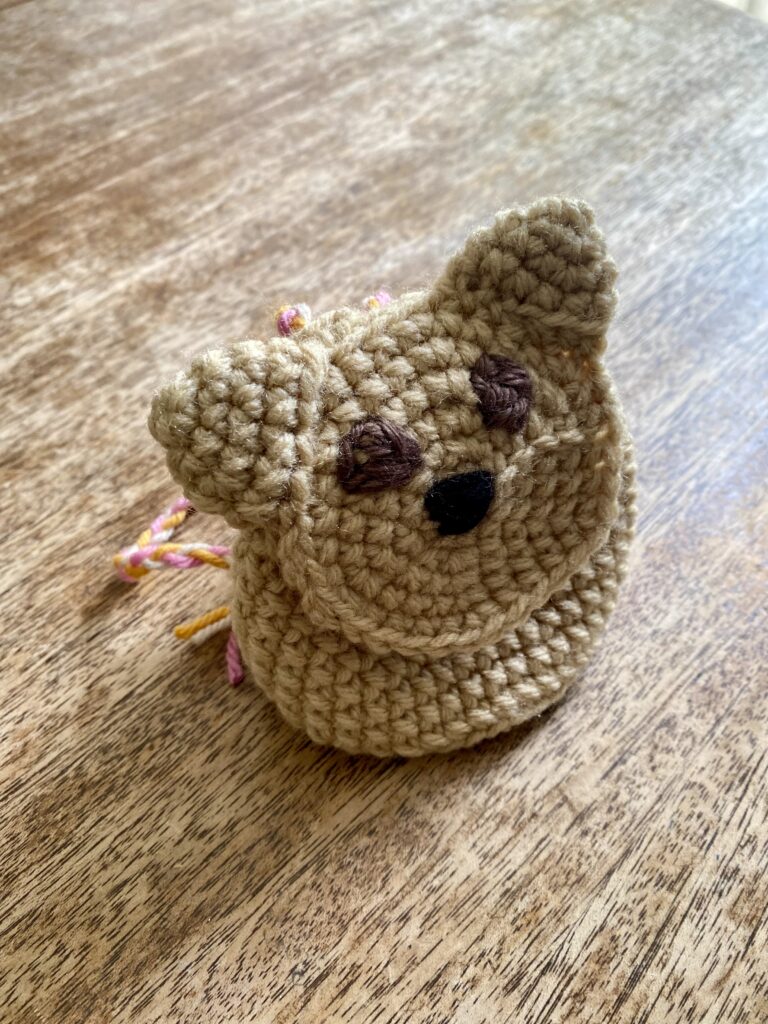
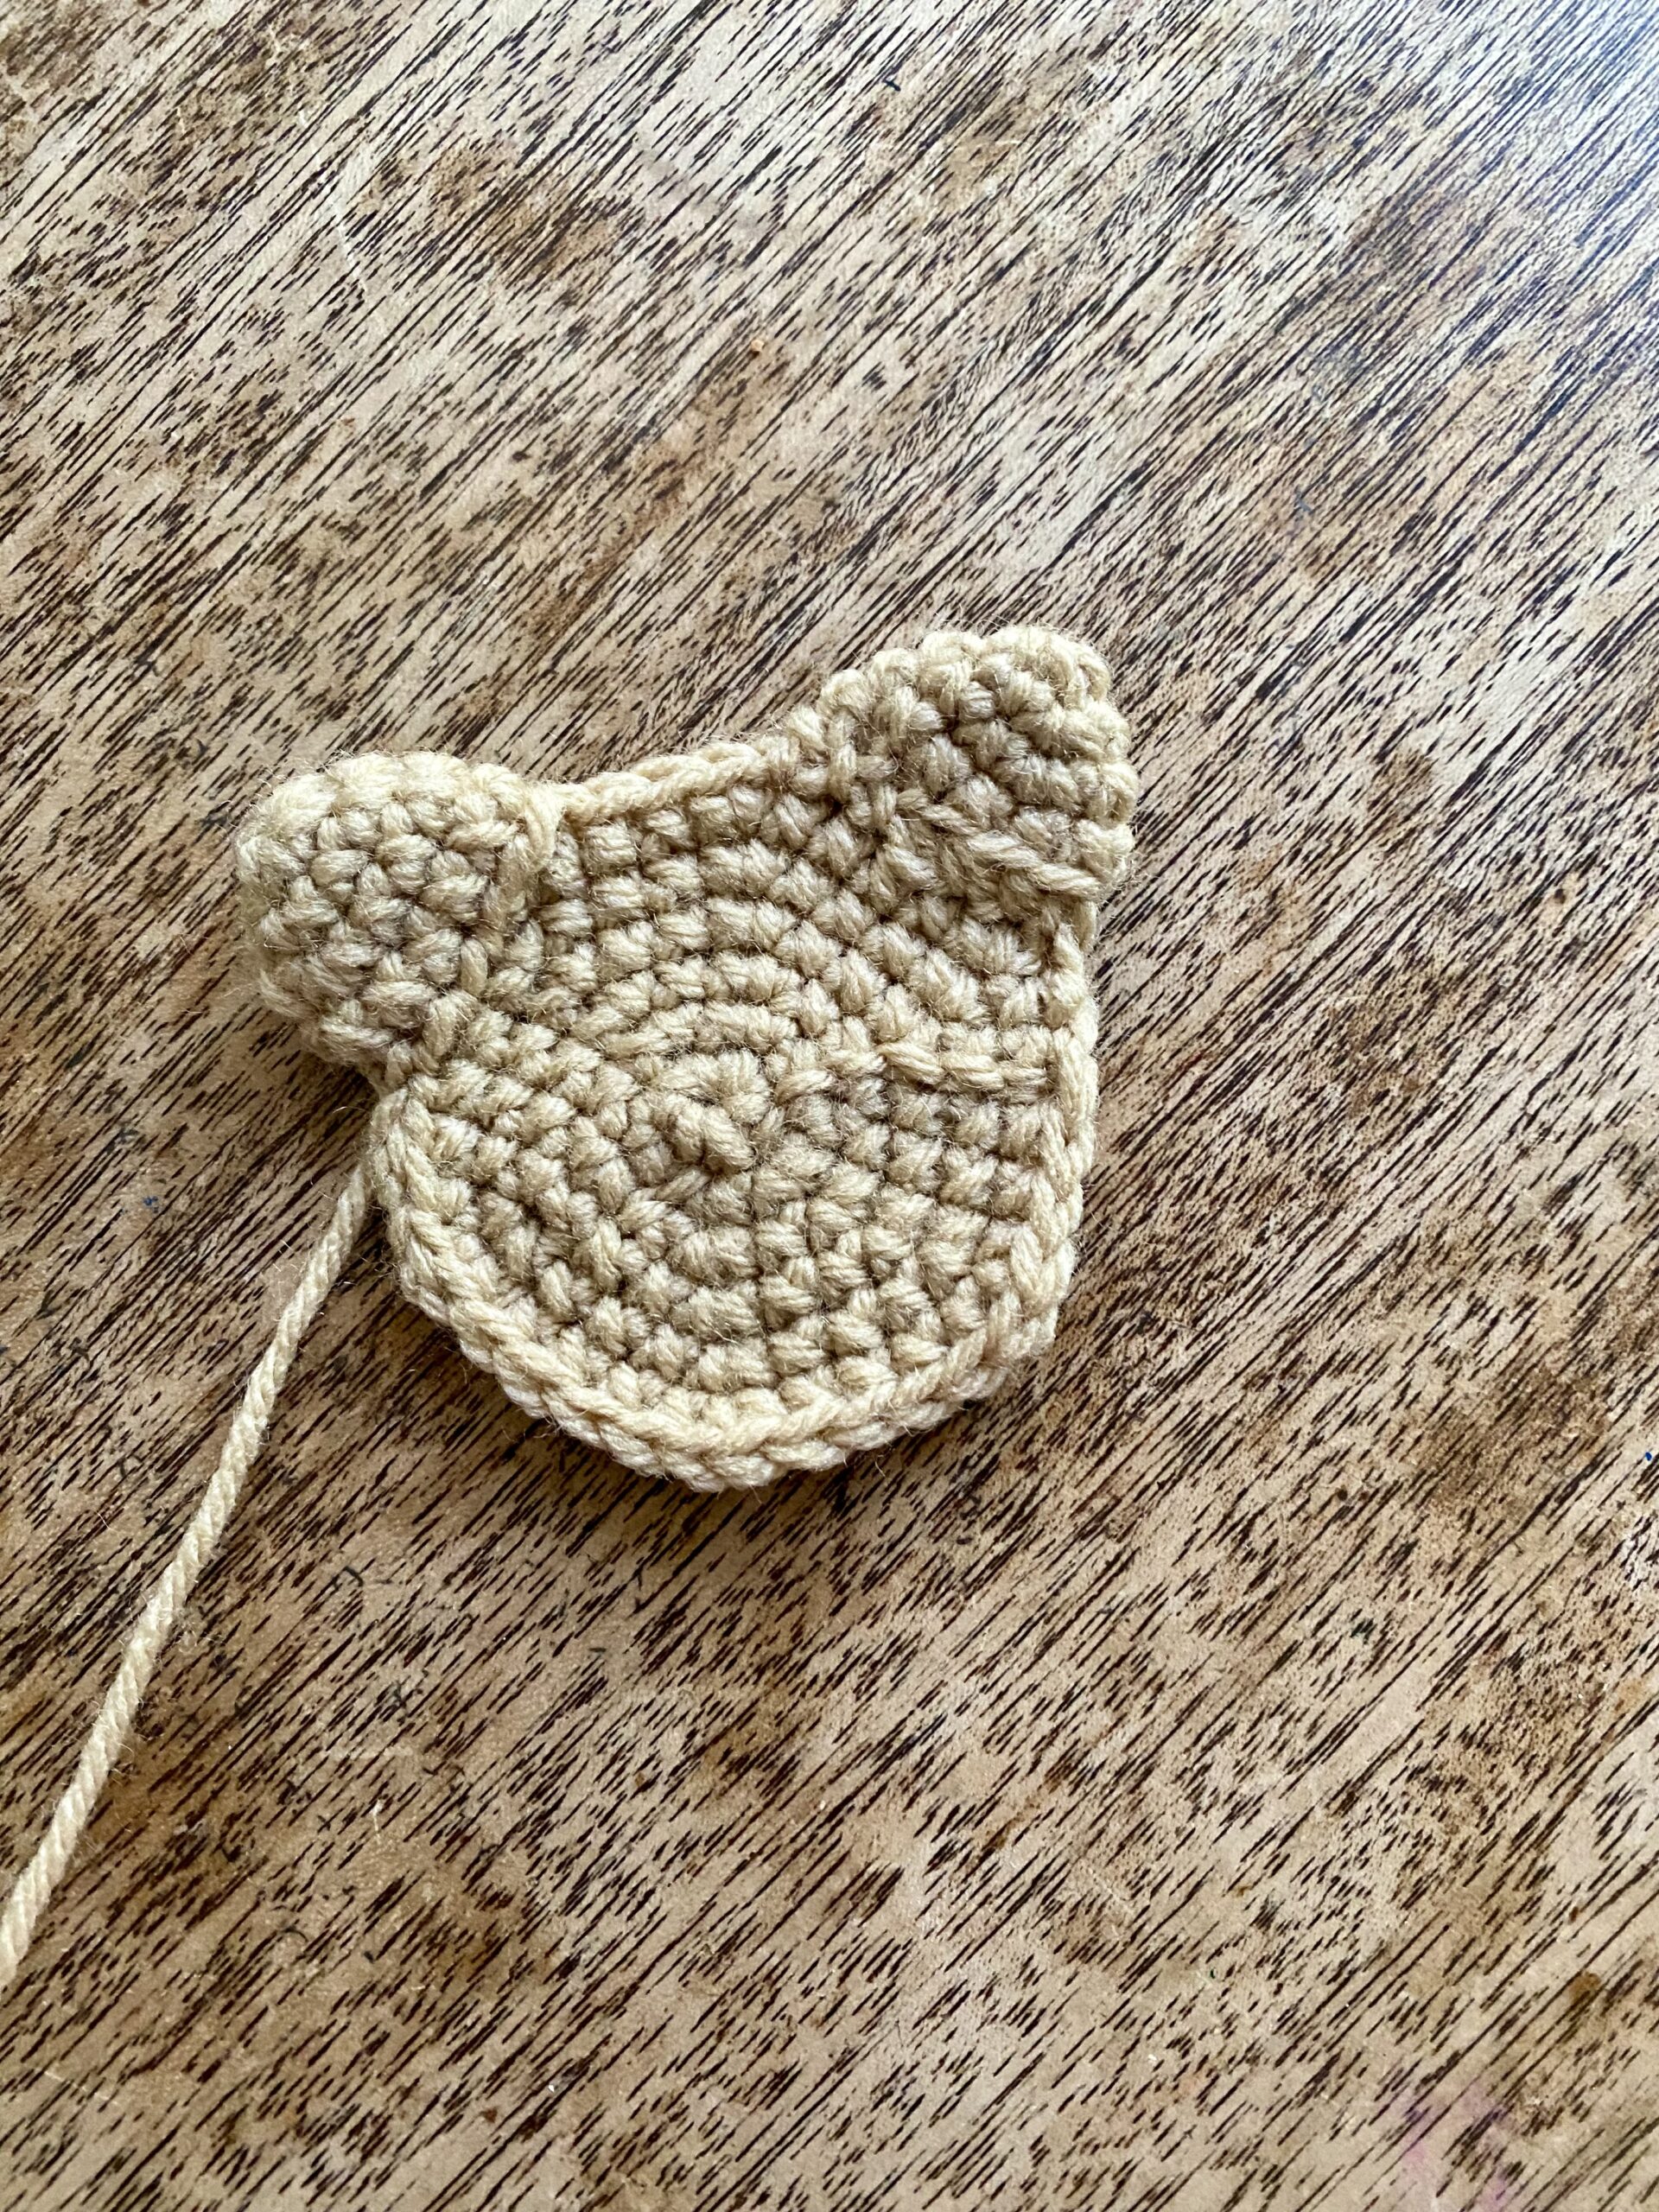
Bag Flap:
Rnd 1: 6 SC in a magic loop. Pull free end snugly go close the loop. (6)
Rnd 2: 2 SC in each ST around. (12)
Rnd 3: *SC in the next ST, 2 SC in the next ST.** Repeat from * to ** around. (18)
Rnd 4: *SC in the next 2 ST, 2 SC in the next ST.** Repeat from * to ** around. (24)
Rnd 5: * SC in the next 3 ST, 2 SC in the next ST.** Repeat from * to ** around. (30)
Rnd 6: *SC in the next 4 ST, 2 SC in the next ST.** Repeat from * to ** around. (36) Fasten off. Leaving a long tail for stitching the flap to the bag.
Ears:(Make 2)
Rnd 1: 6 SC in a magic loop. Pull the free end snuggly to close the loop. (6)
Rnd 2: *Sc in the next ST, 2 SC in the next ST.** Repeat from * to ** around. (9)
Rnd 3: * SC in the next 2 ST, 2 SC in the next ST.** Repeat from * to ** around. (12)
Rnd 4: SC in each ST around. (12) Fasten off, leaving a long tail for stitching ear to the flap.
Using the long tails from the ears, stitch the ears to the bag flap, leaving 3 stitches in between the ears at the top of the flap. See Picture.
Using Black yarn or embroidery floss and a yarn needle, embroider the nose.
Using dark brown yarn, embroider the eyes.
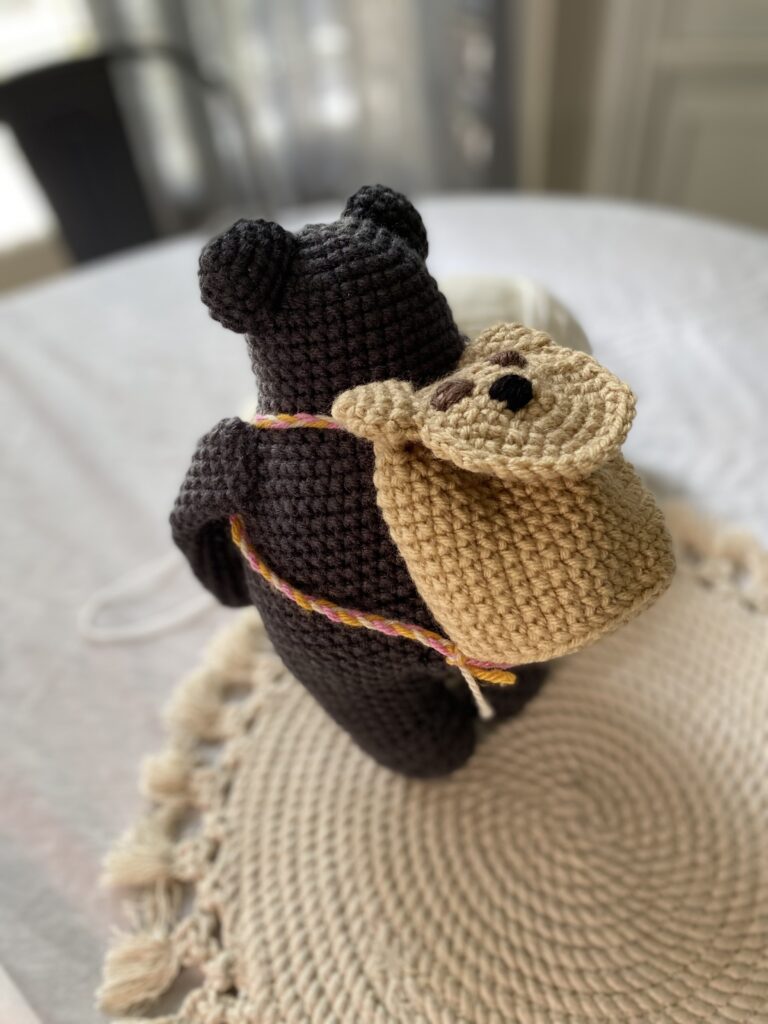
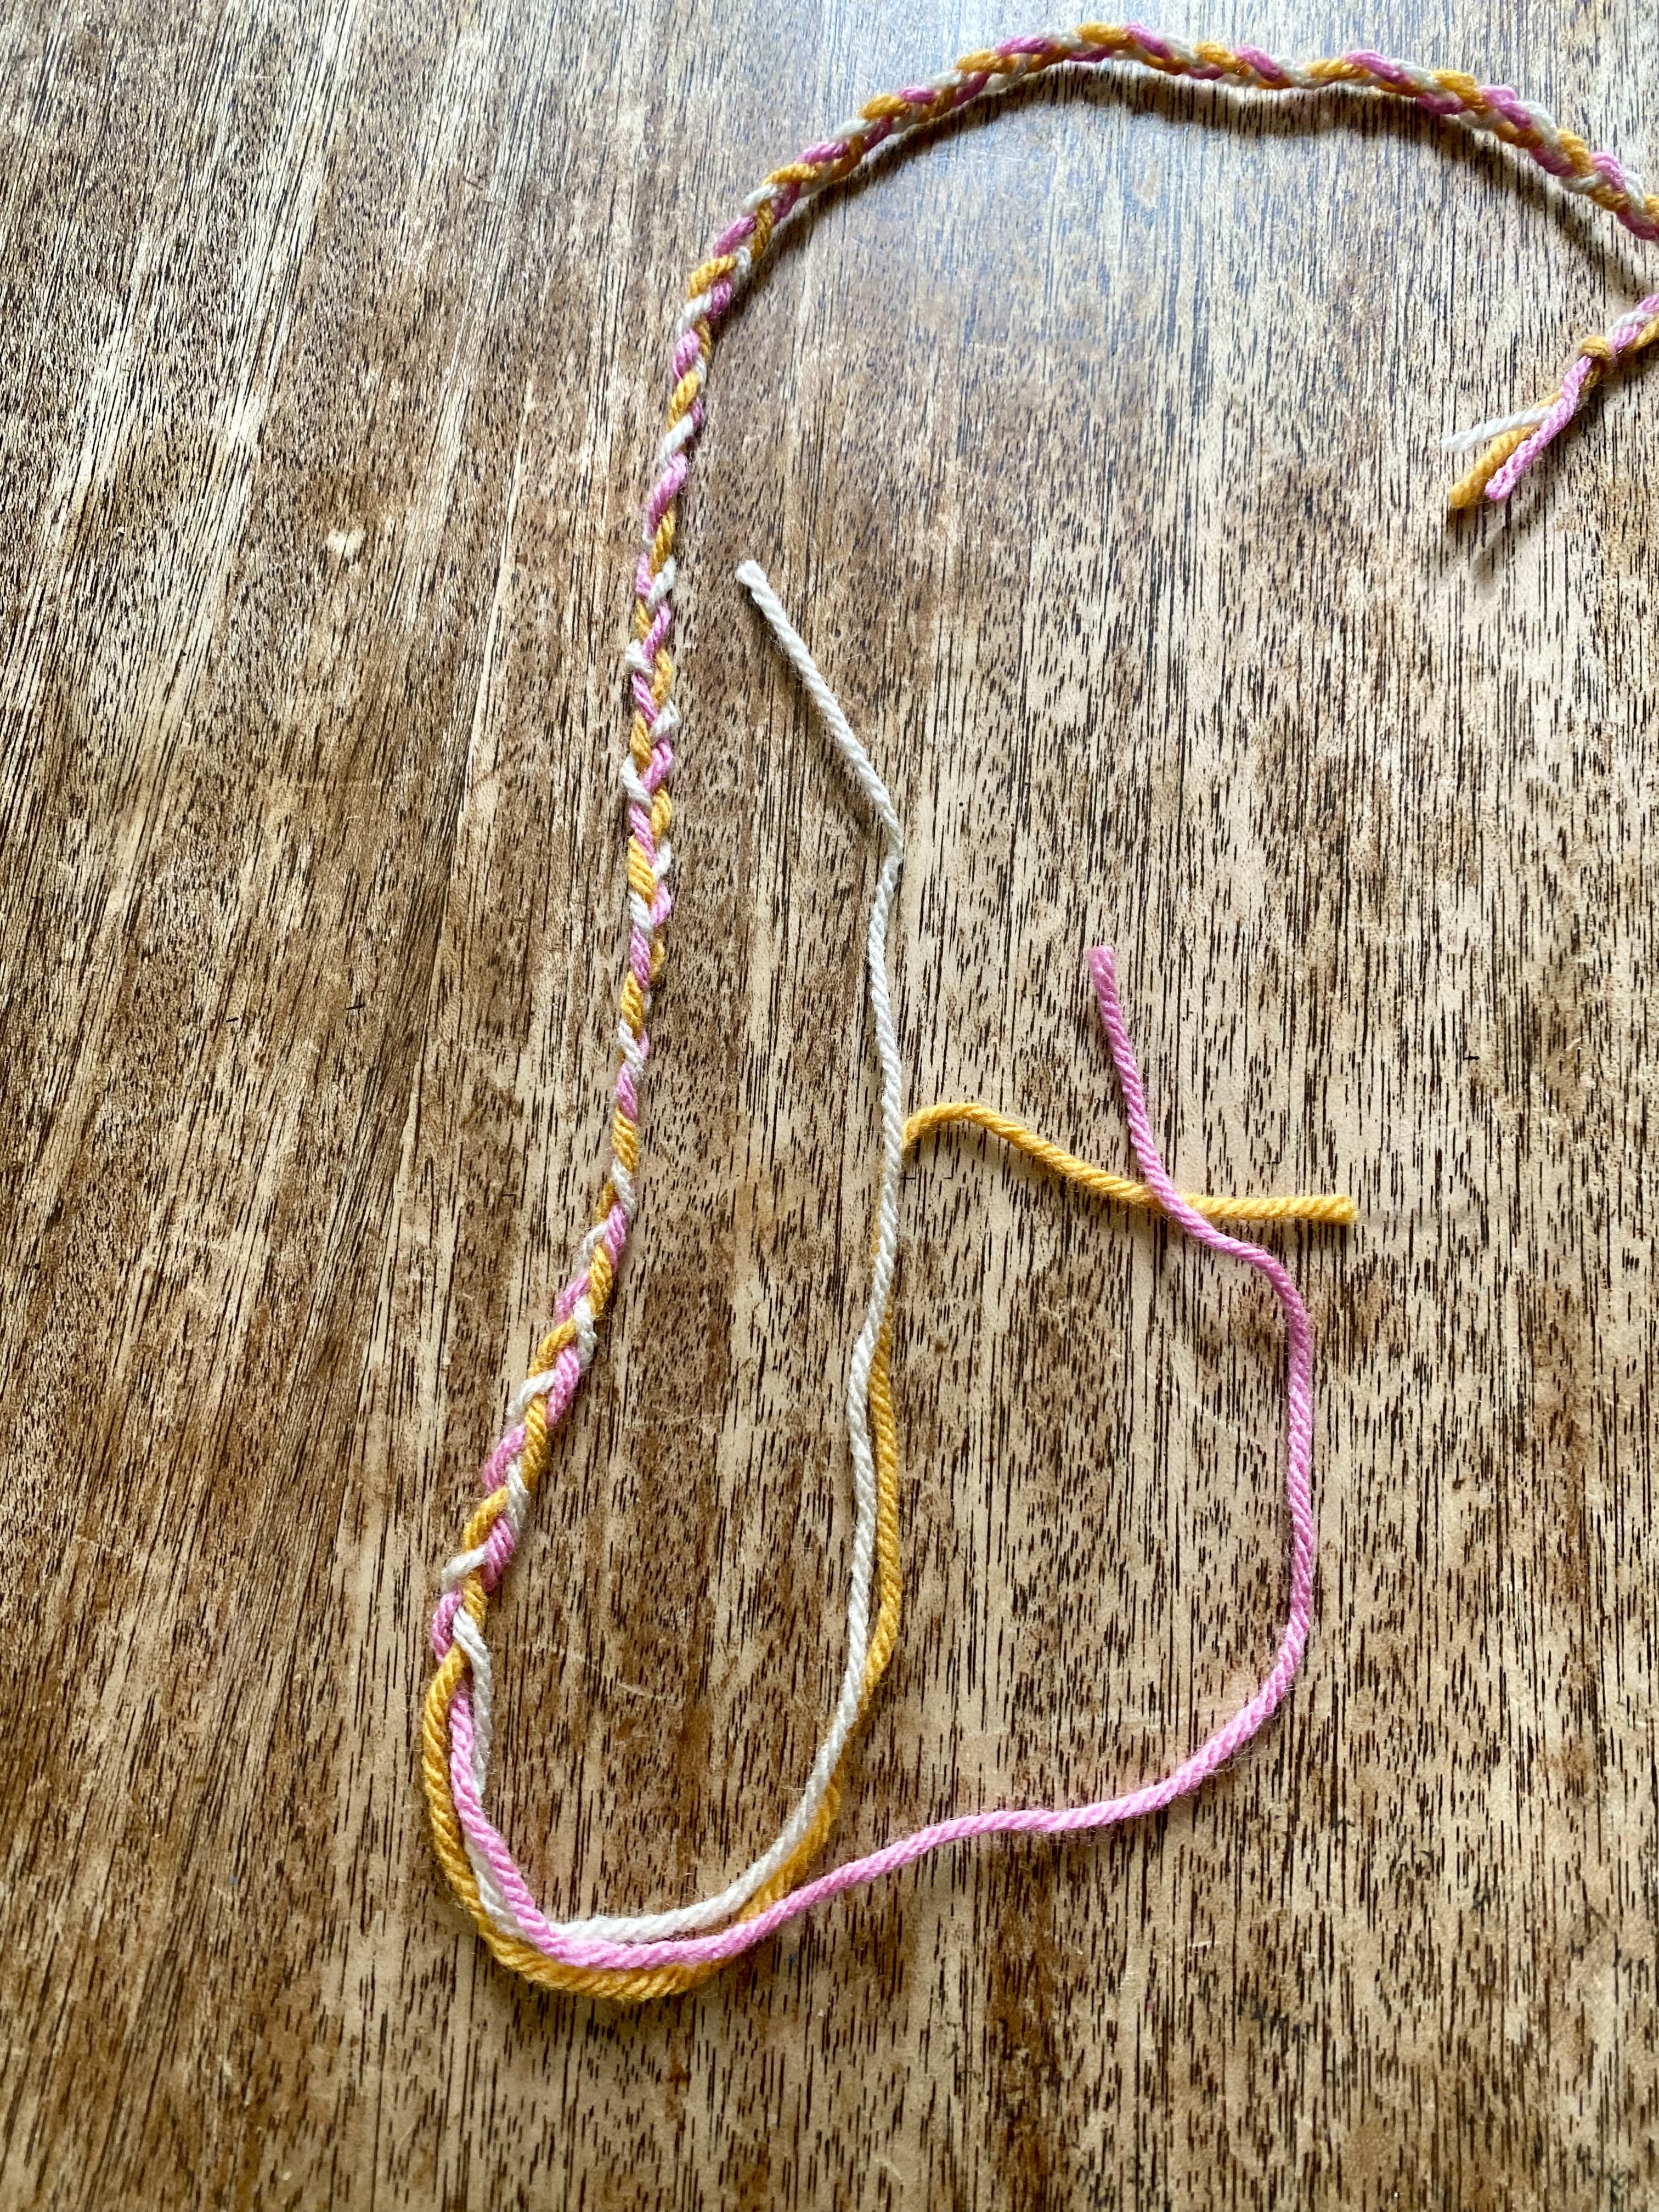
Back pack Strap:
This strap acts as a drawstring to cinch the bag closed and also doubles as backpack straps.
Using 3 yarn colors of your choice, cut 1 yard (3 feet) of each color. Line up the ends of the yarn strands so that they are even and tie the strands together in a knot near the lined up ends. Now, braid the strands together for the length of the strands.
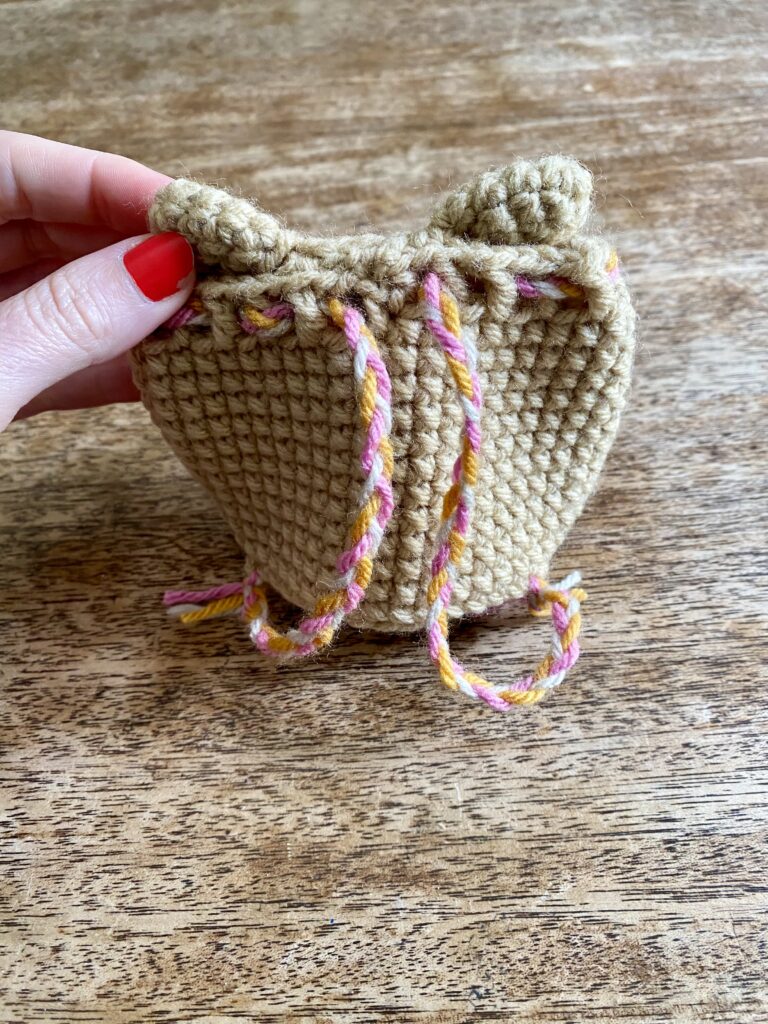
Now find the center back stitch of the bag and weave the braided strap through the Double Crochet stitches at the top of the bag. When you have woven the strap through the DC row, adjust the straps so that there is an equal amount of extra length on both sides to be used as the backpack straps.
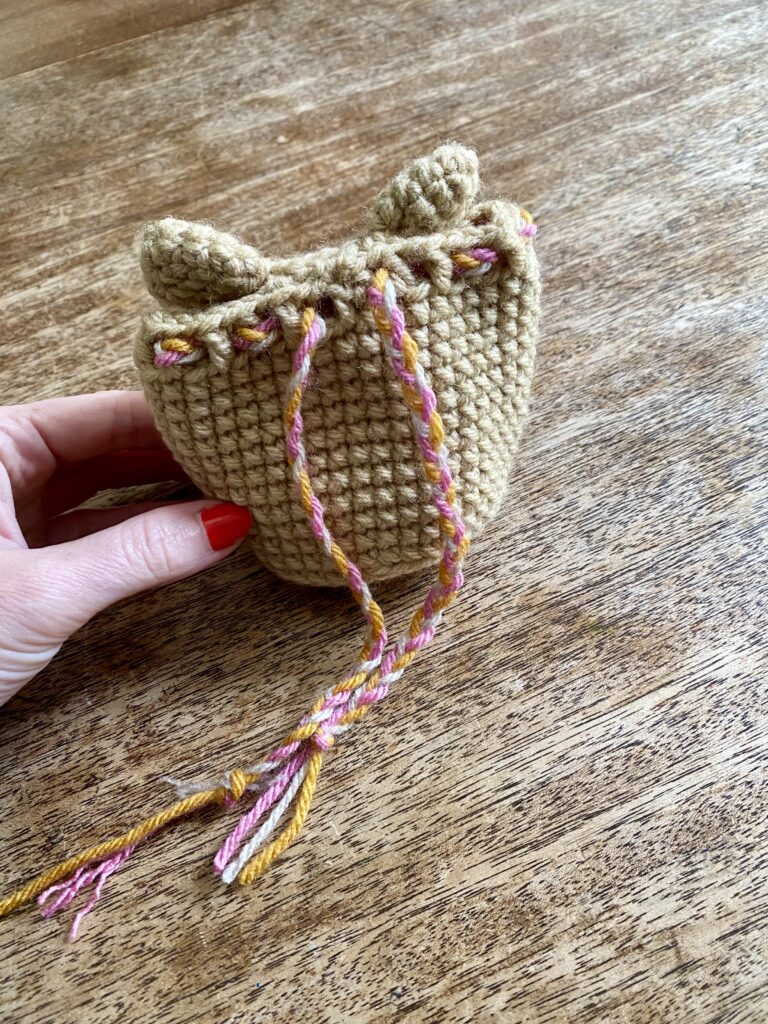
Secure the ends of the backpack straps to the bottom of the bag. Find the center back stitch and then secure the right side strap to the stitch 7 stitches to the right of the center back ST, then secure the left sided strap to the stitch 7 stitches to the left of the center ST. Secure by knitting in place.
Stay tuned! More fun is on the way for the Briarbears! Keep crocheting and checking back.
Briarberry
My name is Abby Holmgren and I love to create and share ideas through crochet, sewing, fashion, cooking, and visual arts. Briarberry Farmhouse is where I share inspiration.