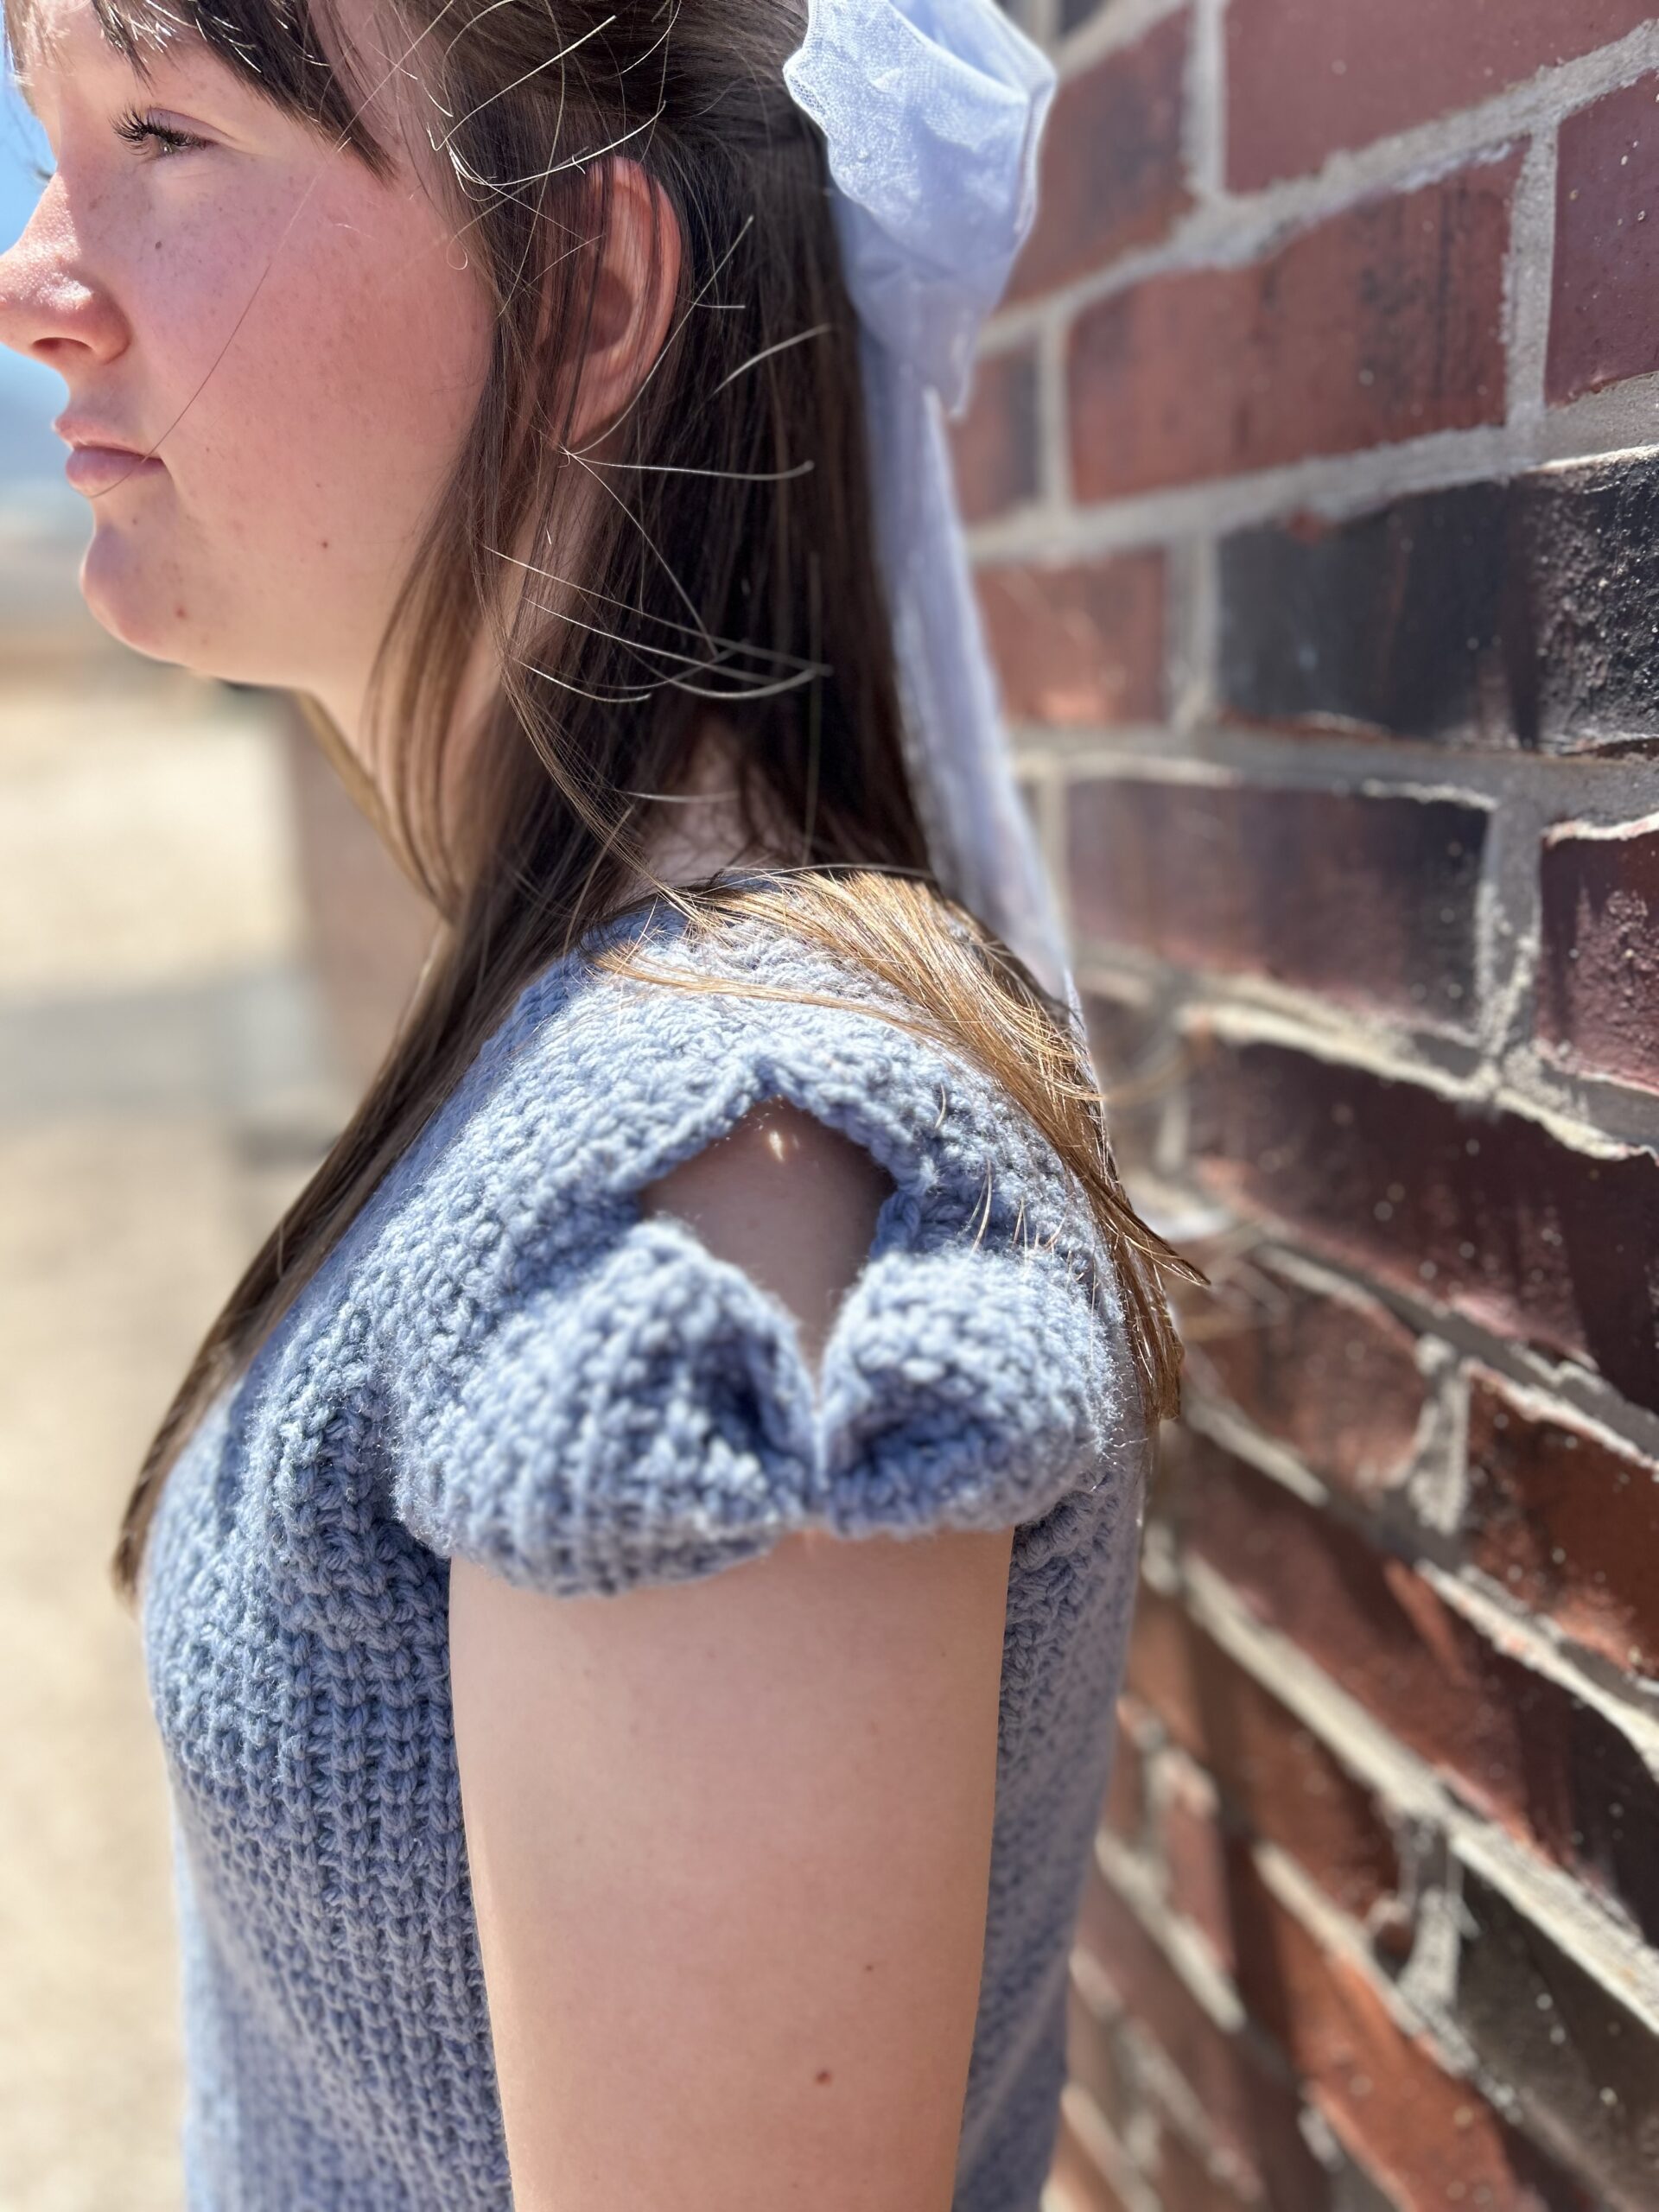
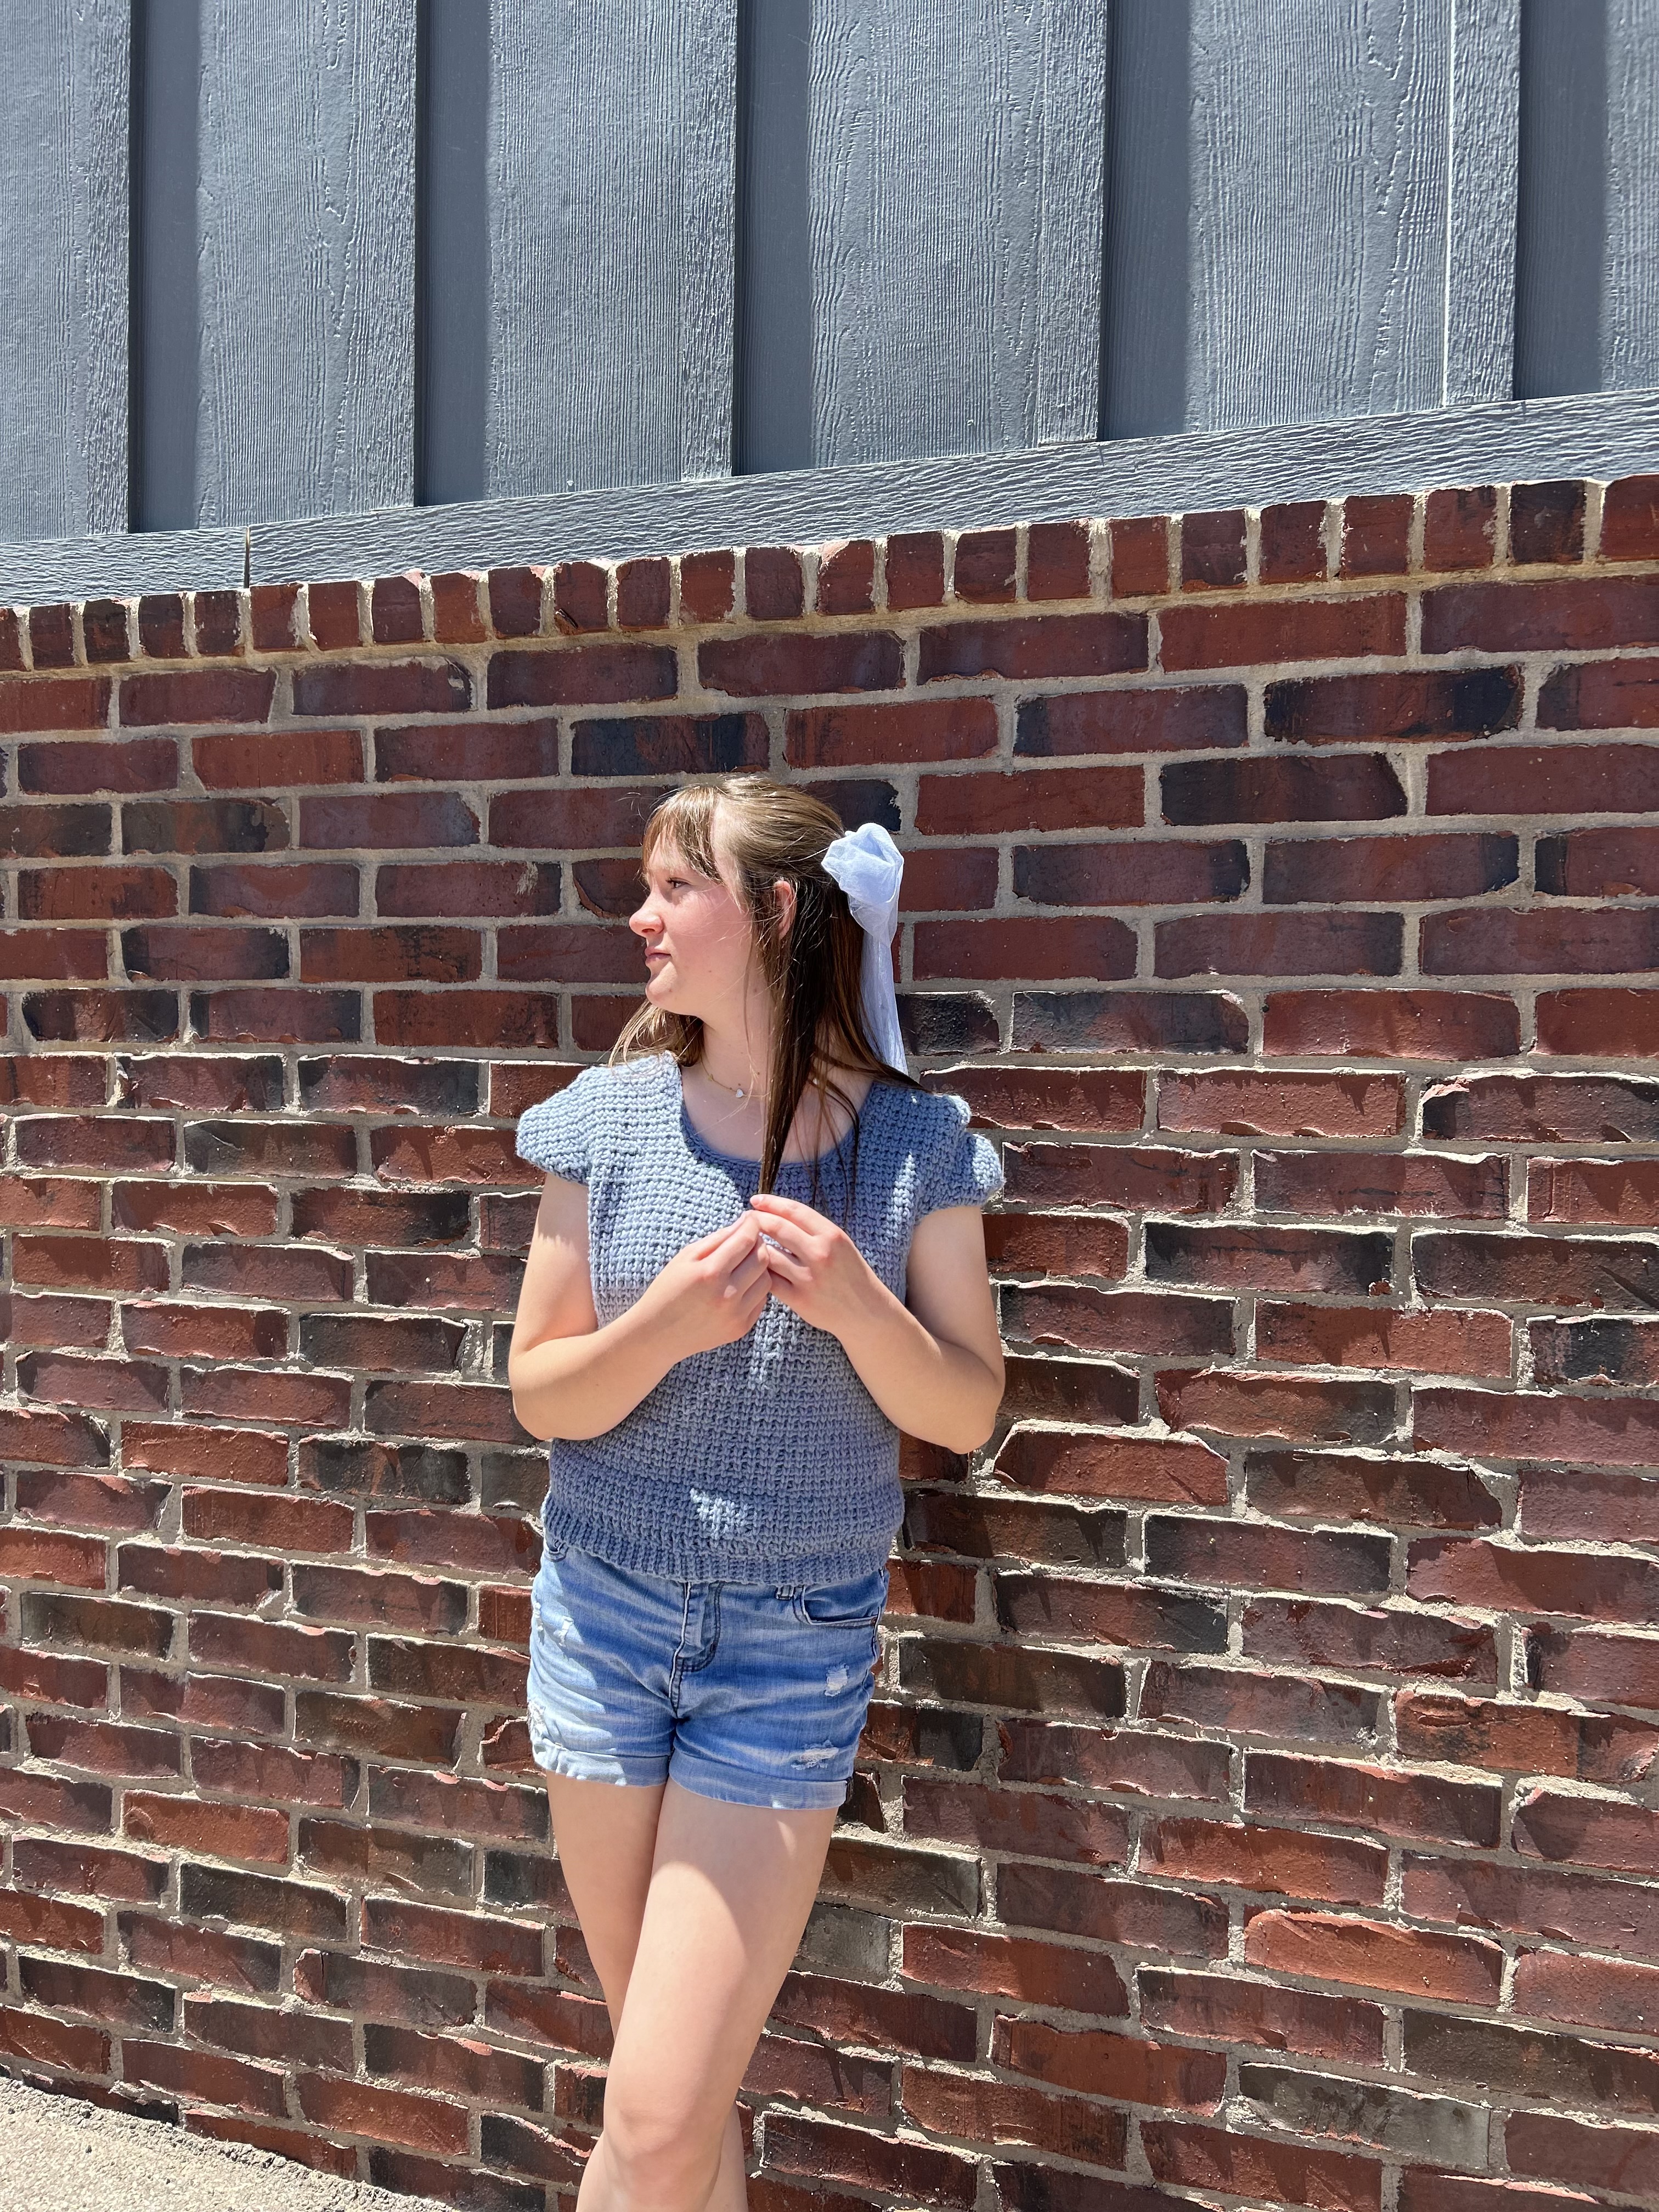
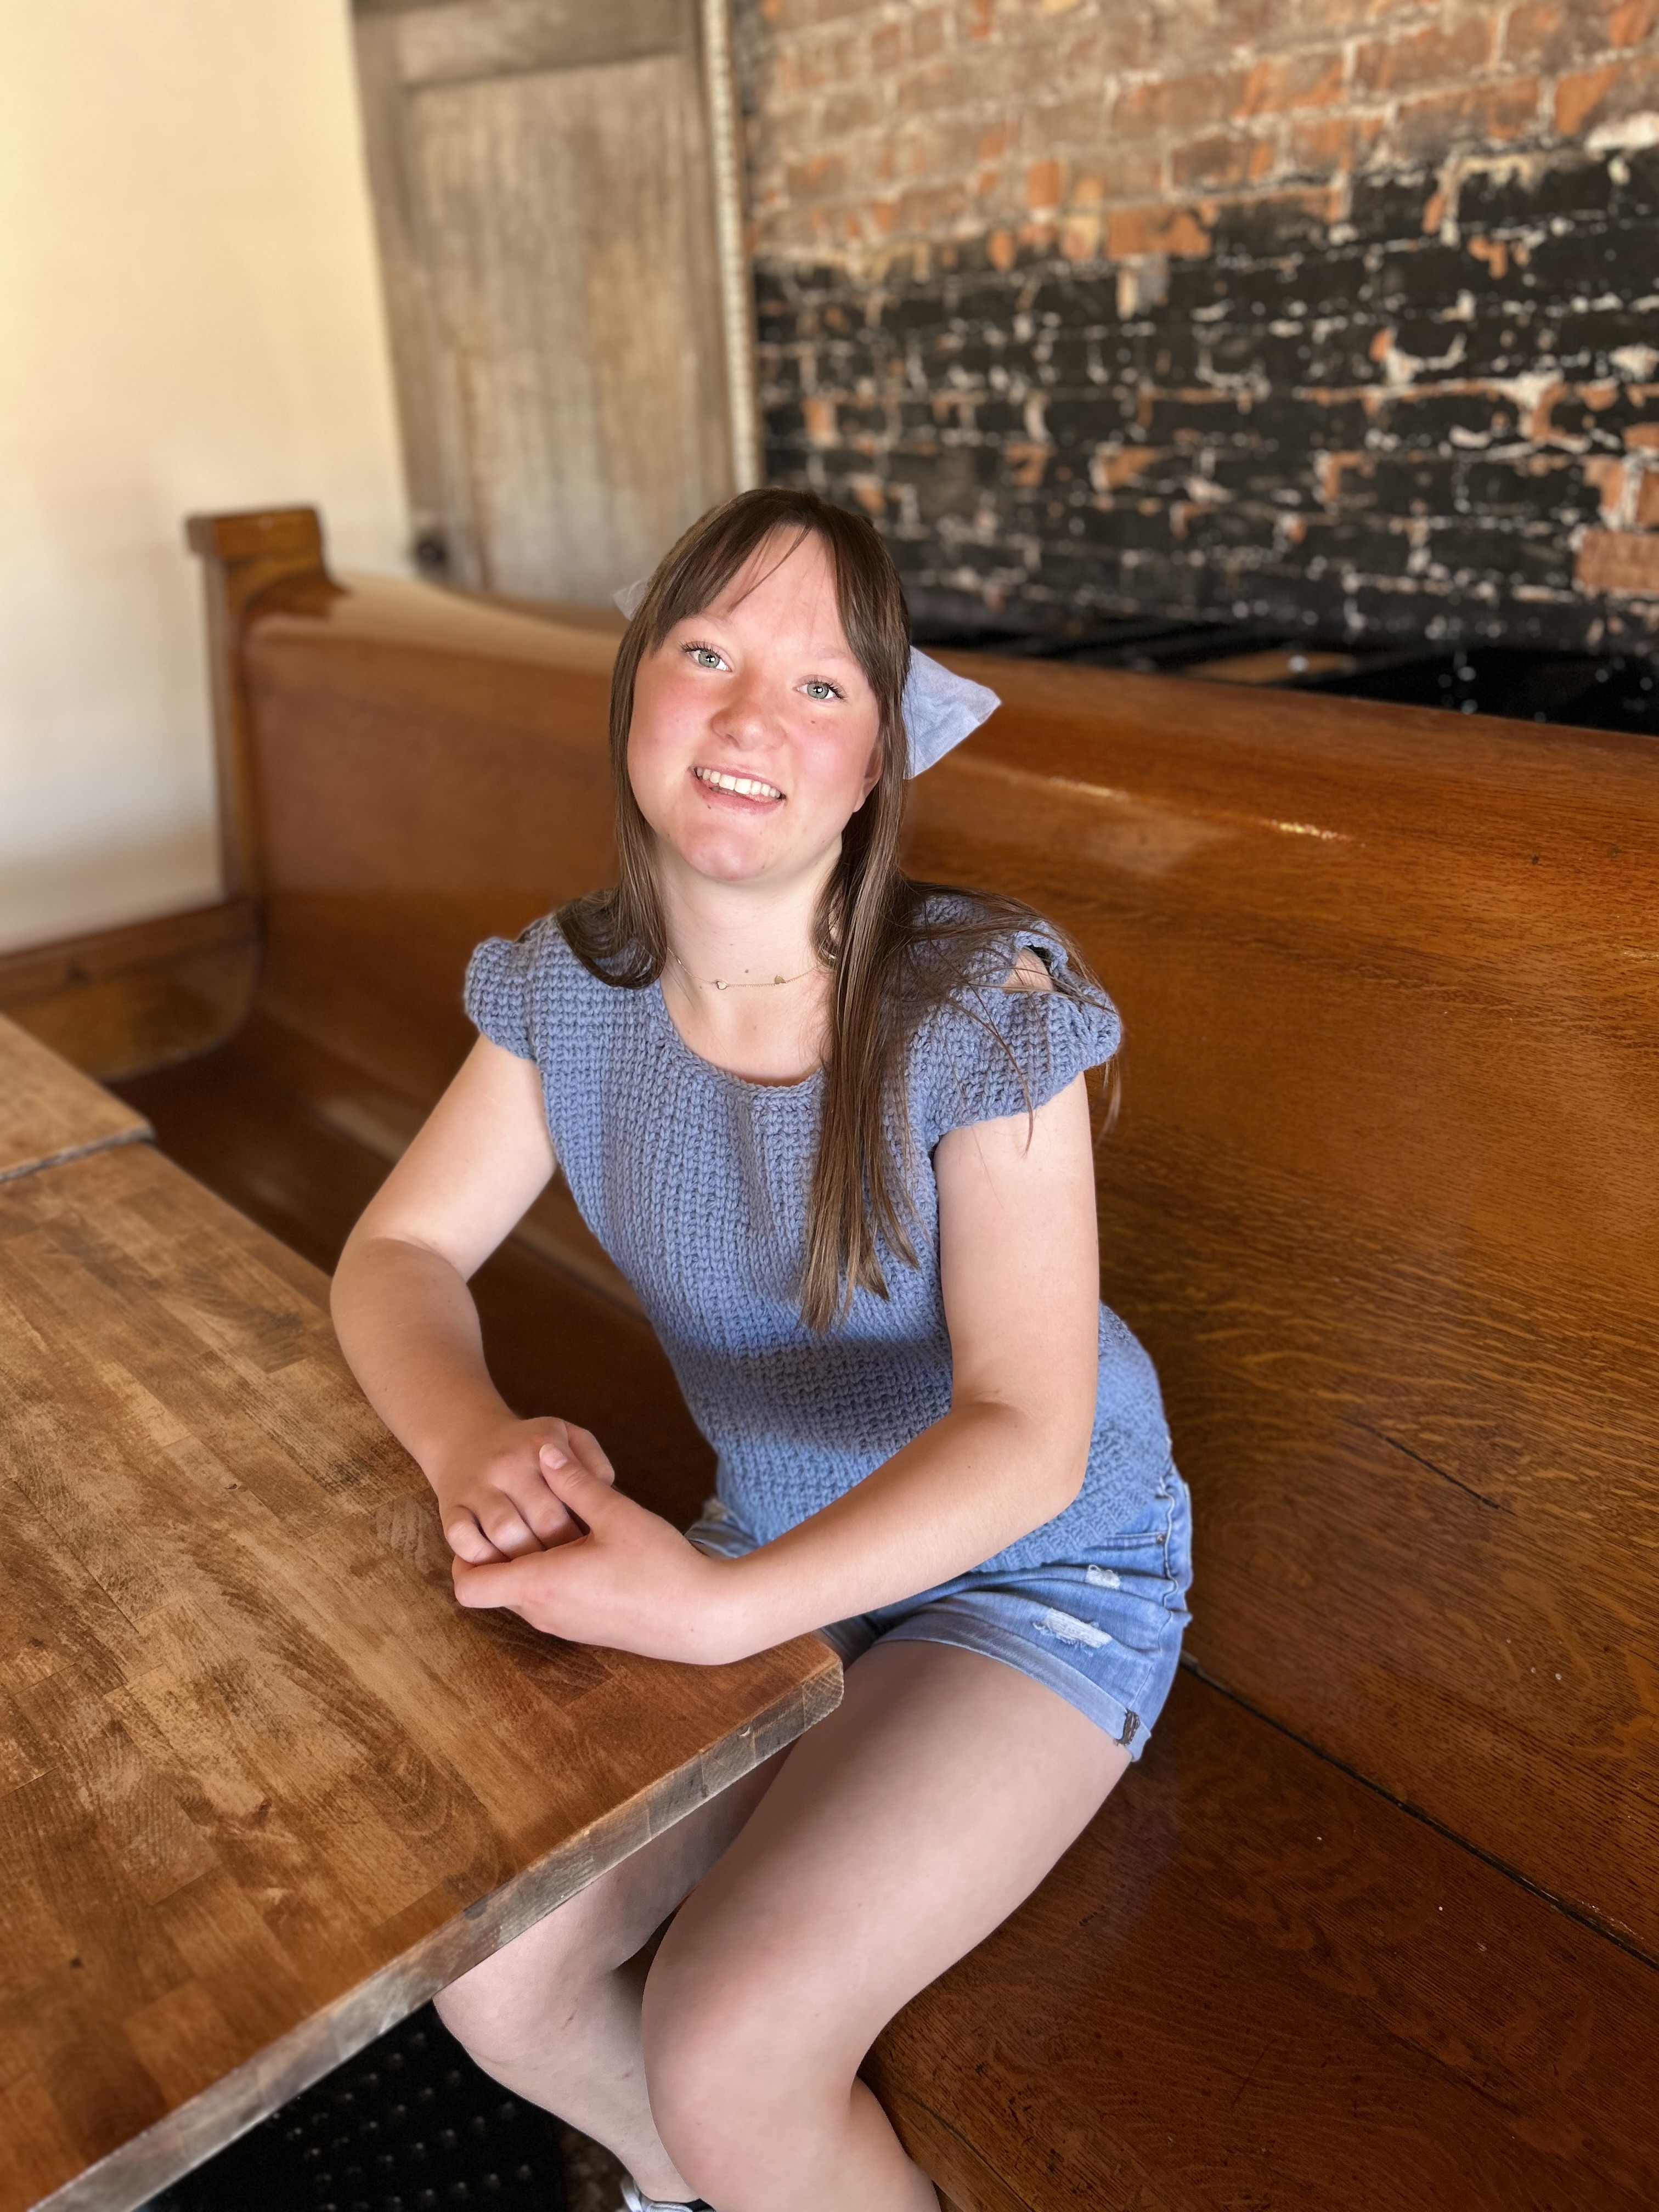
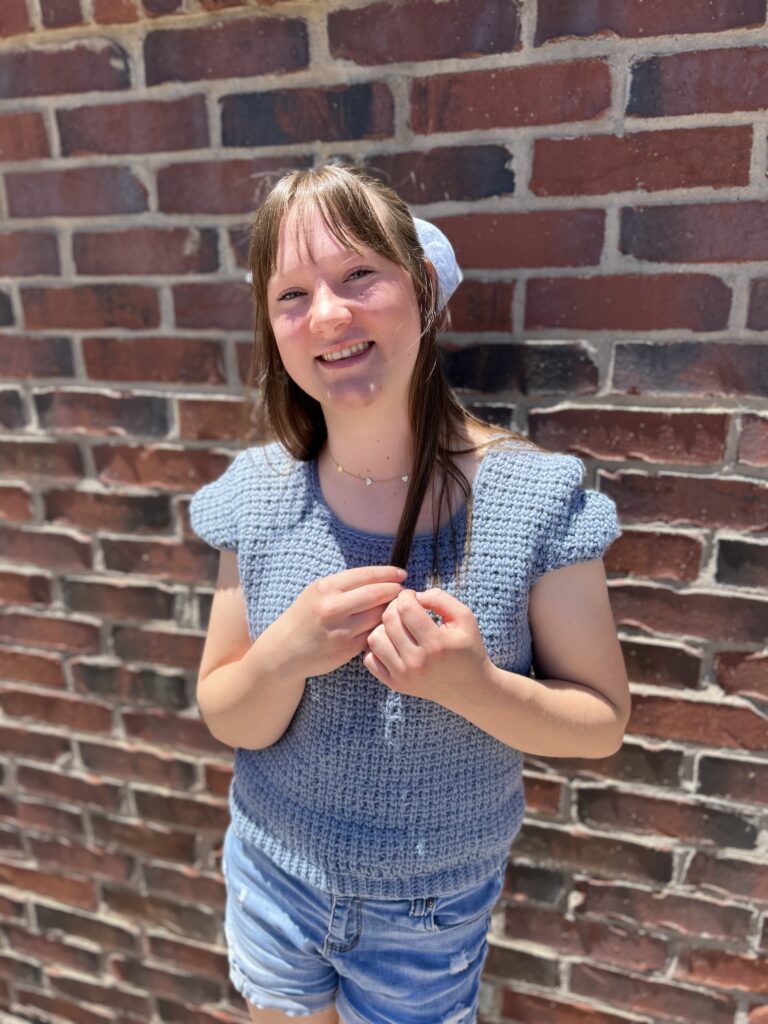
Frenchie Bow Sleeve Crochet Sweater
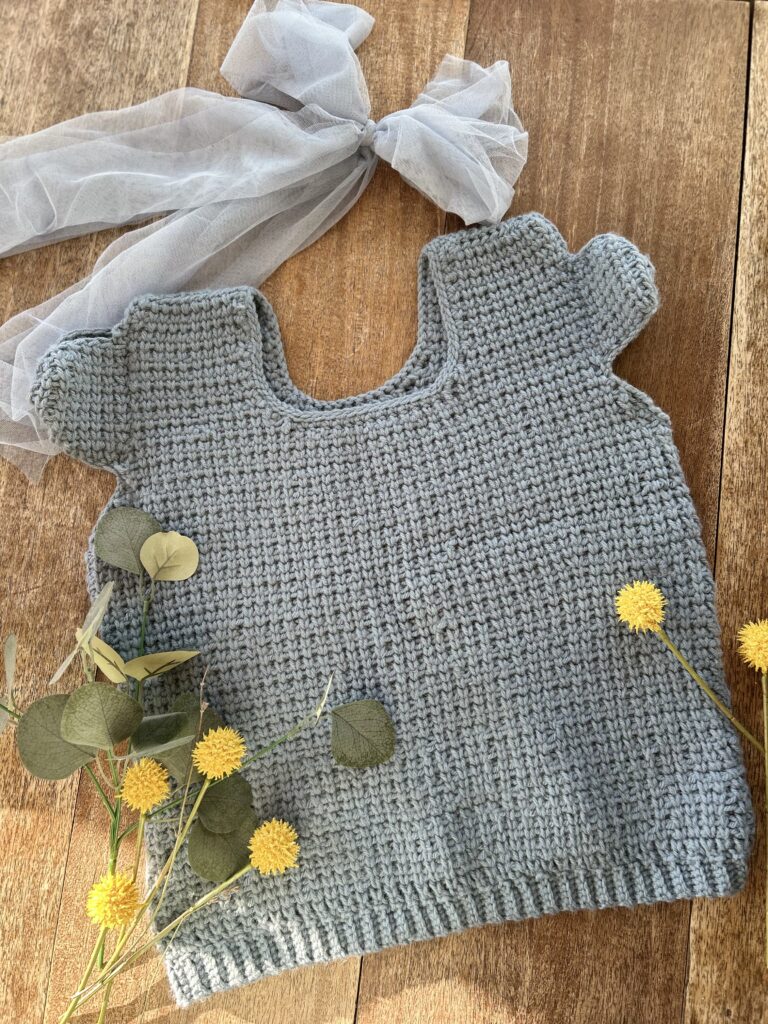
When the practice of a new stitch, the beautifully textured Waistcoat stitch, turns into a lovely spring sweater with a pretty bow sleeve detail.
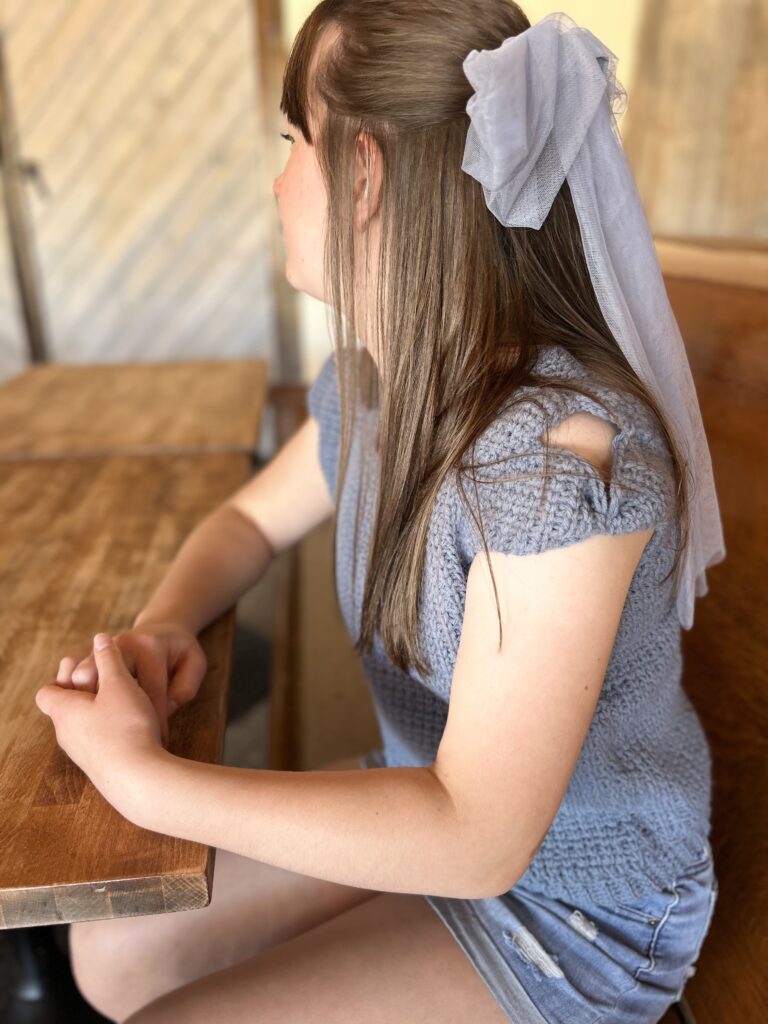
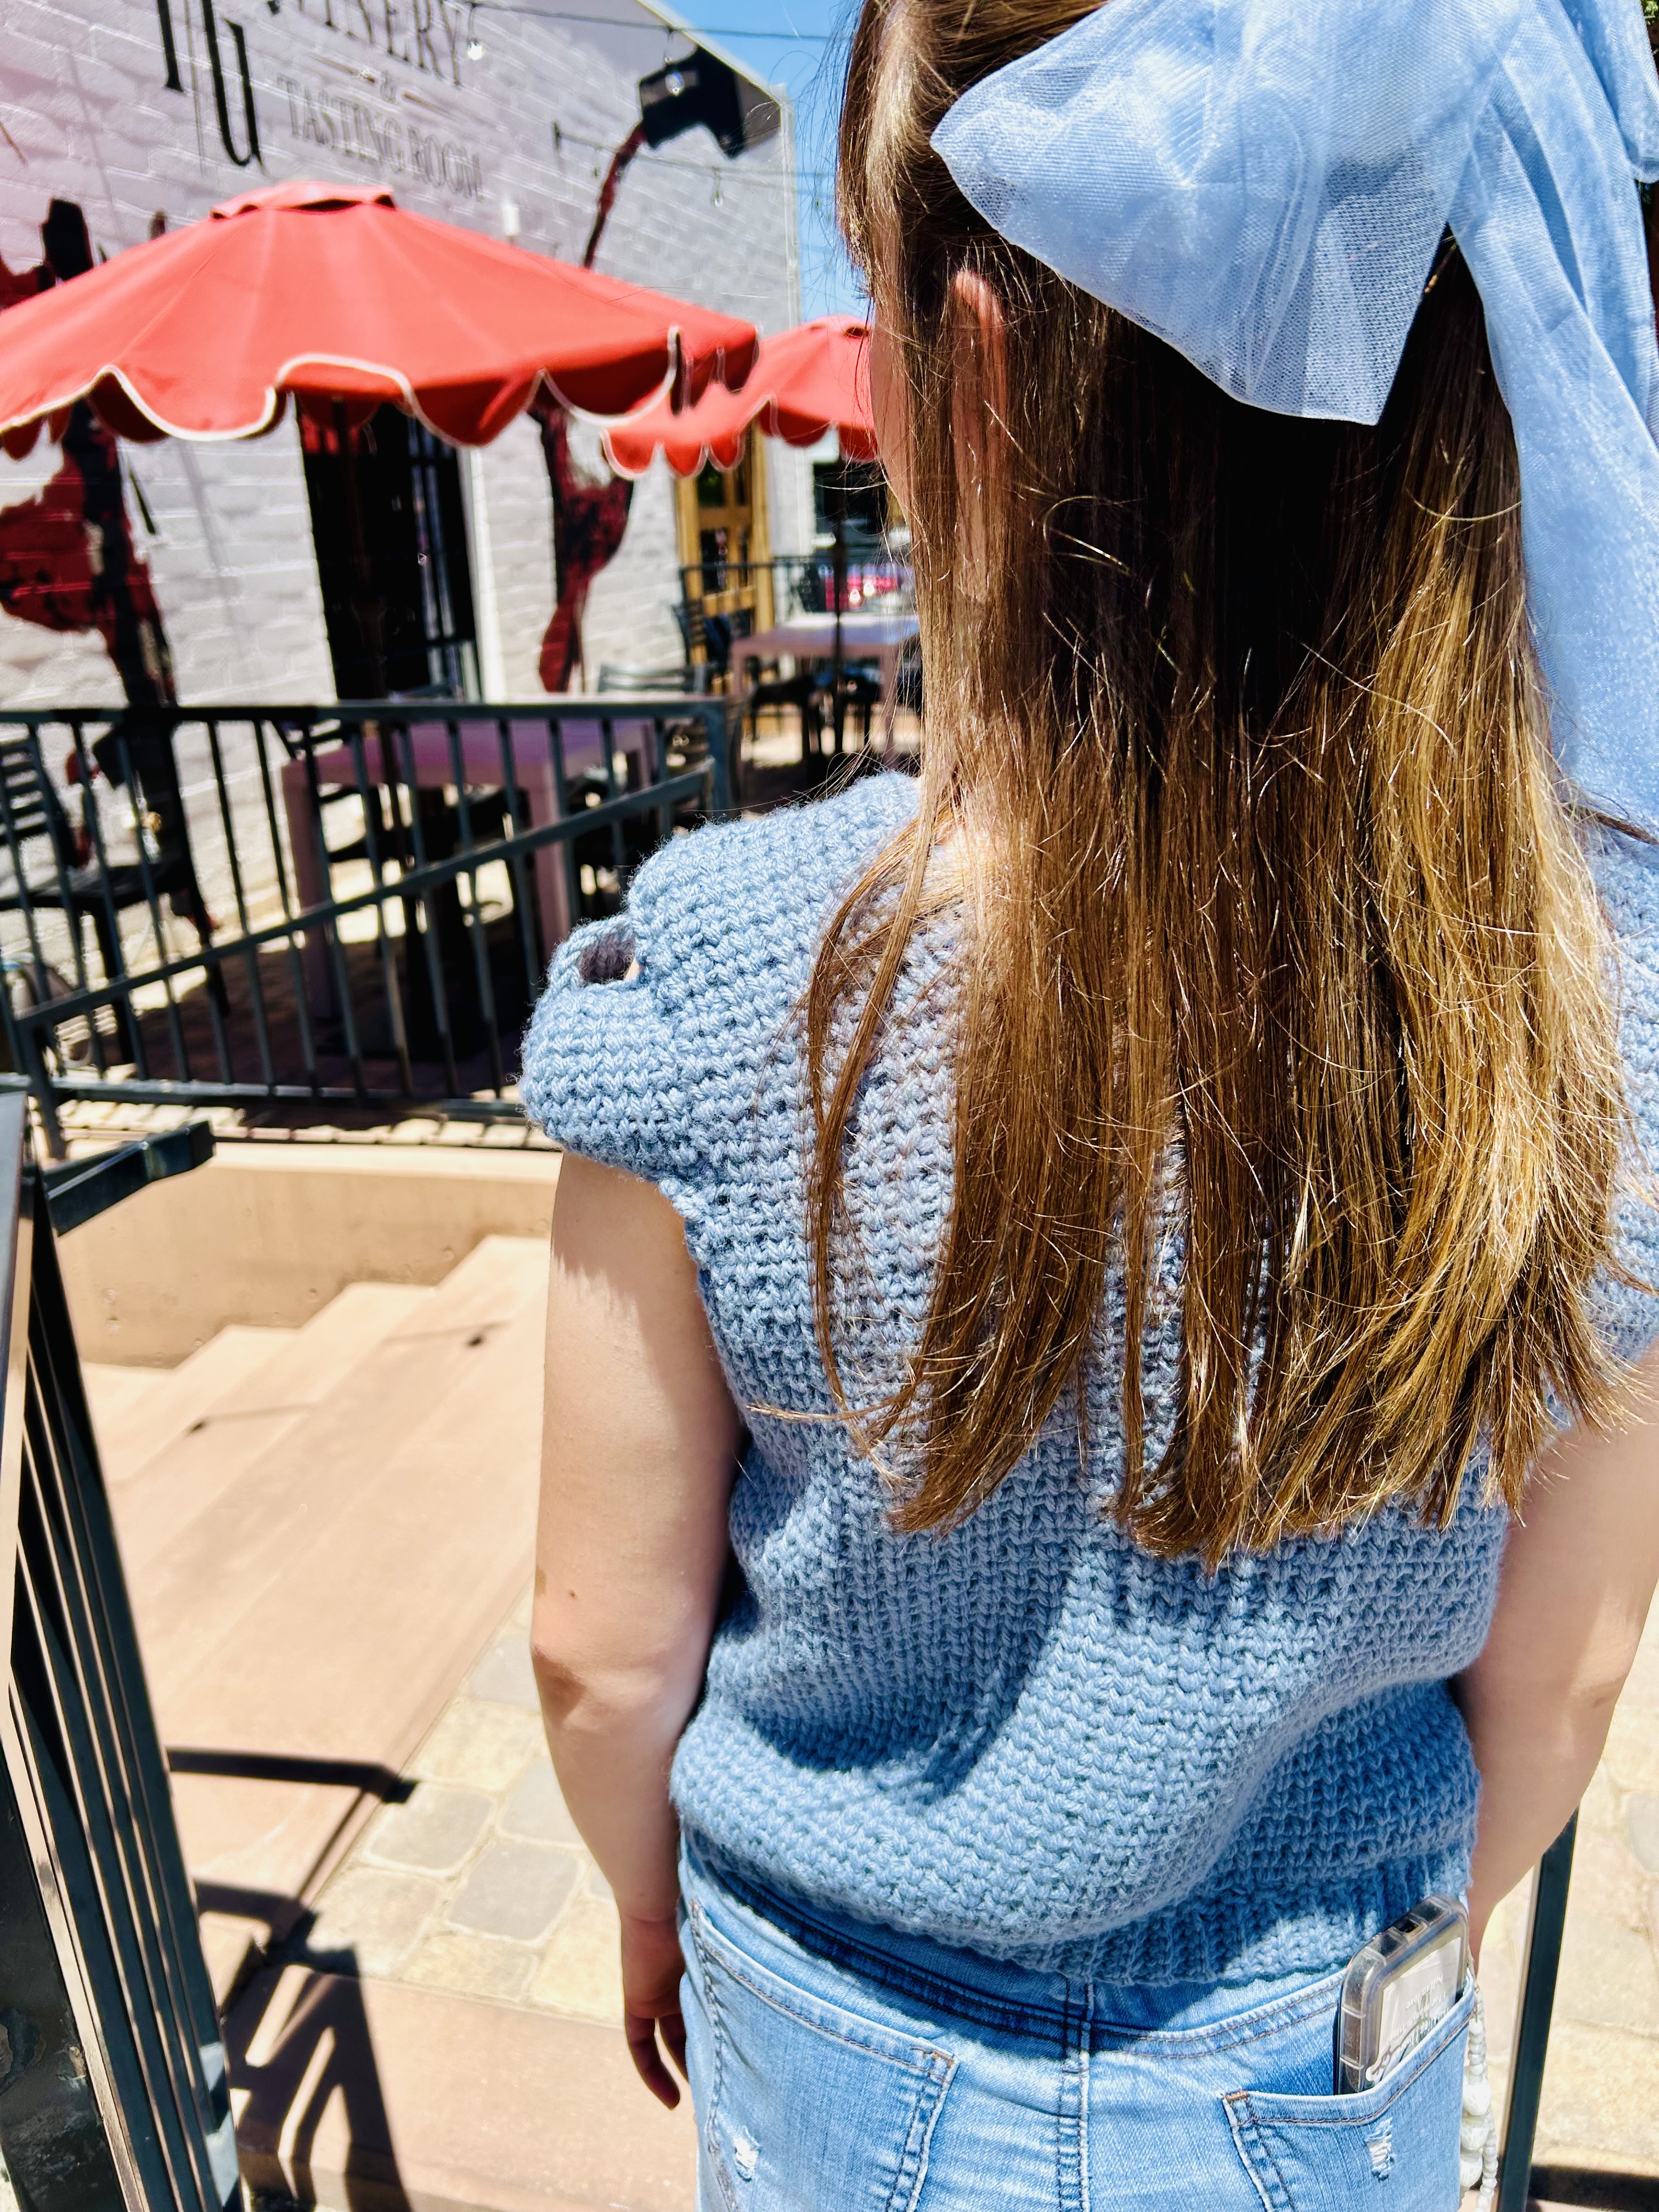
This sweater is perfect for the days when Springtime and Summer are playing hide and seek with each other. When it’s chilly in the shade and hot in the sunshine. The cute bow sleeves are a lovely detail that will make you feel elegant whether you’re meeting a friend for a brunch date at the coffee shop or throwing the sweater over your swimsuit after a dip. Make yours today!
Materials:
Lion Brand Pound of Love Yarn in Cadet Blue
Size K crochet hook
Size E4 crochet hook
Size H8 crochet hook
Gauge:
14 Stitches X 10 Rows = 4 » square
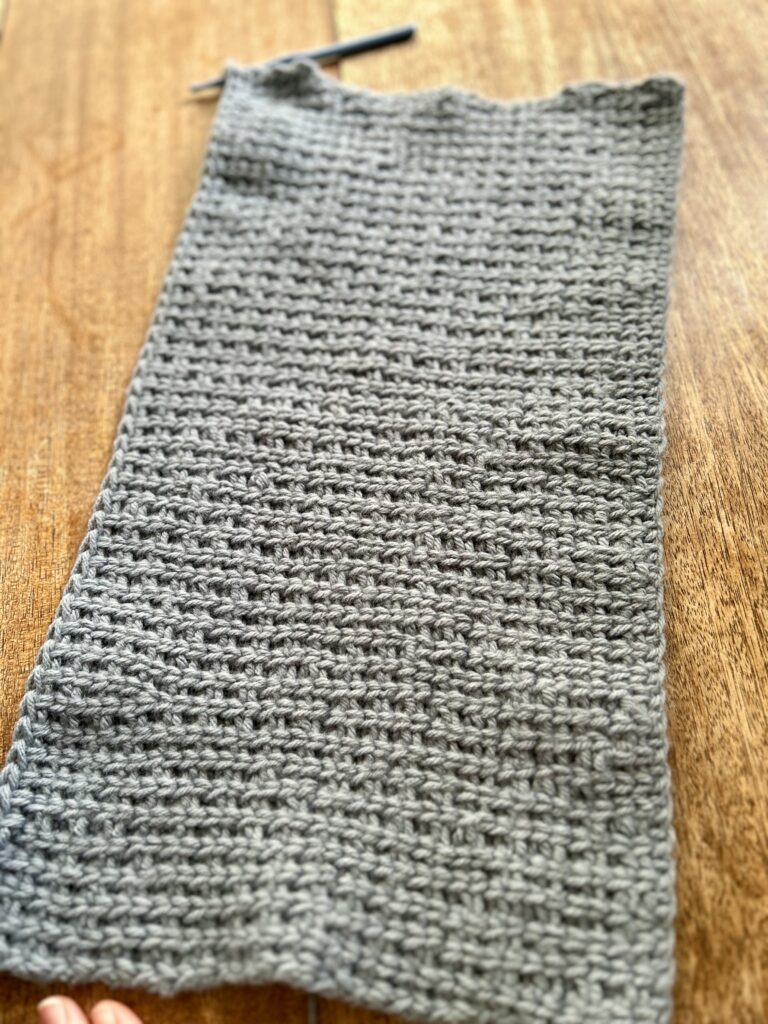
Pattern used for gauge: Half Double Crochet Waistcoat Stitch (HDCW)
Sizes:
Pattern is made for a size Small/Medium Sweater. This pattern can be easily modified to go up in size by increasing number of rows and length.
Size Small measurements:
Shoulder seam to lower hem: 21 inches.
Chest width: 18 inches across.
Hem width at waist: 17 inches.
Abbreviations:
CH – Chain Stitch
FSC – Foundation Single Crochet
HDC – Half-double Crochet
HDCW-Half Double crochet Waistcoat Stitch
DC – Double Crochet
SLST – Slip Stitch
ST(S) – Stitch(es)
SK – Skip
Instructions:
If you prefer a printable version of this pattern, please visit my etsy shop, by clicking here. The small fee goes towards supporting my work but the same pattern is also included below. Thank you, and Happy Crocheting!
Sweater Back Panel:
Row 1: CH 46, turn.
Row 2: SC in each ST across, CH 1, turn. (45)
Row 3-30: Half Double Crochet Waistcoat ST in each ST across. CH 1, turn. (45)
Row 31: Half Double Crochet Waistcoat ST in the next 9 ST, 2 Half Double Crochet Waistcoat (HDCW) ST in the next ST. HDCW ST in the next 25 ST, 2 HDCW ST in the next ST. HDCW ST in the next 9 ST. CH 1, turn. (47)
Row 32-40: HDCW ST in each ST across, CH 1, turn. (47)
Row 41: SLST in the next ST, HDCW ST in the next 45 ST, CH 1, turn. (45)
Row 42: SLST in the first ST, HDCW ST in the next 44 ST. CH 1, turn (44)
Row 43: SLST in the first ST, HDCW ST in the next 43 ST. CH 1, turn. (43)
Row 44: SLST in the first ST, HDCW ST in the next 42 ST. CH 1, turn. (42)
Row 45: SLST in the first ST, HDCW ST in the next 41 ST. CH 1, turn. (41)
Row 46: SLST in the first ST, HDCW ST in the next 40 ST. CH 1, turn. (40)
Row 47: SLST in the first ST, HDCW ST in the next 39 ST. CH 1, turn. (39)
Row 48: SLST in the first ST, HDCW ST in the next 38 ST. CH 1, turn. (38)
Row 49-51: HDCW ST in each ST across. CH 1, turn. (38)
Row 52a: SL ST in the first ST, HDCW ST in the next 12 ST. CH 1, turn. (12)
Row 53a: SLST in the next ST, HDCW ST in the next 11 ST. CH 1, turn. (11)
Row 54a: HDCW ST in each ST across. CH 1, turn. (11)
Row 55a: SLST in the first ST, HDCW ST in the remaining 10 ST. CH 1, turn. (10)
Row 56a-66a: HDCW ST in each ST across. CH 1, turn. (10)
Fasten off, leaving a long tail for stitching.
Reattach with a SLST on the other side of the panel to complete the other side shoulder section.
Repeat Row 52a-66a.
Fasten off, leaving a tail for stitching.
Sweater Front and Shoulder Yoke
Row 1: CH 43, turn.
Row 2: SC in second CH from the hook and in each remaining ST across. CH 1, turn. (42)
Row 3-34: HDCW ST in each ST across. CH 1, turn. (42)
Row 35: SL ST in the first ST. HDCW ST in the next 41 ST. CH 1, turn. (41)
Row 36: SL ST in the first ST. HDCW ST in the next 40 ST. CH 1, turn. (40)
Row 37: SL ST in the first ST. HDCW ST in the next 38 ST. CH 1, turn. (38)
Row 38: SL ST in the first ST. HDCW ST in the next 36 ST. CH 1, turn. (36)
Row 39: SL ST in the first ST. HDCW ST in the next 34 ST. CH 1, turn. (34)
Row 40: SL ST in the first ST. HDCW ST in the next 32 ST. CH 1, turn. (32)
Row 41: SL ST in the first ST. HDCW ST in the next 30ST. CH 1, turn. (30)
Row 42-50: HDCW ST in each ST across. CH 1, turn. (30)
Now we will work one side of the shoulder, then fasten off and reattach on the other side to finish the other side. Let’s start with the first side.
Row 51a: HDCW ST in the next 12 ST. CH 1, turn. (12)
Row 52a: SLST in the next ST. HDCW ST in the next 11 ST. Ch 1, turn. (11)
Row 53a: HDCW ST in each ST across. CH 1, turn. (11)
Row 54a: SLST in the first ST. HDCW ST in the remaining 10 ST of the row. CH 1, turn. (10)
Row 55a- 66a: HDCW ST in each ST across. CH 1, turn. (10)
Fasten off, leaving a tail for stitching.
Reattach yarn to the outer edge of the other side to complete the other shoulder section.
Repeat rows 51a-66a.
Fasten off, leaving a tail for stitching.
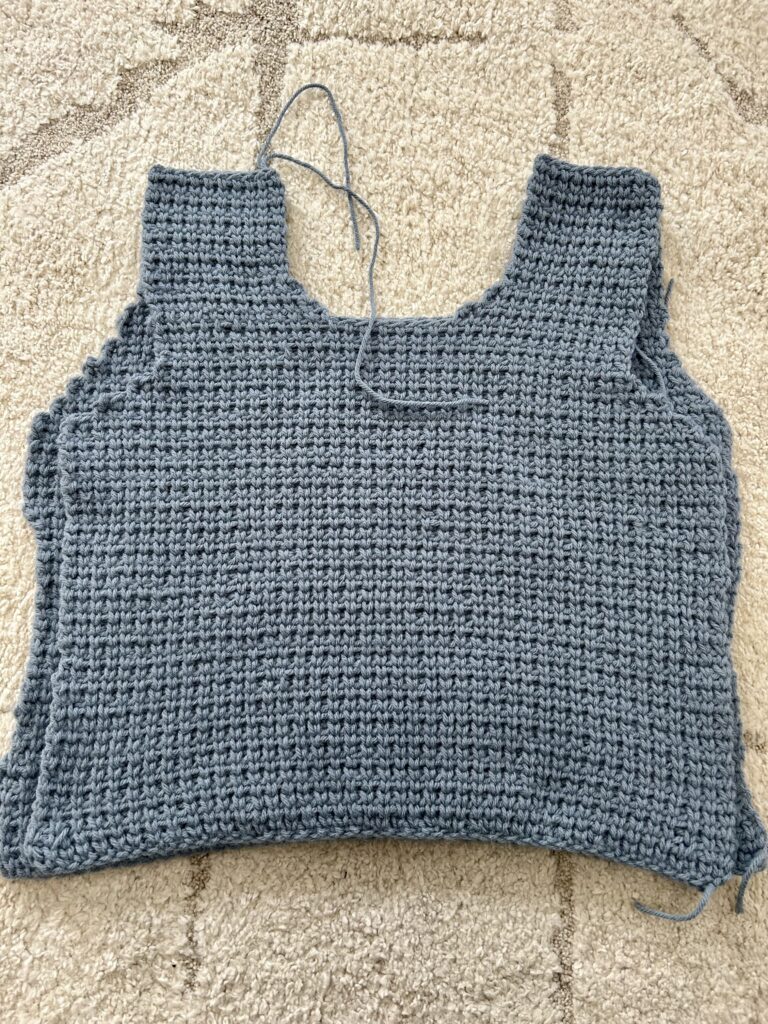
Lay the front panel over the top of the back panel with shoulder edges and sides aligned. Using a yarn needle and the long tail for stitching, stitch the shoulder seams.
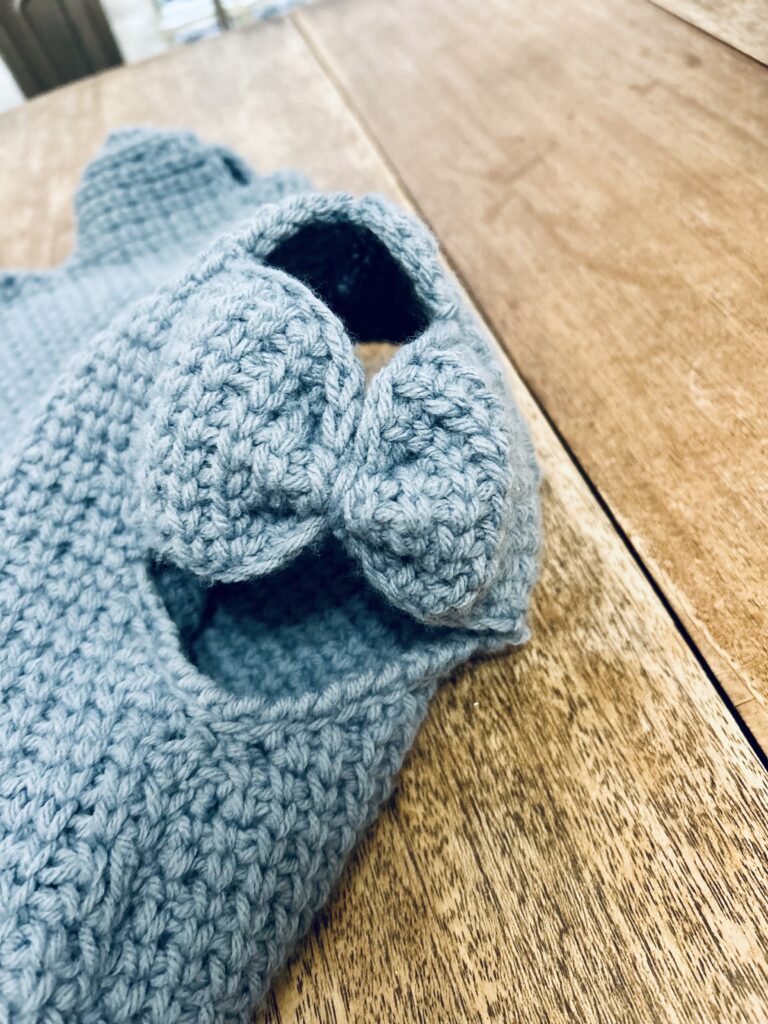
Bow Sleeves: (Make 2)
Row 1: Ch 18, turn. (18)
Row 2: SC in second CH from the hook and in each remaining ST across. CH 1, turn. (17)
Row 3-14: HDCW ST in each ST across. CH 1, turn. (17)
Fasten off, leaving a long tail for stitching.
To attach the bow panel, find the shoulder seam of the right shoulder and count down 5 stitches from both sides of the shoulder seam line. Using the long tail for stitching, attach the bow panel on both sides of the armhole.
Armhole Finishing:
Now we will finish the edge of the armhole to give it a completed and finished look. For this, we will change our hook size to H8 (5.00 mm)
Row 1: Attach yarn with a SLST to the armhole stitch below the attachment point of the bow. SC in each ST working your way around the armhole opening below the bow. When you have reached the lower edge of the bow on the opposite side of the armhole, CH 1, turn.
Row 2: SLST in each ST across, working your way back across the SC stitches from row 1. Fasten off and weave in end.
Finish the shoulder armhole section above the bow in a similar fashion by attaching the yarn with a SLST to the ST above the bow.
Row 1: SC in each ST, working your way around the shoulder until you reach the opposite side of the armhole above the bow. CH 1, turn.
Row 2: SLST in each SC ST from Row 1, until you have reached the opposite side of the bow sleeve. Fasten off and weave in end. Repeat with the other side armhole.
Neckline Finish:
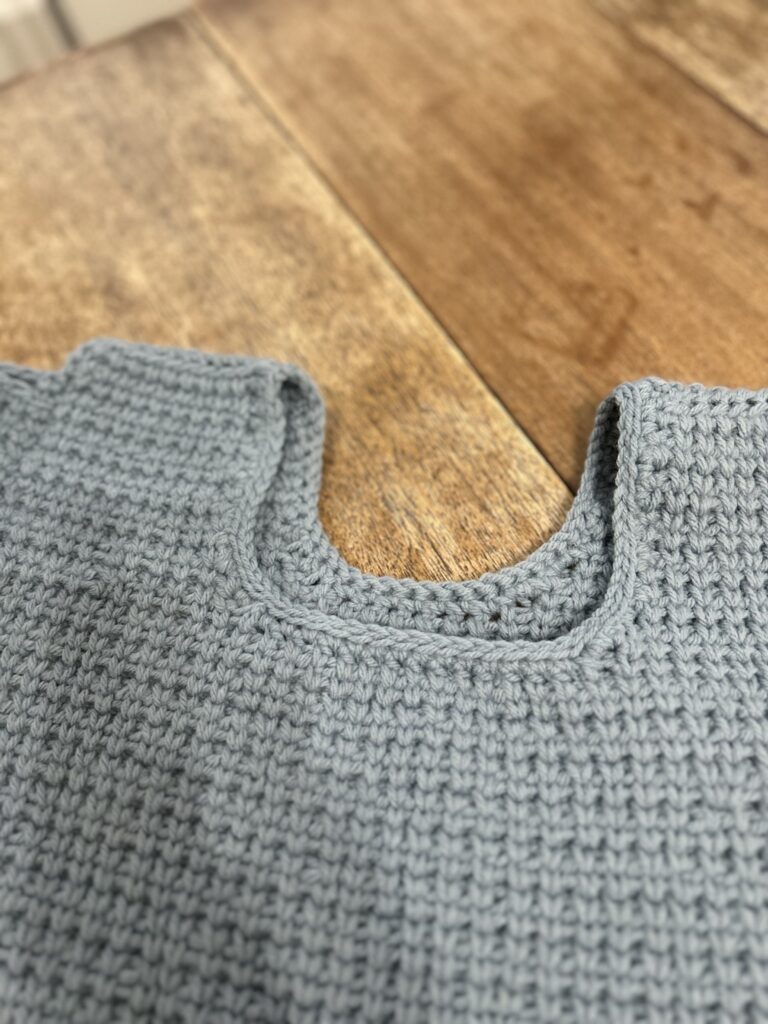
Finish the neckline similarly to the sleeve finish.
row 1: attach the yarn to the inside shoulder seam with a SLST. SC in each ST around the neckline.
Row 2: SLST in each ST around the neckline. Fasten off and weave in ends.
Hem Ribbing Finish:
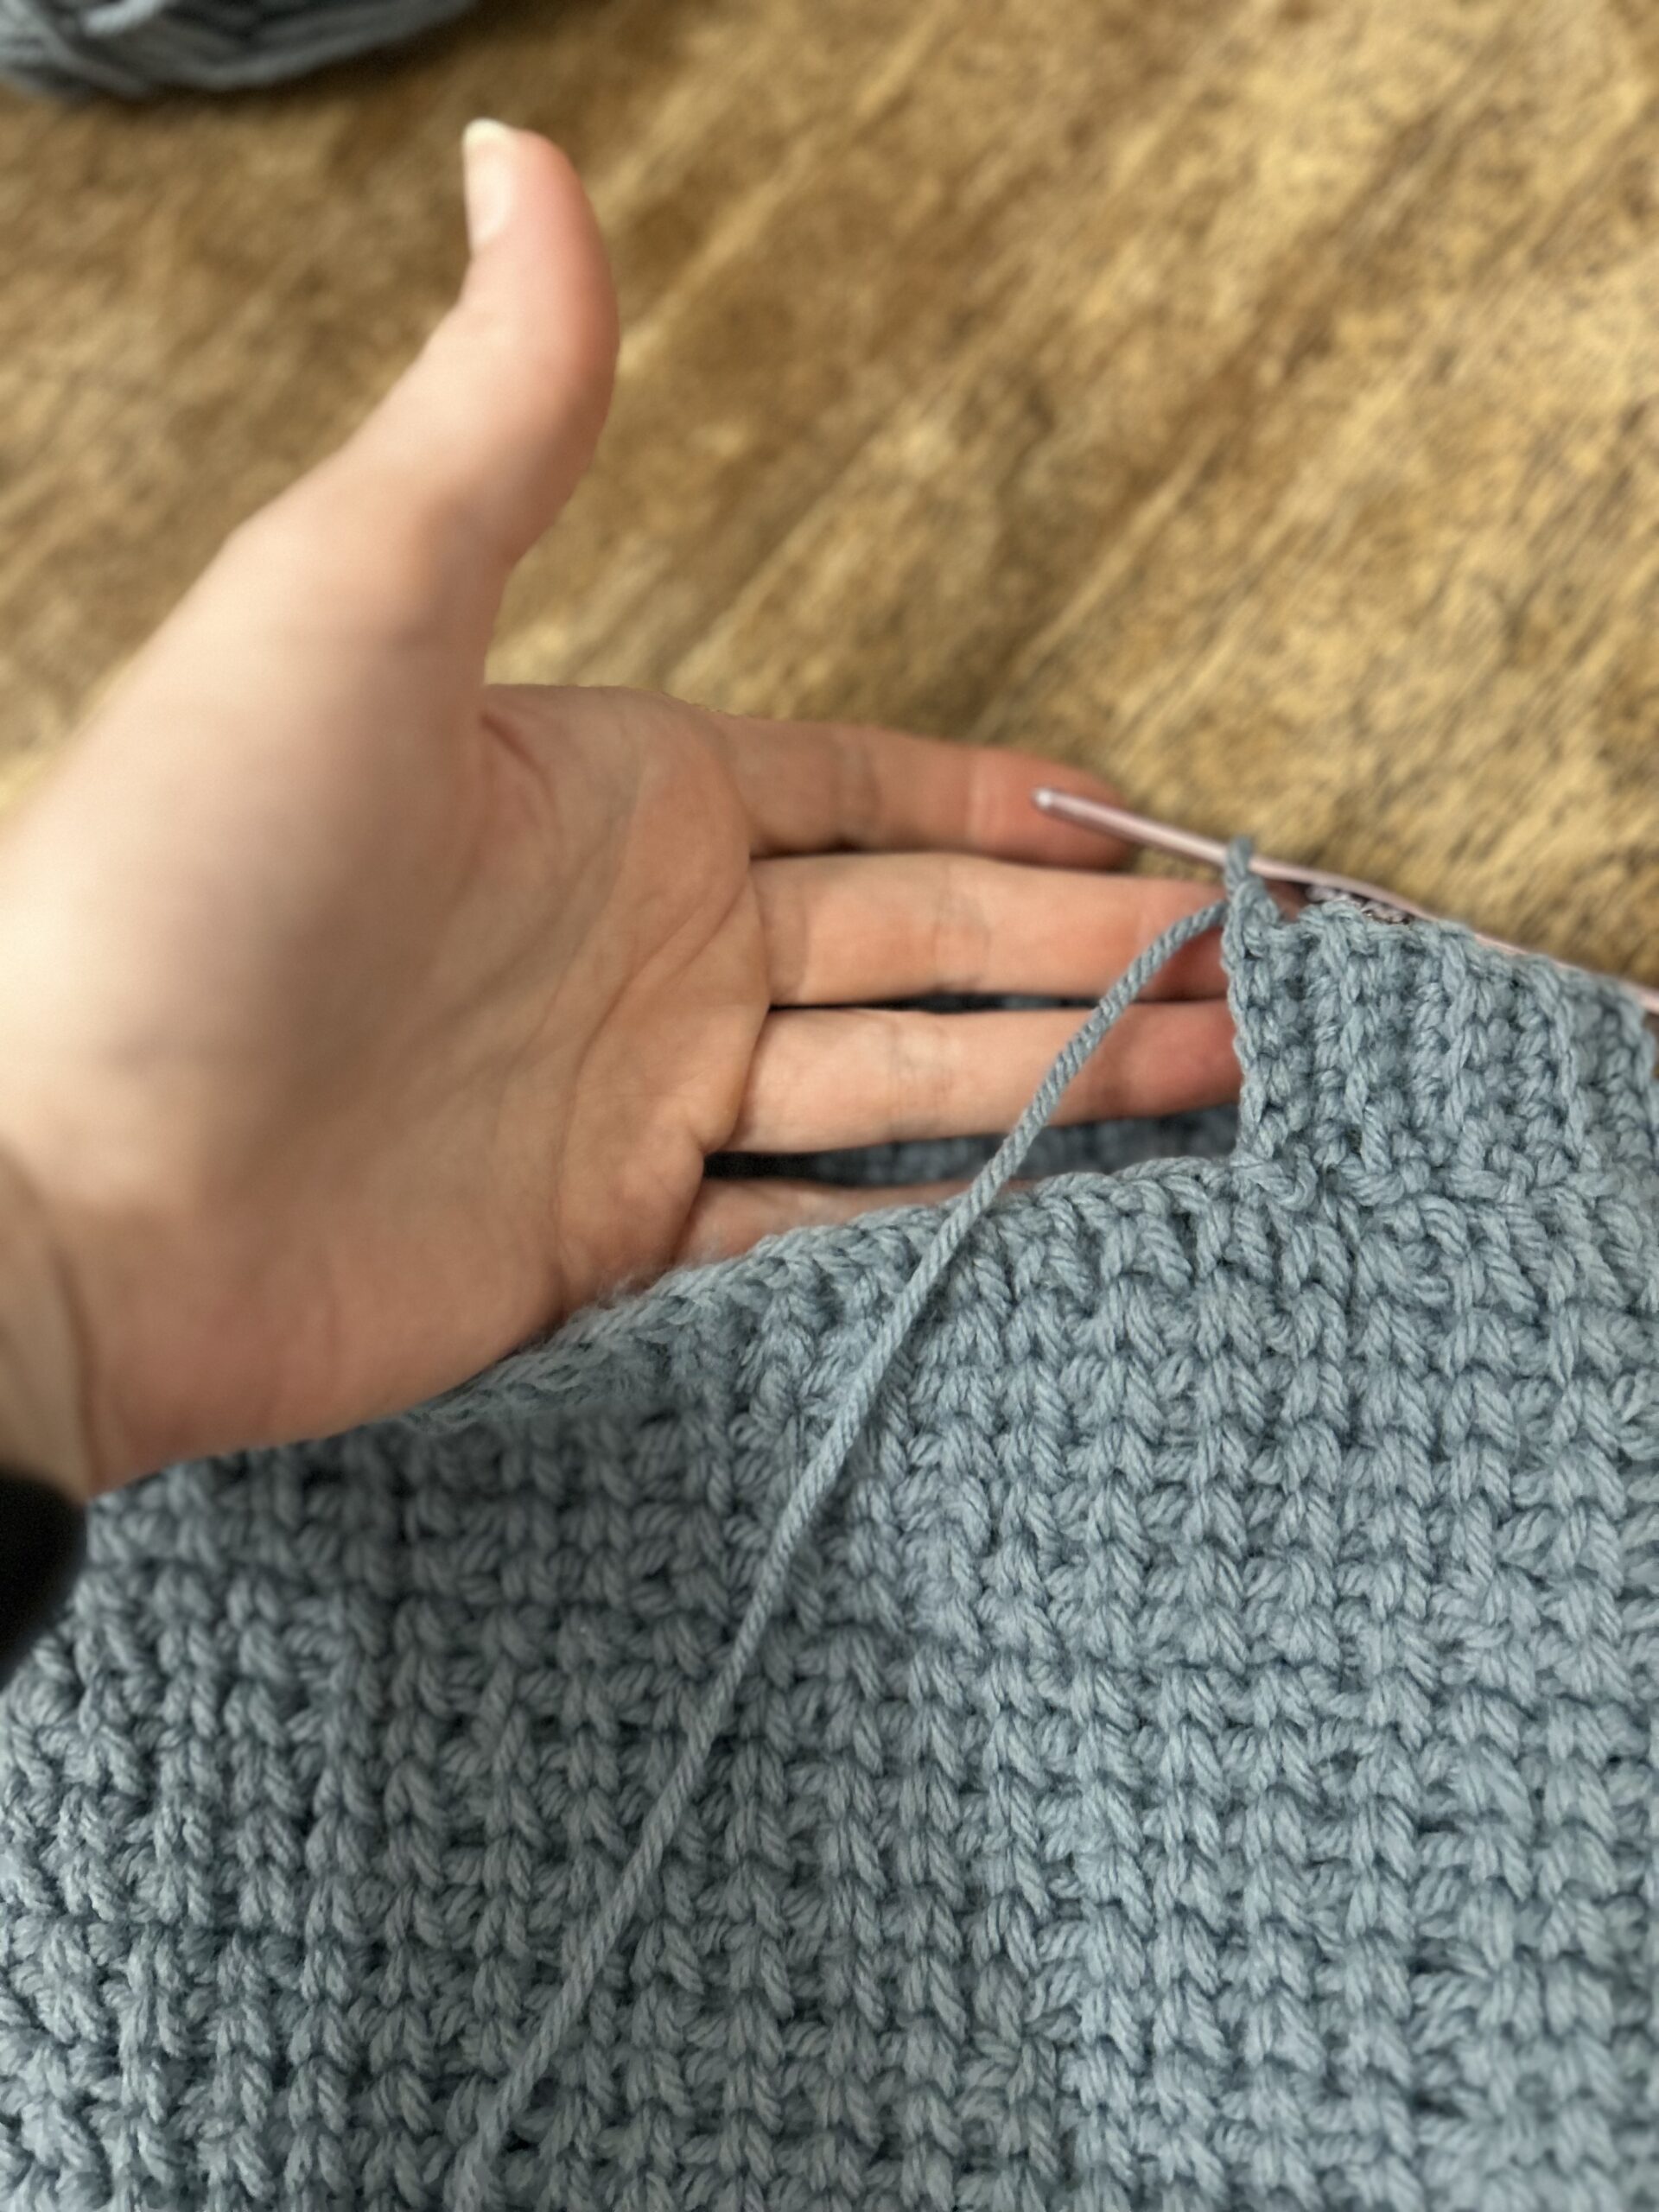
Attach yarn with a SLST to the bottom edge of the sweater at the side seam.
Ribbing:
Row 1: Ch 6, turn.
Row 2: SC in BLO of the second CH from the hook and in the remaining 4 ST of the CH. SLST in the next 2 ST of the hem of the sweater, turn. (5)
Row 3: SC in BLO of in each of the 5 ST of of ribbing section. cH 1, Turn.(5)
Repeat alternating rows 2 and 3 as you work your way around the hem of the sweater.
Once you have made your way all around the hem of the sweater, fasten off, leaving a tail for stitching. Stitch the edges of the ribbing together where they meet. Weave in ends.
Way to go!! You did it!!
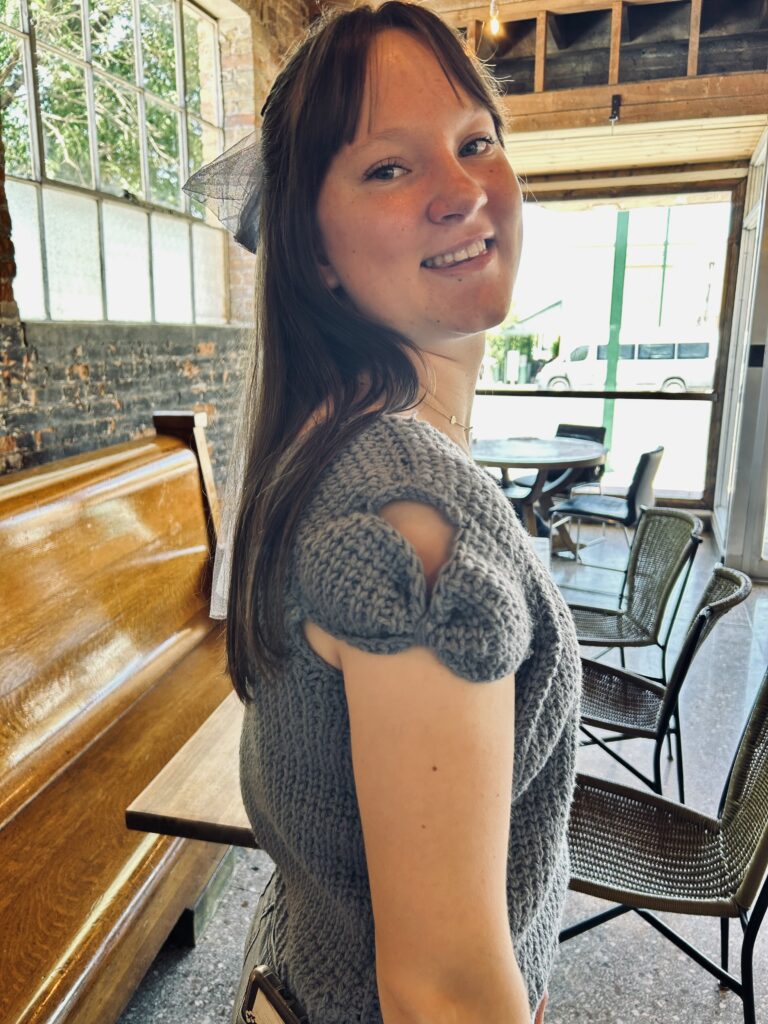
Thank you to my beautiful daughter for being such a great model!
I hope you’ll enjoy making this sweater as much as I did!
Copyright
This pattern and its images are copyright protected and the sole property of BriarberryFarmhouse.com
Please do not redistribute, transfer, or sell the pattern, or alter it to claim as your own. You may sell any products you create from this pattern. Please credit the designer by linking online listings @Briarberryfarmhouse.com or tagging @Briarberry.
More Ideas From Briarberry…
Looking for more ideas to add to your Summer? Check out these posts!
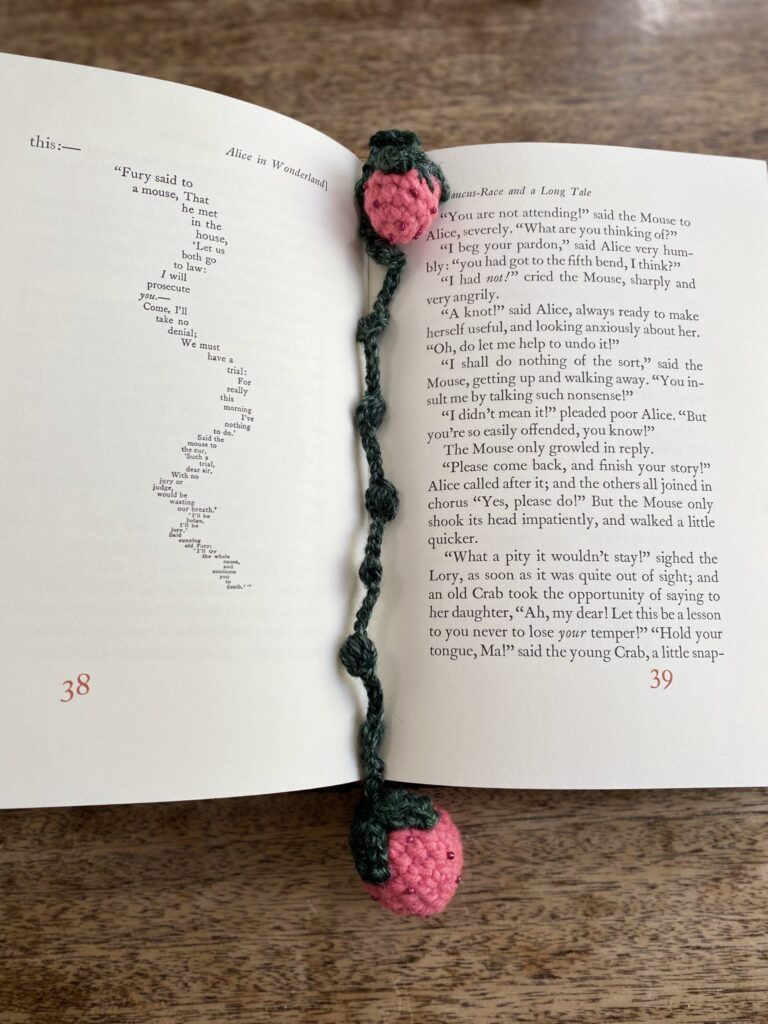
Strawberries on the Vine Bookmark to inspire your summer reading. Find the free pattern here:
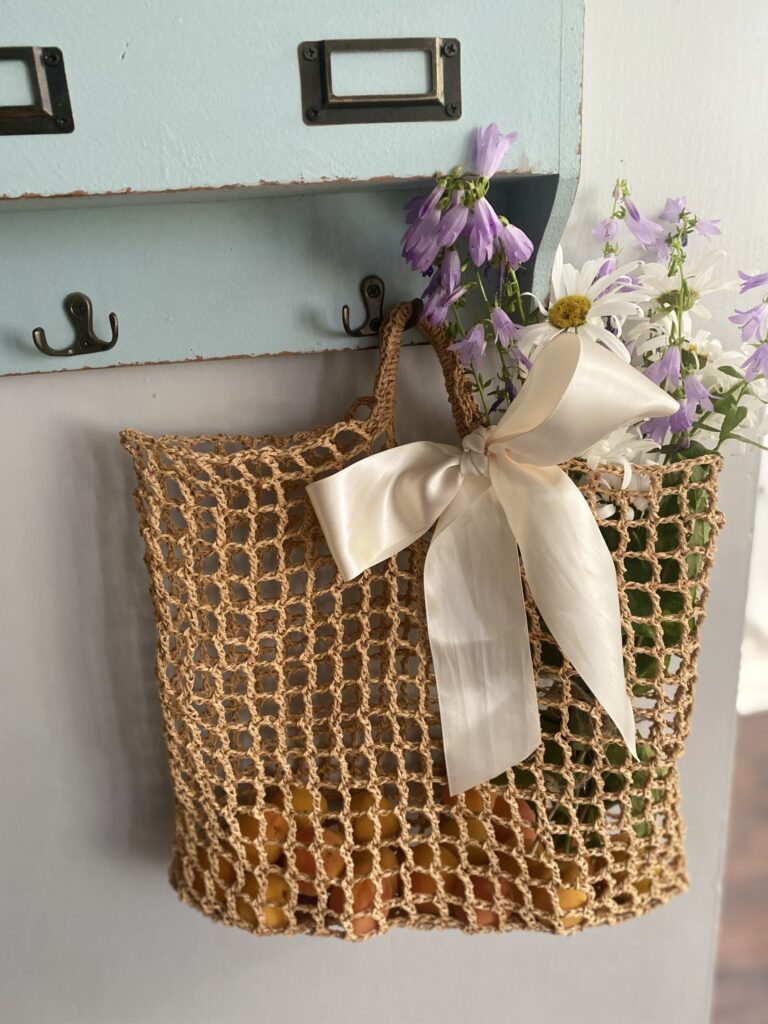
The Fisherman’s Net Bag, reminiscent of a European Market Bag. It’s easy to crochet and everyone will ask you where you found it! Here
Briarberry
My name is Abby Holmgren and I love to create and share ideas through crochet, sewing, fashion, cooking, and visual arts. Briarberry Farmhouse is where I share inspiration.