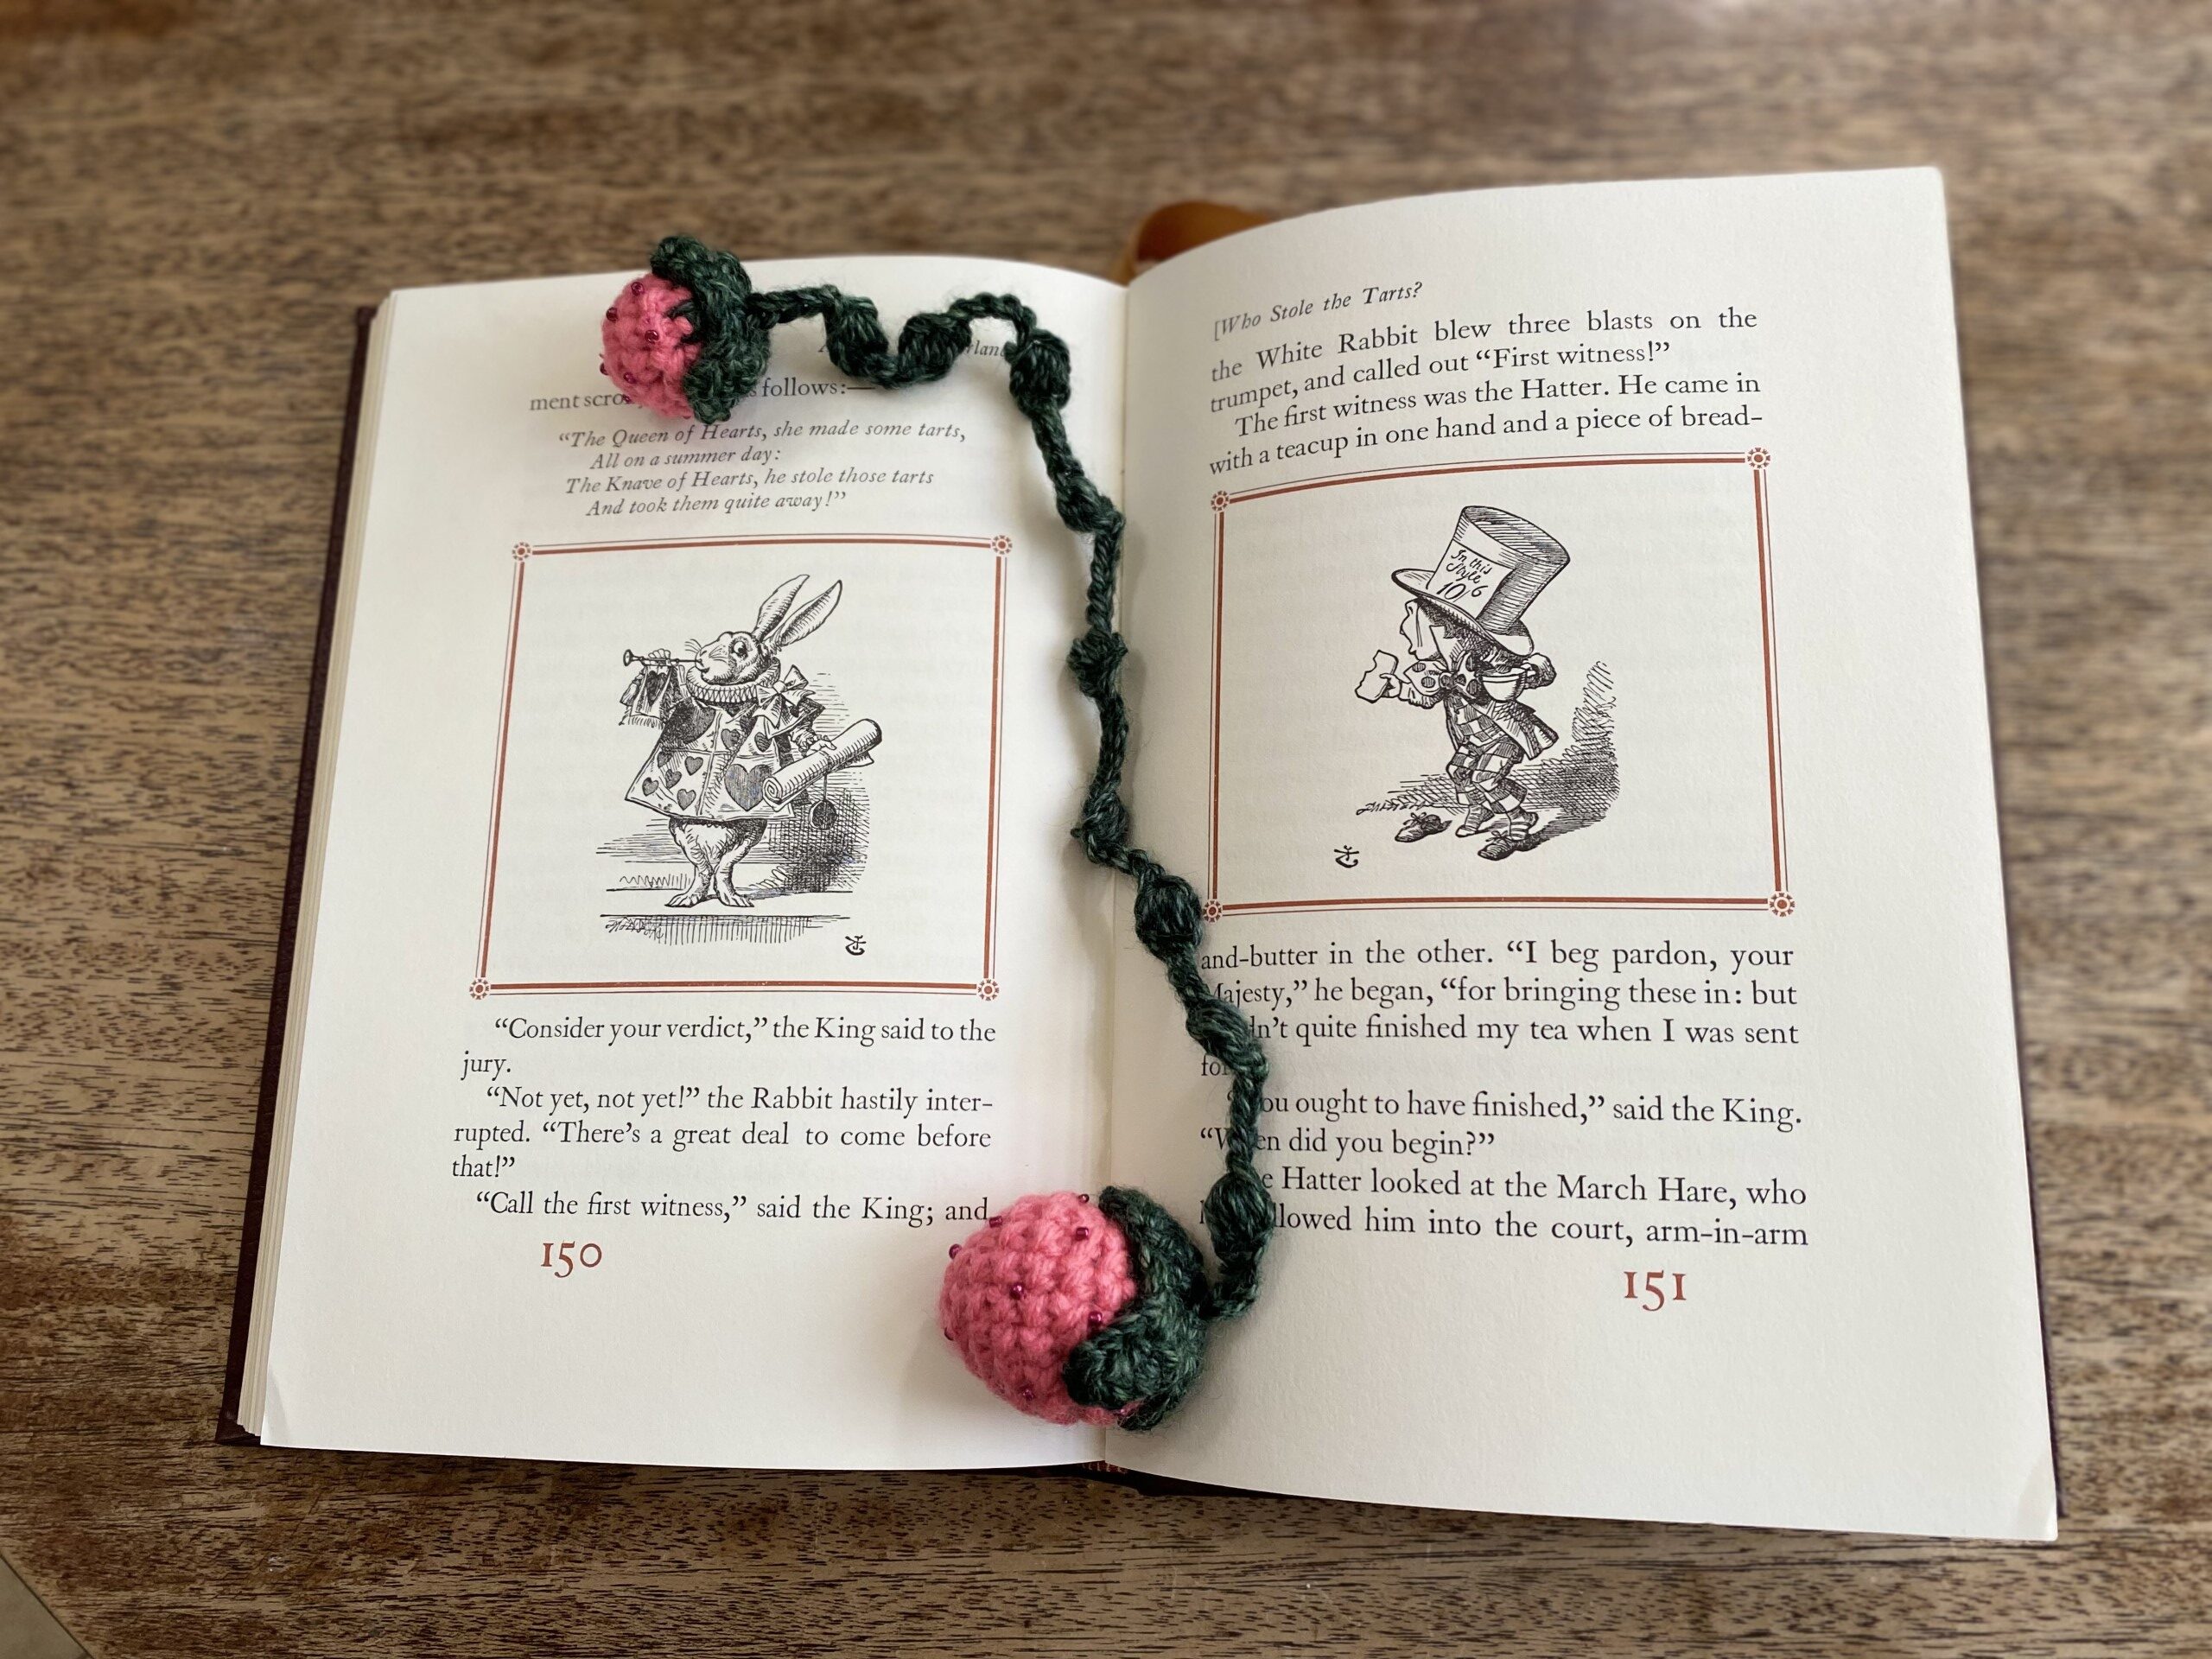
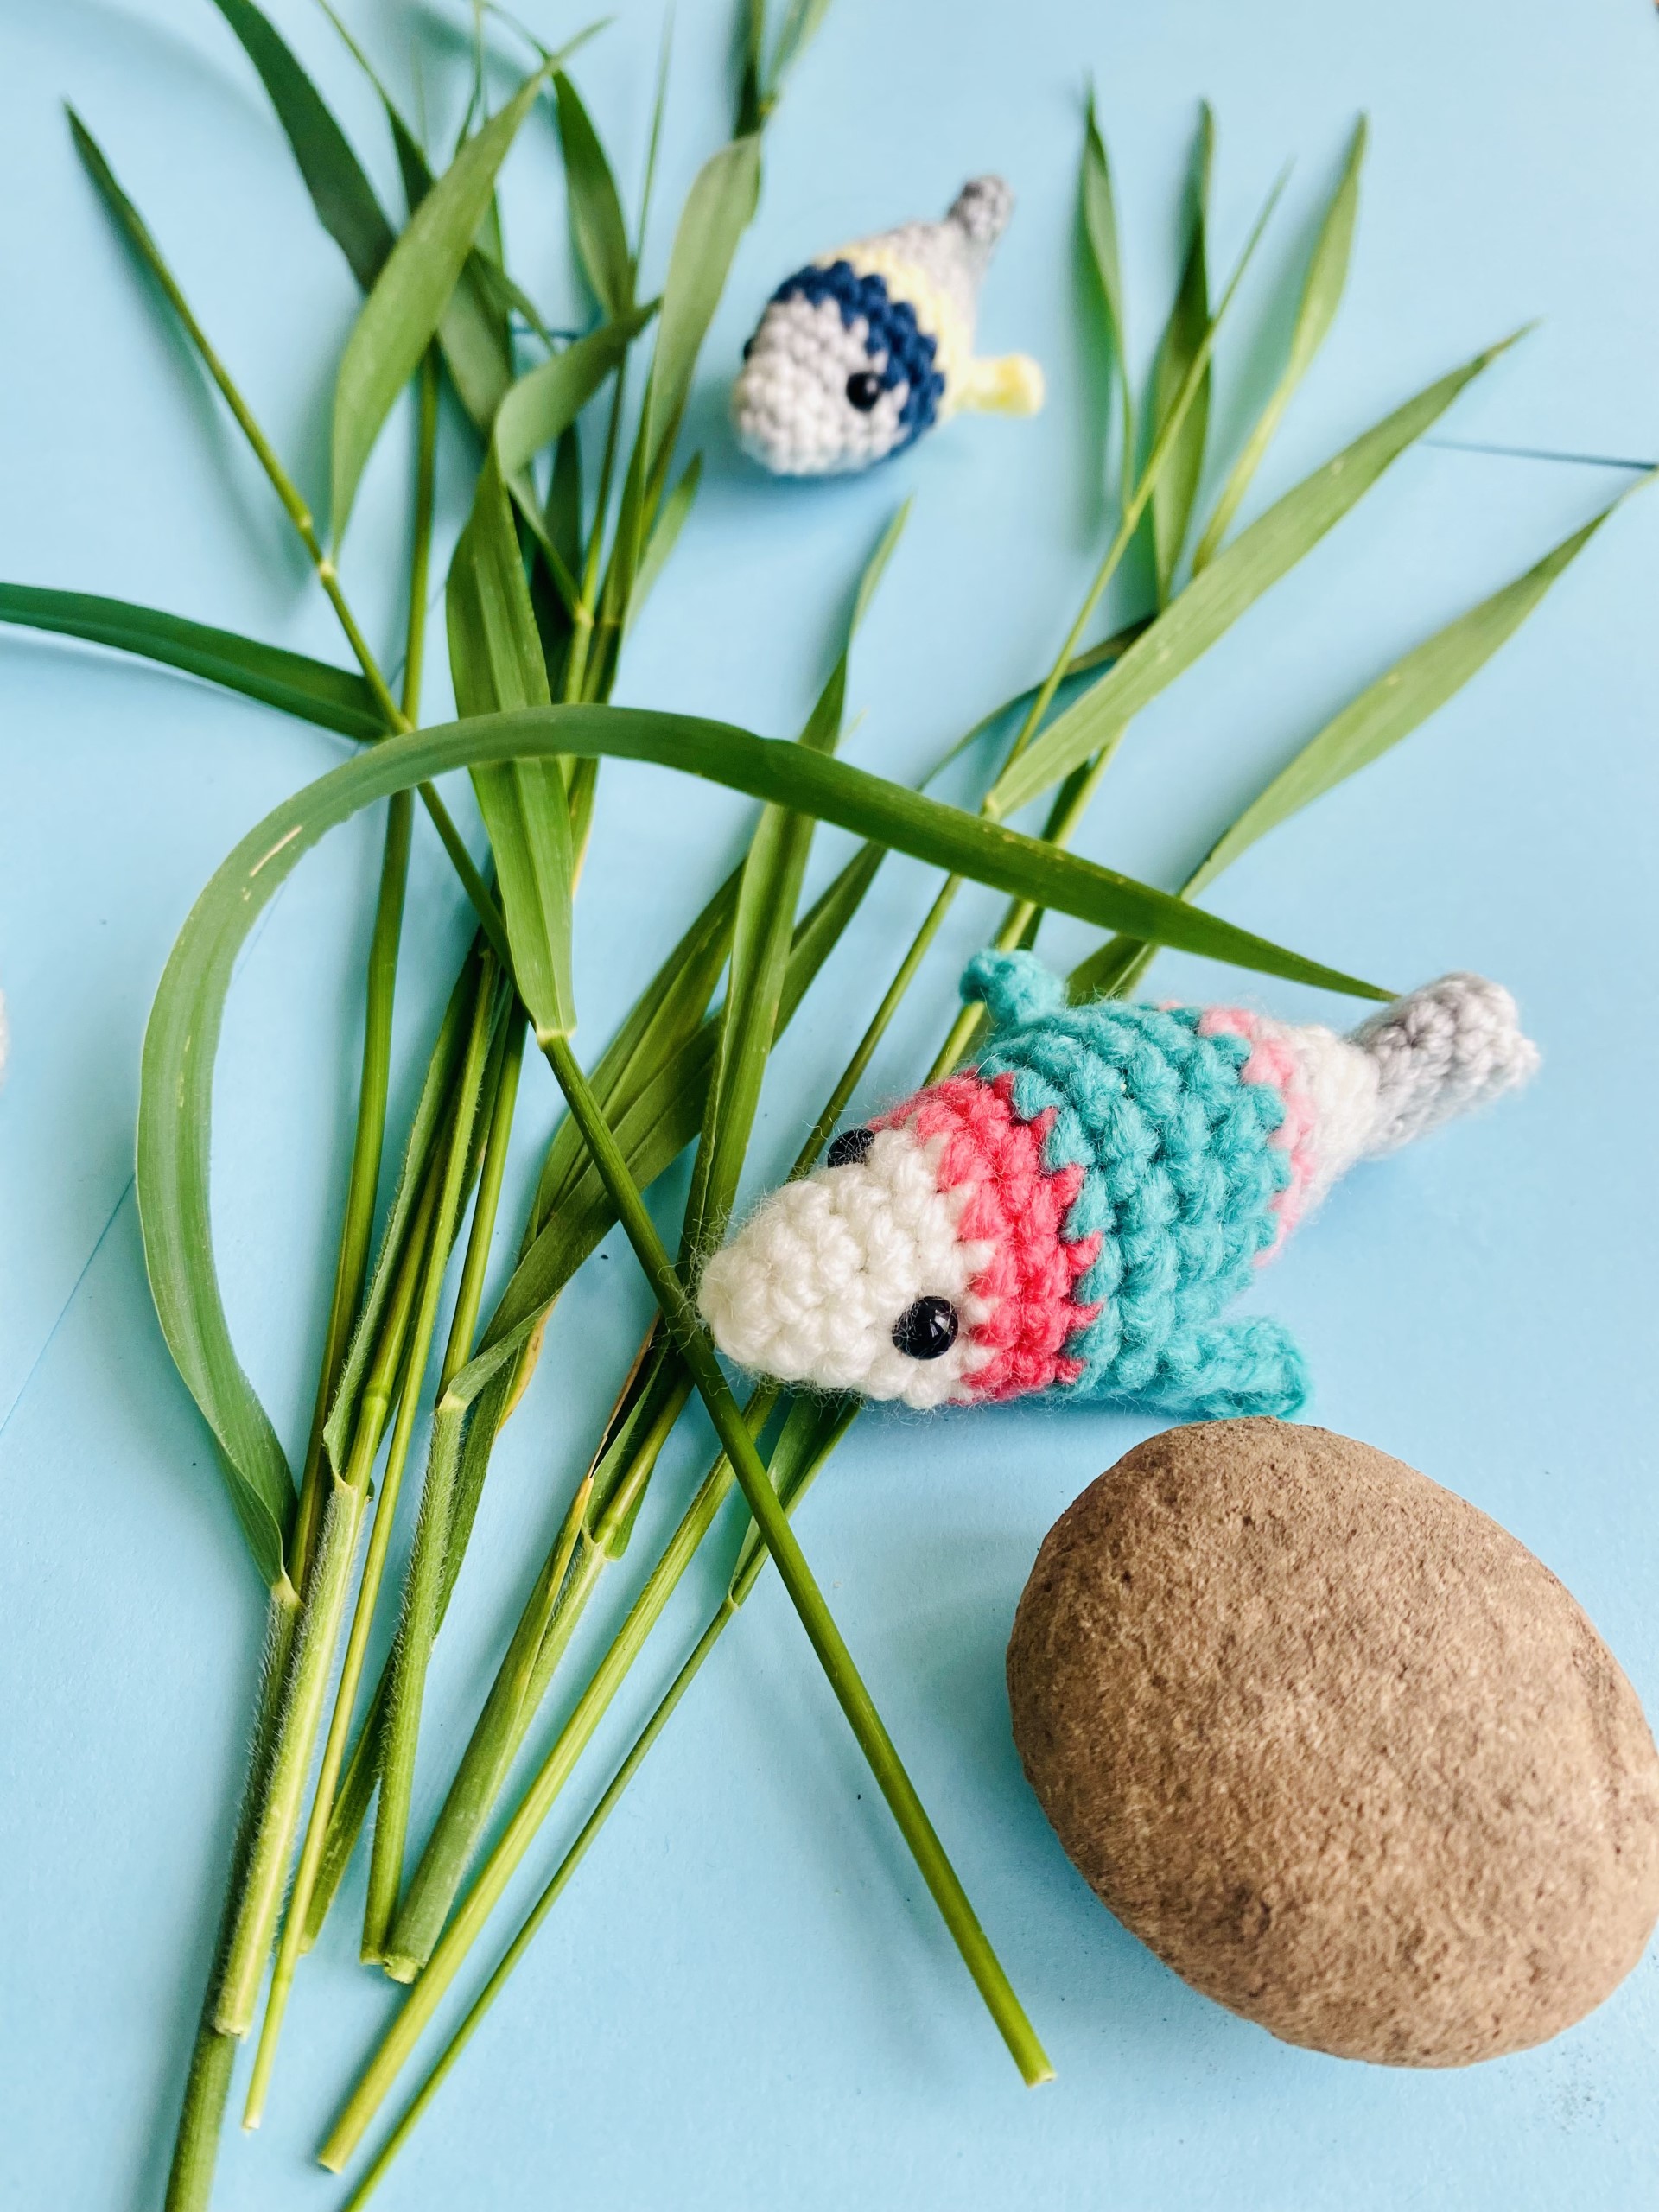
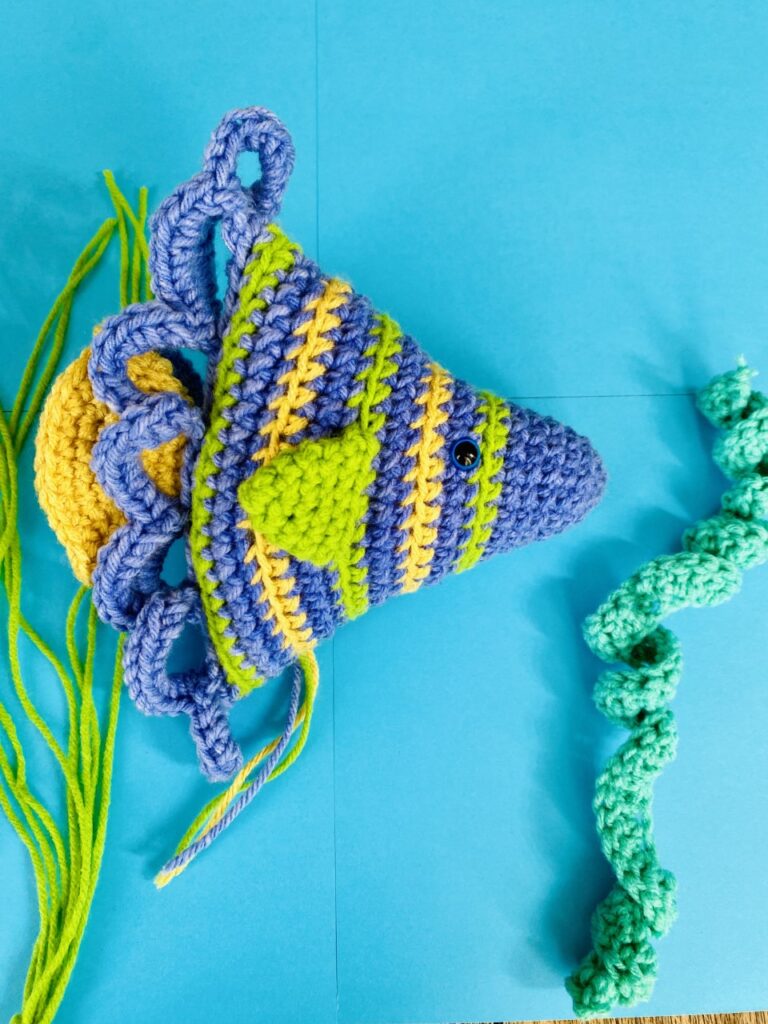
Carpay the Stripe Fish
A Beginner Friendly Pattern
Last October, I got to make a checkmark on a bucket list item that I had always wanted to complete. My three kids were finally old enough that my husband and I felt safe taking them to the ocean to snorkel. They were afraid that we might encounter sharks, electric eels, and Tsunamis in the ocean near Cozumel but when we arrived, they carefully slid into the water. Courageously, they set their goggles firmly on their little faces and put the snorkels in their mouths. Timidly, they put their faces in the water for that first, captivating look. And then there was no turning back.
Visiting this new underwater world together was an experience I never want to forget. It made the world feel bigger and a little more magical. Carpay the fish is the first of a collection of toy crochet patterns I'm creating, called Salty Sea. These patterns will be to share with you as I reminisce on my children's wide eyed first views of what's inside the great blue sea. I hope you'll enjoy and follow along, and I hope you'll experience the giggly delight of hearing your little ones say, "I didn't know there really ARE those kind of fish!"

Carpay the Stripe Fish
Supplies:
- Red heart worsted weight yarn in Denim, Mustard, and Green.
- Safety eyes for toys
- Polyester Fiberfil
- Size H crochet hook
Fish Body: (Make 1)
Rnd 1: Starting with Denim colored yarn, 6 SC in magic loop. Pull snugly to close the loop. (6)
Rnd 2-3: 2 SC in each ST around. (12)
Rnd 4: *SC in next 2 ST, then 2 SC in next ST.** Repeat from * to ** around. (16)
Rnd 5: SC in each ST around. (16)
Rnd 6: *SC in the next 3 ST, then 2 SC in next ST. ** Repeat from * to ** around. ( 20)
Rnd 7: SC in each ST around. Color change to Green yarn at the end of the last stitch of the round, but don’t fasten off. Leave the denim yarn attached at the back of the work. ( 20)
Rnd 8: *SC in next 4 ST, 2 SC in next ST.** Repeat from * to ** around. Color change to Denim at the end of last stitch of the round but don’t fasten off green. Leave green attached at back of the work. (24)
Rnd 9: SC in Back Loops Only(BLO) of each stitch of the round. (24)
Rnd 10: *SC in next 5 ST, 2 SC in next ST.** Repeat from * to ** around. Color change to Mustard at the end of the last stitch of the round but don’t fasten off, leave the mustard yarn attached at the back of the work. (28)
Rnd 11: SC in each ST around. Color change to Denim at the end of the last stitch of the round. (28)
Rnd 12: *SC in BLO of next 6 ST, 2 SC in next ST.** Repeat around. (32)
Rnd 13: SC in each ST around. Color change to Green, leaving denim attached at back of work. (32)
Rnd 14: *SC in next 7 ST, 2 SC in next ST.** Repeat from * to ** around. Color change to Denim, leaving Green attached at the back of the work. (36)
Rnd 15: In BLO, SC in each ST around. (36)
Rnd 16: *SC in next 8 ST, 2 SC in next ST.** Repeat from * to ** around. Color change to Mustard, leaving Denim attached at the back of the work. (40)
Rnd 17: SC in each ST around. Color change to Denim and fasten off Mustard leaving a 20 inch long free end.
Rnd 18: *In BLO, SC in next 9 ST, 2 SC in next ST.** Repeat from * to ** around. (44)
Rnd 19: SC in each ST around. Color change to Green, leaving Denim attached at back of the work. (44)
Rnd 20: *SC in next 10 ST, 2 SC in next ST.** Repeat from * to ** around. Color change to Denim at the end of last stitch of the round. Fasten off Green, leaving a 20 inch free end. (48)
Rnd 21: In BLO, SC in each ST around. (48)
Rnd 22: *CH 8, Skip next 3 SC, then SC in 4th SC.** Repeat from * to ** around. After working all the way around, SC into base of the first chain stitch of the round.
Rnd 23:* Slip stitch into the first CH 8 Space. 10 SC in CH 8 Space. ** Repeat from * to ** around, crocheting 10 SC in each CH 8 space. At the end of the round, SL ST into first ST of the round. Fasten off, leaving a long tail for stitching. (About 30 inches.)
Back Fin (Make 1)
Rnd 1: Using Mustard yarn, 6 SC in magic loop. Pull snugly to close the loop. (6)
Rnd 2: 2 SC in each ST around. (12)
Rnd 3: *SC in next ST, 2 SC in next ST.** Repeat from * to ** around. (18)
Rnd 4: SC in each ST around. (18)
Rnd 5: *SC in next 2 ST, 2 SC in next ST. ** Repeat from * to ** around. (24)
Rnd 6: SC in each ST around. (24)
Rnd 7: * SC in next 3 ST, 2 SC in next ST.** Repeat from * to ** around. (30)
Rnd 8: SC in each ST around. (30) Fasten off and weave in ends.
Side Fin (Make 2)
Rnd 1: With Green yarn, 6 SC in a magic loop. Pull snugly to close the loop. (6)
Rnd 2: *SC in next ST, 2 SC in next ST.** Repeat from * to ** around. (9)
Rnd 3: SC in each ST around. (9)
Rnd 4: *SC in next 2 ST, 2 SC in next ST.** Repeat from * to ** around. (12)
Rnd 5: SC in each ST around.(12) Fasten off, leaving a long tail for stitching.
Assembly:
Fold the fish body in half along the color changes. Lay the fish body flat and mark the placement of the eyes. I put the eyes in round 8, matching the height of each eye on both sides of the fish. Now stitch the side fins in place using a yarn needle and the long tail of yarn. Stitch fins at equal height on each side of the fish. I put the fins in round 13. Now, using fiberfil, stuff the body of the fish firmly. Using a yarn needle, begin to sew the back seam of the fish. Join the back fin in the same seam as the back seam to stitch the back fin into place. Finally, cut a piece of each color of yarn 5 inches long and thread it through the bottom of the fish near the back seam for a trailing fin. Knot in place to secure.


Briarberry
My name is Abby Holmgren and I love to create and share ideas through crochet, sewing, fashion, cooking, and visual arts. Briarberry Farmhouse is where I share inspiration.